7 Best Travel Photography Blogs for Tips
TrekGuider @trekguider
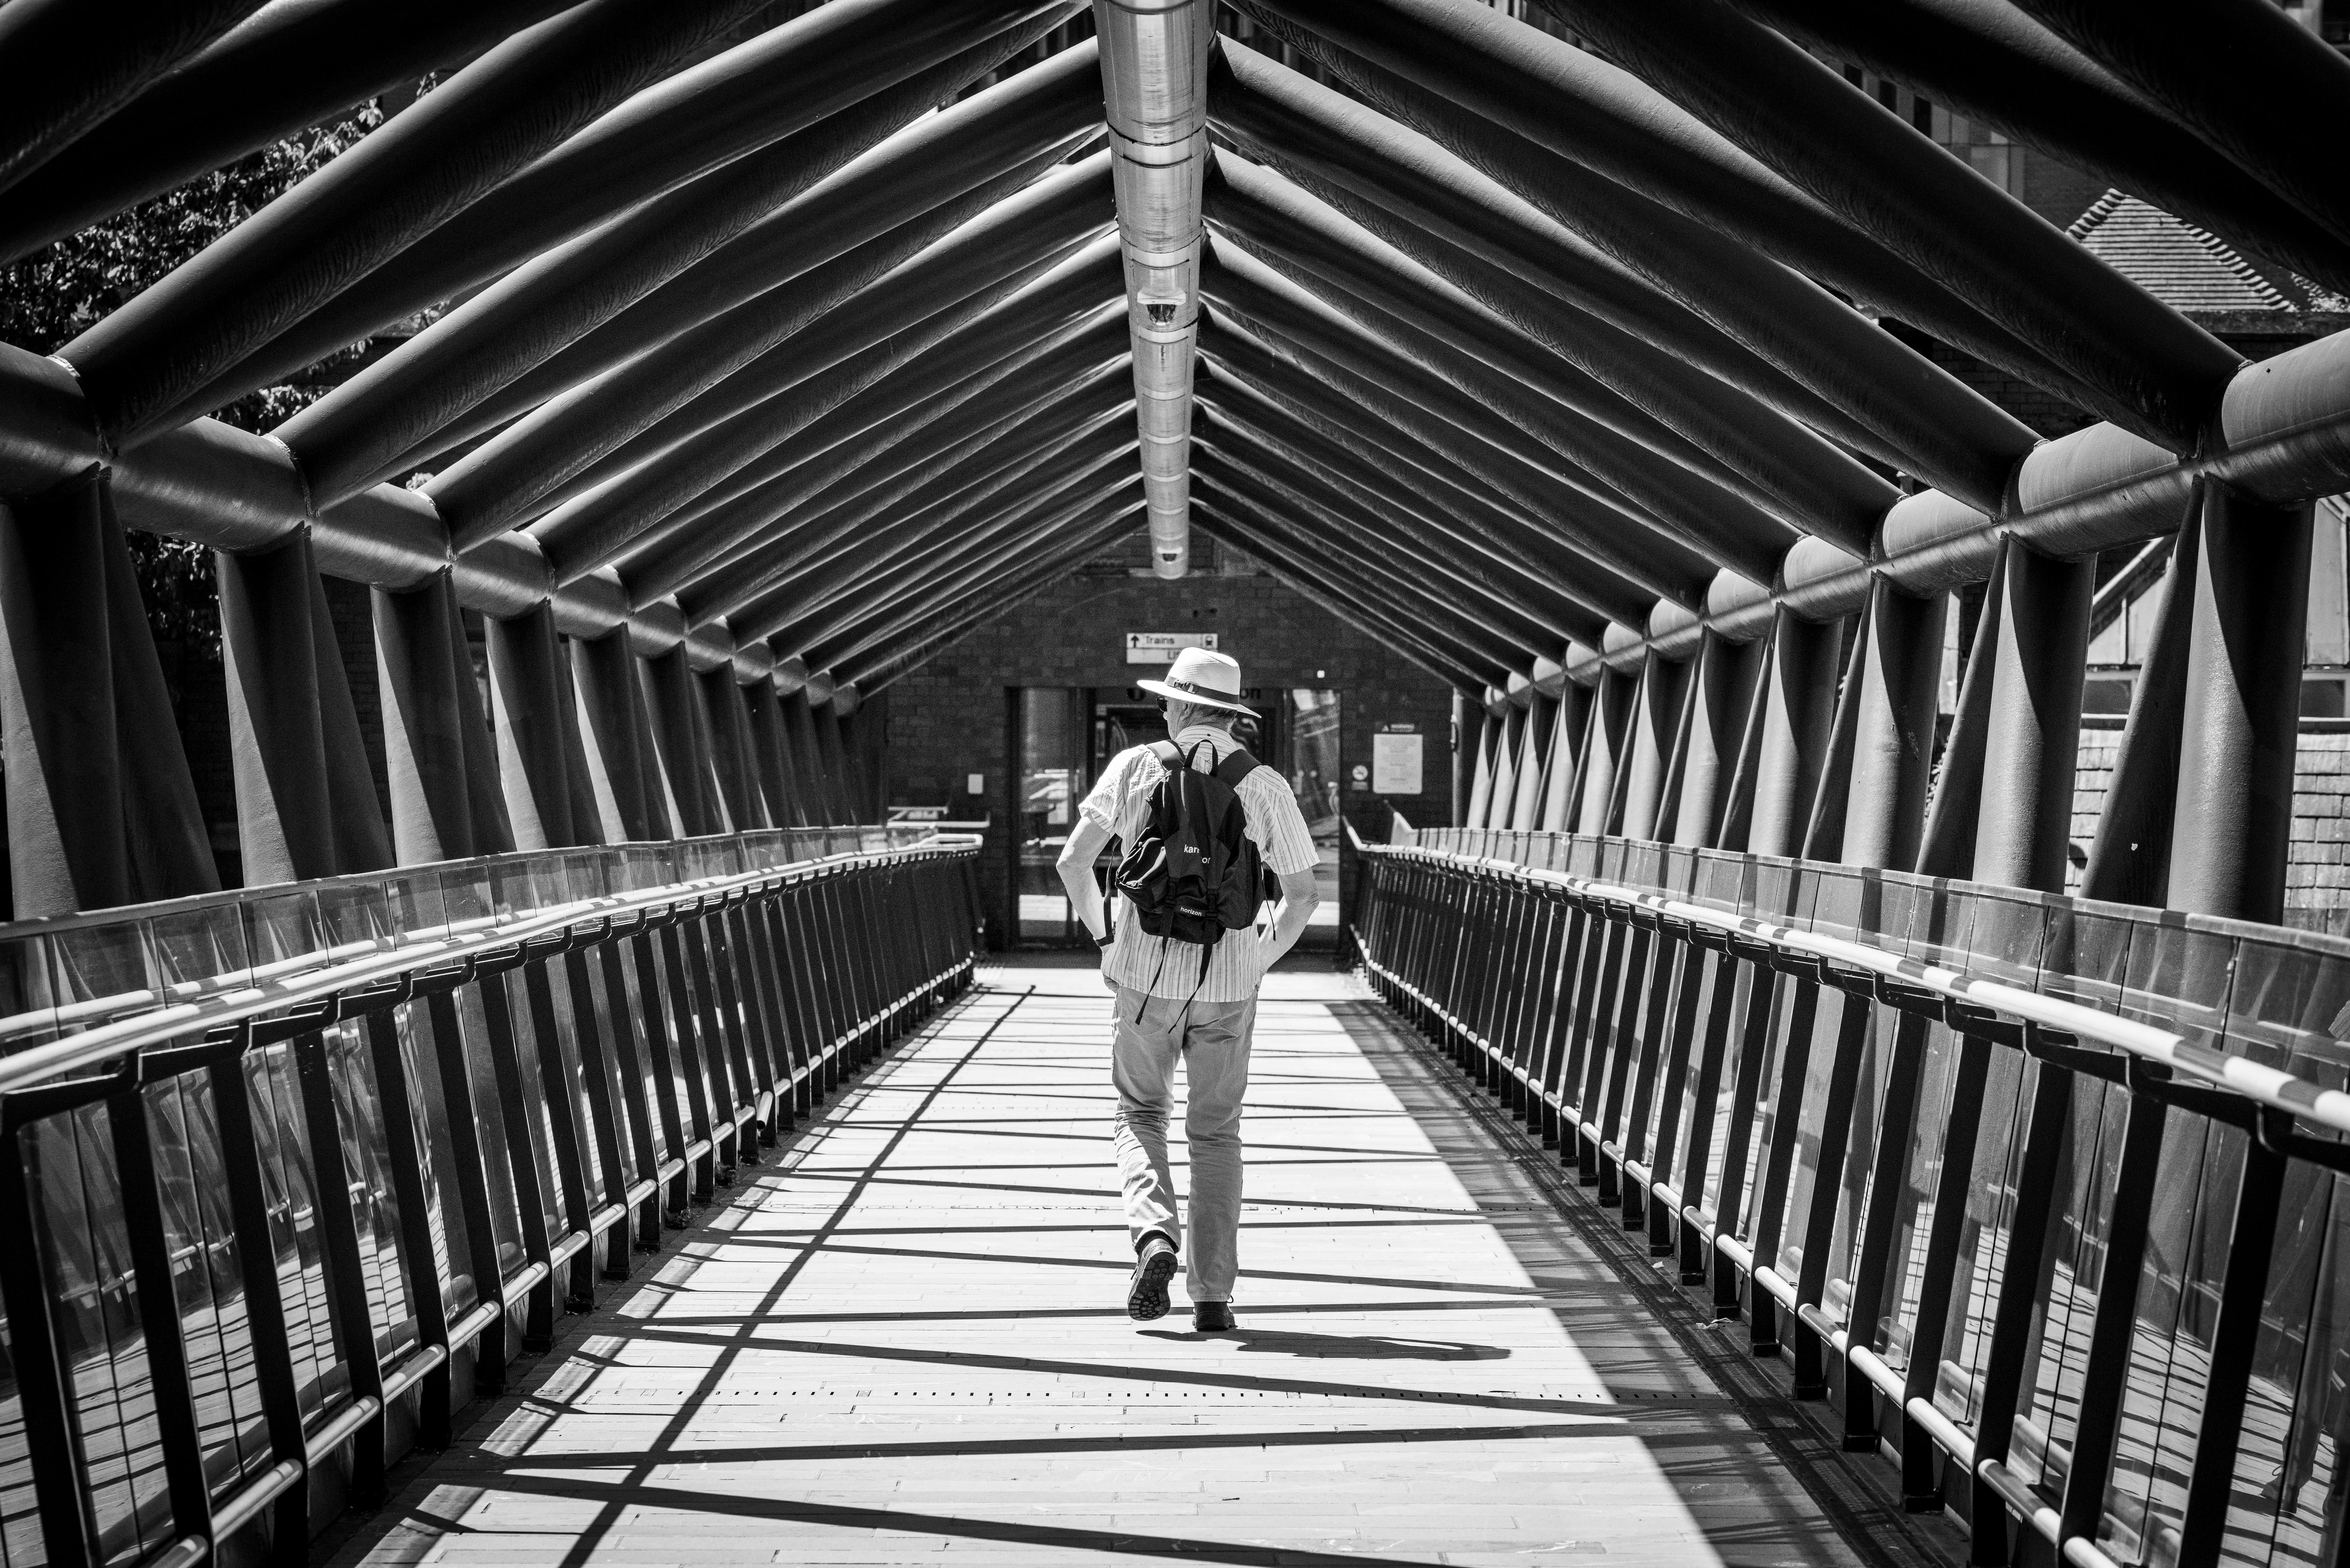
You know the feeling. You’re standing before a truly breathtaking scene—a fiery sunset melting into the ocean, a frenetic city street alive with energy, a mountain range so vast it stills your breath. You raise your camera, convinced you can bottle that magic. But when you get home, the photos on your screen are a pale imitation. The colors look washed out, the epic scale feels diminished, and the raw emotion of the moment is gone. It's the most common frustration in photography.
The gap between the photos you take and the professional shots you admire isn't about money or a more expensive camera. It's about knowledge. It's about seeing the world through a trained eye and understanding the techniques that transform a simple snapshot into a powerful story. The secret is learning from those who have already walked the path and mastered the craft. In a world saturated with social media portfolios, however, finding true educators can feel impossible.
That’s why we’ve sifted through the noise for you. We’ve identified the creators who are dedicated to teaching—the ones who provide the actionable advice, in-depth tutorials, and honest gear reviews that will actually make you a better photographer. If you’re ready to finally start creating travel photos that do your memories justice, you’re in the right place. These are the best travel photography blogs for real, practical tips. And for panoramic view of the top creators ac across every niche, our definitive guide to The Best Travel Blogs to Follow in 2026 is your essential starting point.
What Separates a Portfolio from a Powerhouse Educational Blog?
Before we dive in, let’s clarify our criteria. A gallery of beautiful photos is inspiring, but it won’t teach you how to improve. The blogs on this list were handpicked because they are exceptional educational platforms that empower their audience.
According to our 2026-2026 market analysis, the most authoritative blogs share key traits that set them apart. First is niche specificity and expertise; they establish themselves as deep experts in a specific domain, whether it’s adventure photography or post-processing. Second is the quality of writing and originality, allowing them to deconstruct complex topics—like the exposure triangle or advanced composition—into language anyone can understand. They are teachers, not just tastemakers.
The Top 7 Travel Photography Blogs for Actionable Advice
These seven blogs deliver on the promise of education. Each offers a unique perspective and a wealth of knowledge to help you improve your craft, whether you’re starting out or looking to refine your professional skills.
1. Expert Vagabond (Matthew Karsten)
For the photographer who thrives in the wild, there’s no better mentor than Matthew Karsten of Expert Vagabond. With over a decade of professional experience shooting in some of the world's most remote corners, Karsten doesn’t just show you the shot; he shows you the grit behind it. His gear guides are legendary for their depth, explaining not just what he uses, but why a particular piece of equipment is e essential for a specific environment. This is the ultimate resource for learning to create stunning images under rugged, challenging conditions.
2. Along Dusty Roads (Andrew & Emily)
Andrew and Emily are masters of mood. Their work has a distinct, cinematic quality, and their blog is an incredible resource for learning how to evoke emotion through imagery. While they offer detailed guides on photography techniques, their true genius lies in post-processing. Their Lightroom tutorials are models of clarity, focused on teaching you how to use editing to enhance the story of your image, not just apply a generic filter. They prove that the art happens just as much in the digital darkroom as it does in the camera.
3. BucketListly Blog (Pete R.)
If you love the tech behind the art, BucketListly Blog is your paradise. Pete’s gear reviews are exhaustive, moving far beyond spec sheets to deliver careful real-world performance analysis. He covers everything from the latest flagship mirrorless cameras to the best travel drones and action cameras. What makes his blog essential is its dual focus on both photography and videography, making it a one-stop shop for the modern hybrid creator who needs to produce elite content in multiple formats.
4. I Hit The Button (Andy Feliciotti)
The name says it all. This blog is laser-focused on the science and art of photography. Andy Feliciotti dives deep into the technical craft, offering detailed explorations of topics like long exposure, astrophotography, and advanced composition. This is where you go when you’re ready to move beyond beginner tips and truly understand the why behind a great photo. It’s the perfect resource for the photographer who loves to geek out on the details and push their creative boundaries.

5. The Blonde Abroad (Kiersten Rich)
Kiersten Rich is a powerhouse in the travel industry, and her photography is a masterclass in creating a vibrant, aspirational brand. Her blog is an excellent resource for anyone looking to master lifestyle and portrait travel photography. She offers fantastic, practical tips on everything from styling and wardrobe choices to using presets to achieve a cohesive, professional aesthetic. Her content is especially helpful for solo travelers who want to learn how to take incredible photos of themselves.
6. The Planet D (Dave & Deb)
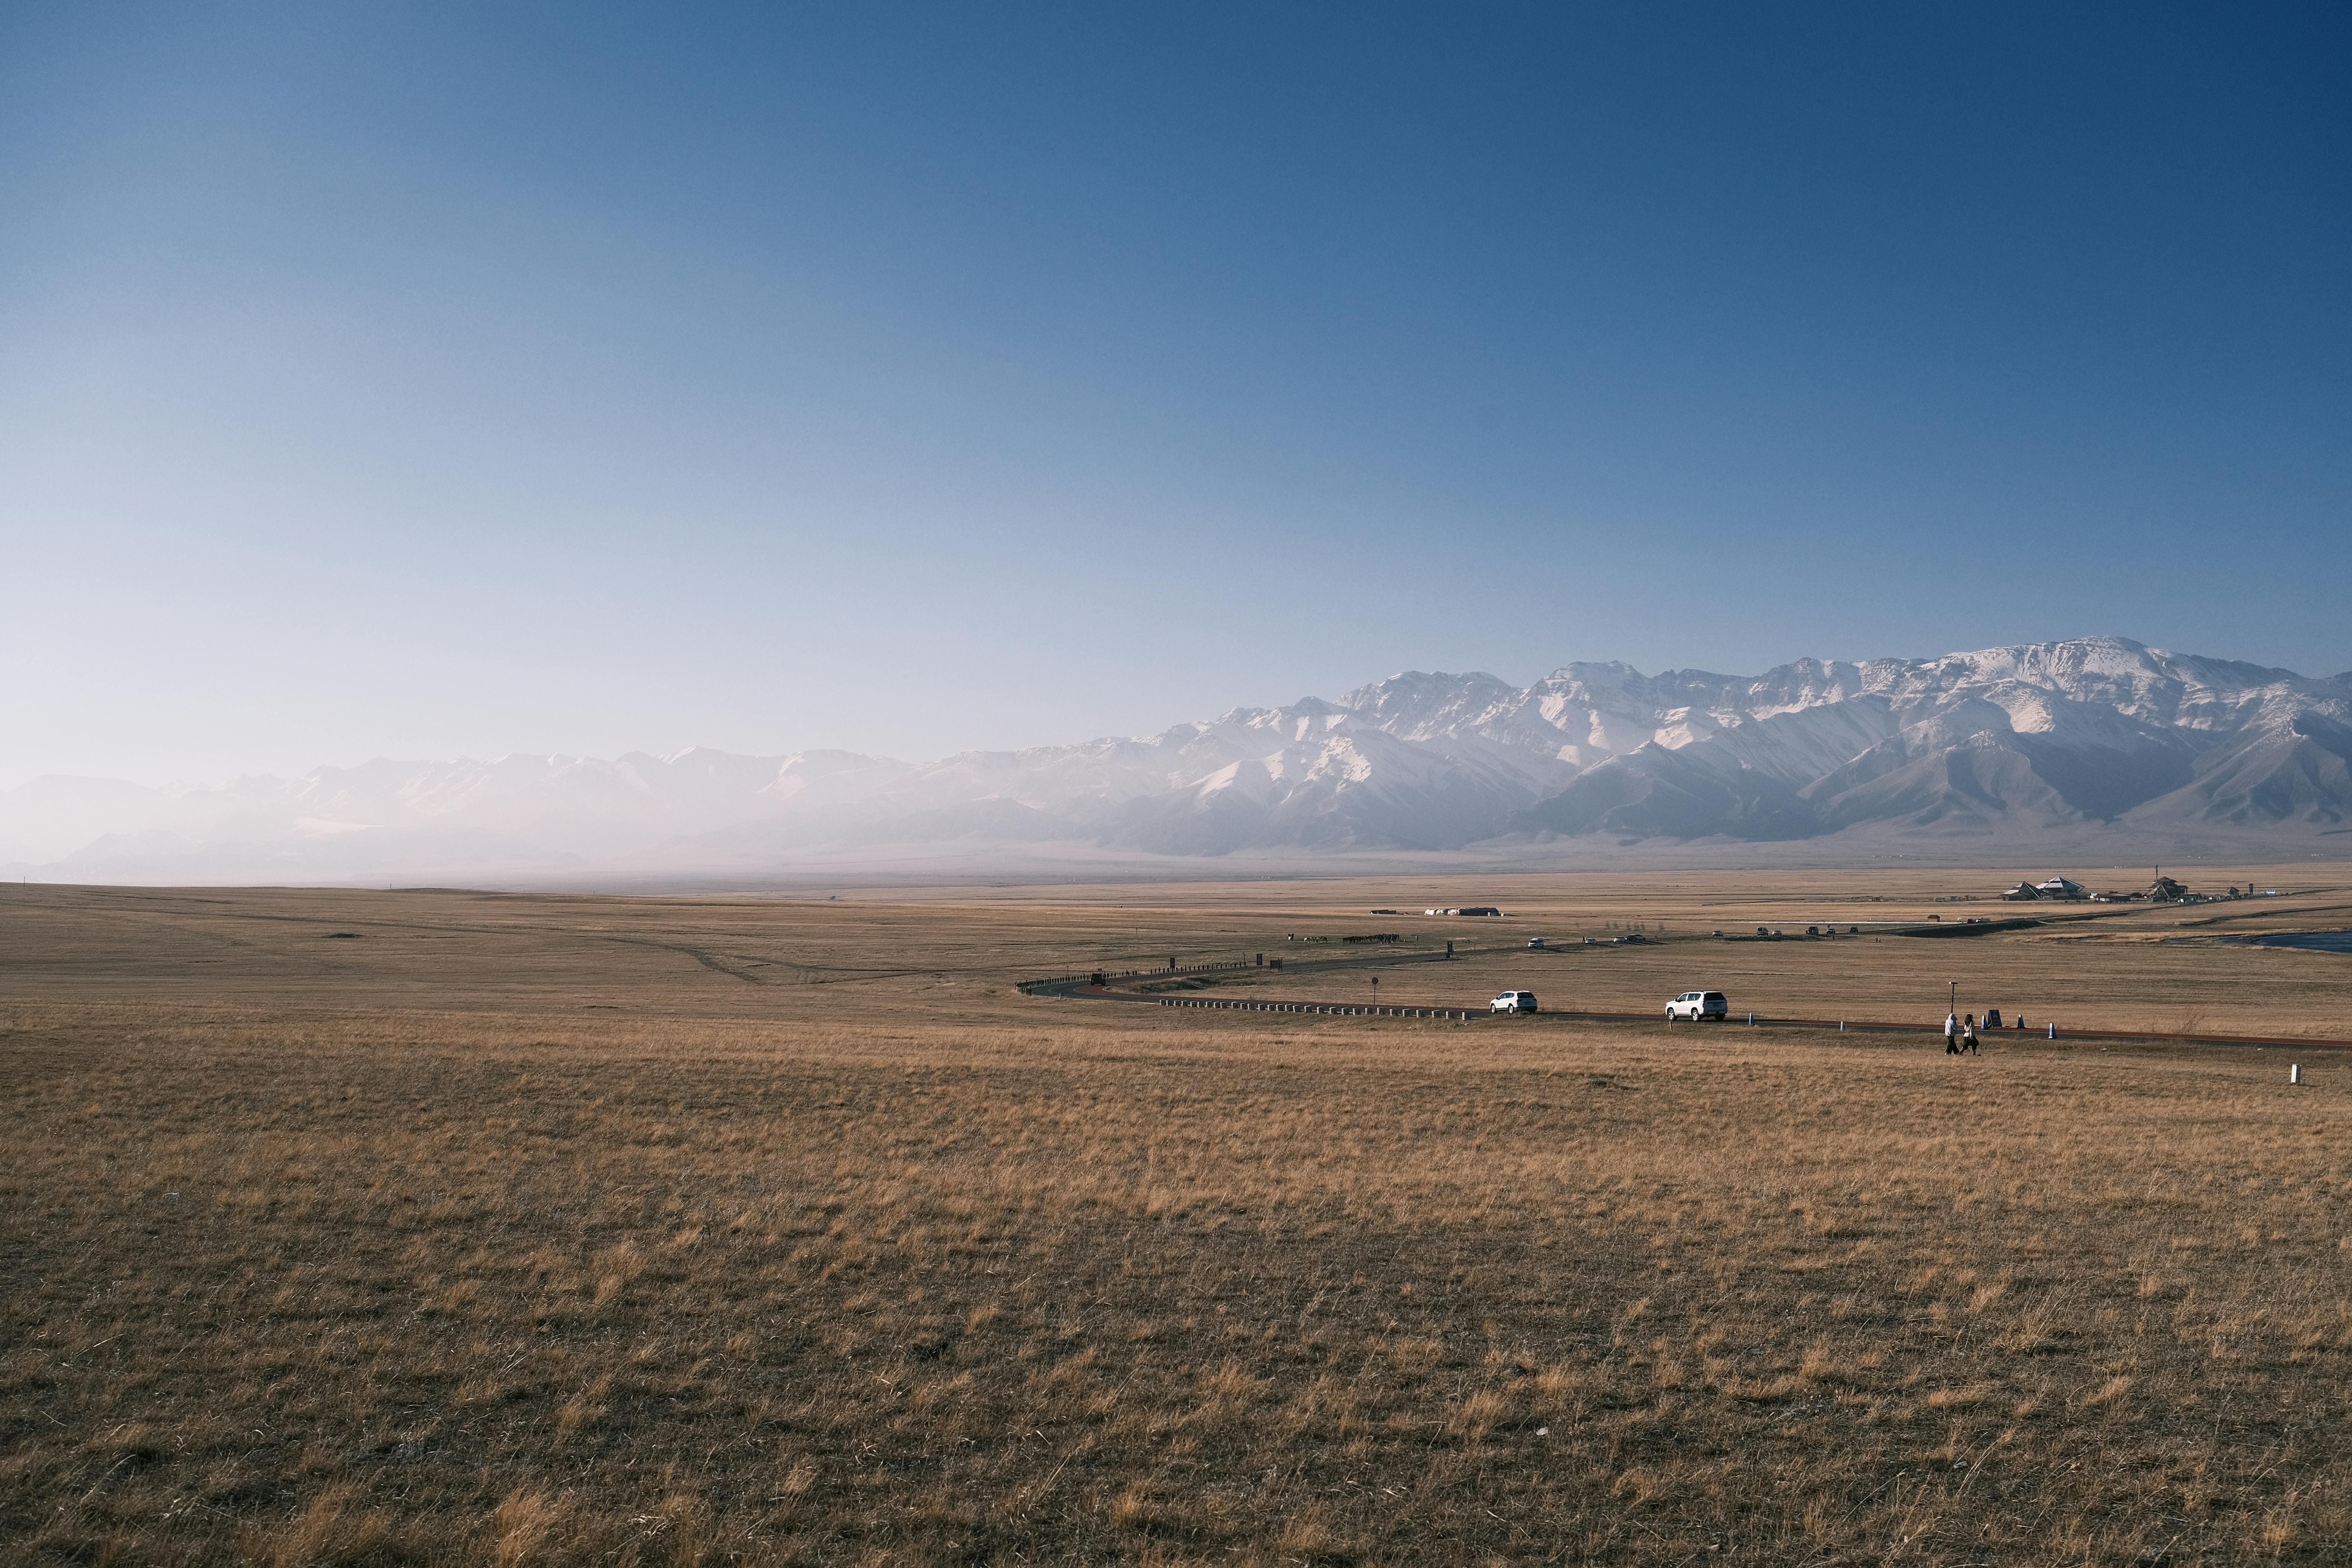
Dave and Deb have been exploring the world for over a decade, and their photography captures the sheer scale and grandeur of our planet's most epic landscapes. Their blog is a fantastic learning tool for anyone looking to improve their landscape and wildlife photography. They provide practical, field-tested advice on what lenses to use for sweeping vistas, how to shoot in harsh weather conditions (like Antarctica!), and how to tell a story of adventure through a series of powerful images.
7. The Lovers Passport (Stephen & Giselle)
Focused on couple’s travel, The Lovers Passport is an invaluable resource for anyone wanting to learn how to weave human elements into their photography. They excel at breaking down how to plan and execute an epic shot, from location scouting with Google Earth to posing subjects to create a compelling narrative. Their guides are packed with practical advice on making a destination feel both grand in scale and deeply intimate at the same time.
Decoding the Masters: Key Lessons from the Pros
Studying the work of these top-tier photographers reveals a set of shared principles. Their incredible images are not the result of magic, but a consistent application of three core pillars: strategic gear selection, timeless composition, and masterful post-processing.

It Starts with the Right Gear (But Not How You Think)
A unanimous philosophy among these pros is that the best camera for travel is the one you’re willing to carry. A bulky, heavy kit is a liability, not an asset. The market trend is toward smaller, lighter, yet incredibly powerful mirrorless systems.
Beyond the camera, your core kit should include a few essentials: a versatile "walk-around" lens (like a 24-70mm), extra batteries, and a solid camera bag.
Pro-Tip: A lightweight carbon fiber tripod is the single best investment for elevating your landscape photography. It allows you to shoot at "golden hour" with a low ISO for clean images and enables creative long exposures that are impossible handheld.
Mastering the Fundamentals of Composition
Gear is just a tool. The real art lies in arranging the elements within your frame. The best photographers use these timeless principles to tell a story.
Rule of Thirds: Mentally divide your frame into a 3x3 grid. By placing your subject along a line or at an intersection, you create a more balanced and visually engaging image than a simple centered shot.
Leading Lines: Use a road, river, or fence to create a line that guides the viewer's eye through the scene toward your main subject. This technique is a powerful way to create a sense of depth.

Shooting at Golden Hour: The hour after sunrise and before sunset offers soft, warm, directional light. This is far more flattering and dramatic than the harsh, flat light of midday.
Framing: Use foreground elements like an archway, a window, or tree branches to create a natural frame around your subject. This adds context and draws the viewer's focus.
Changing Perspective: Don't shoot everything from eye level. Get low to the ground to emphasize a foreground or find a high vantage point for a unique, sweeping overview. This simple shift can make a scene extraordinary.
Ready to Practice Your Composition Skills? Download the free Best NYC Photo Spots Map and start capturing incredible cityscapes today!
The Digital Darkroom: Post-Processing is Half the Battle
Every single professional photo you admire has been post-processed. Editing is not about "fixing" a bad photo; it's about enhancing a good one to fully realize your creative vision. The blogs we've highlighted consistently teach three key areas of editing in software like Adobe Lightroom.
Using Lightroom Presets: Presets are one-click settings that create a consistent aesthetic. They are excellent learning tools for understanding how different settings interact to create a professional look.
Editing Sunset Photos: This is a classic challenge that requires balancing the extreme dynamic range between the bright sky and the dark landscape. Tutorials will teach you how to use tools like graduated filters and the shadow/highlight sliders to balance the exposure and bring out the rich, vibrant colors.
Basic Color Grading: This is the art of adjusting the colors in your image to create a specific mood. Mastering the HSL (Hue, Saturation, Luminance) panel allows you to take full control, making the blues in the ocean deeper, the greens in a forest richer, or giving your entire photo a warm, autumnal feel. Destinations with distinct color palettes, like the neon-lit streets of Tokyo or the serene temples of Kyoto, are perfect places to practice these skills. If you're planning a trip, our Japan Travel Guide can help you find the most visually stunning locations.
Pro-Tip: When starting with post-processing, focus on mastering one tool at a time. The HSL panel in Lightroom is a great place to begin. Learning how to selectively adjust the hue, saturation, and luminance of individual colors can have a bigger impact on your photos than trying to learn every single tool at once.
Your Path to Better Travel Photos
Improving your travel photography is a journey, not a destination. It doesn't happen overnight. But by following the right guides, you can accelerate your progress and avoid common pitfalls. The path is simple: learn from the best travel photography blogs, focus on mastering the fundamental techniques of composition and light, and practice every chance you get. Pick one blog from this list to follow this week. Choose one composition technique to practice on your next outing, even if it's just in your own backyard. The more you shoot with intention, the faster you will begin to create images that truly capture the magic of your travels.
Meta Data Suggestions:
SEO Meta Title (56 characters): 7 Best Travel Photography Blogs for Tips (2026 Update)
URL Slug: best-travel-photography-blogs-tips
SEO Meta Description (154 characters): Want to take better travel photos? Discover the 7 best travel photography blogs that offer actionable tips on gear, composition, and editing from the pros.
Don't Miss Out! Subscribe for Exclusive Content
Subscribe


Comments 0
No comments yet
Be the first to share your experience!
Dont Miss Out! Subscribe for Exclusive Content

Ultimate USA Holidays Guide: Top Picks

FTC Affiliate Disclosure Essentials: Stay Compliant as a Travel Creator

Essential Affiliate Tools: From Tracking to Full Optimization

Avoid These 5 Affiliate Landing Page Mistakes for Better Conversions

Affiliate Keyword Research Mastery for Travel Blogs

Booking.com Affiliate Program Review: Pros, Cons, and Earnings Potential
How to Travel Europe Alone: A 2026 First-Timer's Guide
TrekGuider @trekguider
You see the photos and you feel the pull. The ancient stones of the Colosseum bathed in golden light, the staggering peaks of the Swiss Alps, the charming canals of Amsterdam—a European adventure calls to you. But a shadow of apprehension quickly follows. The thought of navigating this vast, diverse continent entirely on your own feels overwhelming, even paralyzing. How do you even begin to compare a Eurail pass to a budget flight? How do you stay safe from the sophisticated tourist scams you’ve heard about in crowded piazzas? The logistical and safety concerns can feel like an insurmountable mountain, turning a lifelong dream into a source of anxiety.

This guide is your step-by-step plan to conquer that mountain. It is the definitive, practical blueprint for your first solo female travel Europe adventure, designed to replace abstract fear with concrete knowledge and confident action. This isn't just about seeing Europe; it's about discovering your own capability. For a complete overview of a solo traveler's journey, be sure to read our comprehensive pillar article, The Ultimate Guide to Solo Female Travel (15 Essential Tips).
Why Europe is the Perfect Stage for Your First Solo Trip
Before we dive into the logistics, let's establish why Europe is arguably the best destination on earth for a first-time solo traveler. Think about it: where else on Earth can you find such an unparalleled density of cultures, languages, and histories packed into a single, navigable continent? You can have breakfast with Belgian waffles in Brussels, lunch beneath the Eiffel Tower in Paris, and a late-night pasta in Lyon—all in a single day, if you’re ambitious.
More importantly, the tourist infrastructure is second to none. Reliable and extensive public transportation, a wide range of accommodation from social hostels to private hotels, and the widespread use of English in major hubs significantly lower the barrier to entry. Furthermore, numerous European countries consistently rank among the safest and most peaceful in the world. The 2026 Global Peace Index, for instance, lists countries like Iceland, Ireland, Portugal, and Slovenia in its top tiers, making them outstanding choices for building your solo travel confidence.

Conquering the Continent: A First-Timer's Guide to European Transport
Your biggest logistical decision will be how to move between cities and countries. Europe offers a fantastic array of options, each with a distinct balance of cost, speed, and experience. Your choice will define the rhythm of your trip.
Pro-Tip: Don't commit to a single mode of transport for your entire trip. The savviest travelers use a hybrid approach. Use budget airlines for long-haul jumps across the continent, scenic trains for shorter regional travel where the journey is the destination, and buses for budget-friendly hops between nearby cities.
Nailing your transportation strategy is the first step to unlocking the continent. Now, let’s talk about the fuel for your adventure: your budget. For a solo traveler, who bears the full cost of every room and ride, this is where savvy planning truly pays off.
Smart Budgeting for Solo Female Travel Europe: West vs. East
The single most important factor influencing your budget in Europe is geography. A week in Western Europe can easily cost double what you’d spend in the East, and understanding this allows you to craft an itinerary that matches your bank account.
The Paris vs. Prague Paradigm: A Tale of Two Budgets
To understand this disparity, let’s compare the approximate daily costs for a "Budget Soloist" in two iconic capitals, based on data synthesized from cost-of-living aggregator sites.
Accommodation: This is the biggest driver of cost. A bed in a well-rated hostel dorm in Prague might cost you €25. In Paris, a similar dorm will likely start at €50.
Food: A hearty, traditional sit-down dinner in Prague can be found for €10-€15. A comparable meal in a Parisian bistro could easily be €25-€35.
Daily Total: When you add in local transport and activities, a budget-conscious solo traveler could comfortably explore Prague on around €65 per day. To maintain a similar travel style in Paris, you would need to budget at least €115 per day.
This doesn't mean you should skip Western Europe. It means you should plan for it. You can balance your overall trip budget by spending more time in affordable countries like Poland, Hungary, and the Czech Republic, and shorter, more focused time in more expensive destinations like France, Switzerland, and the UK.
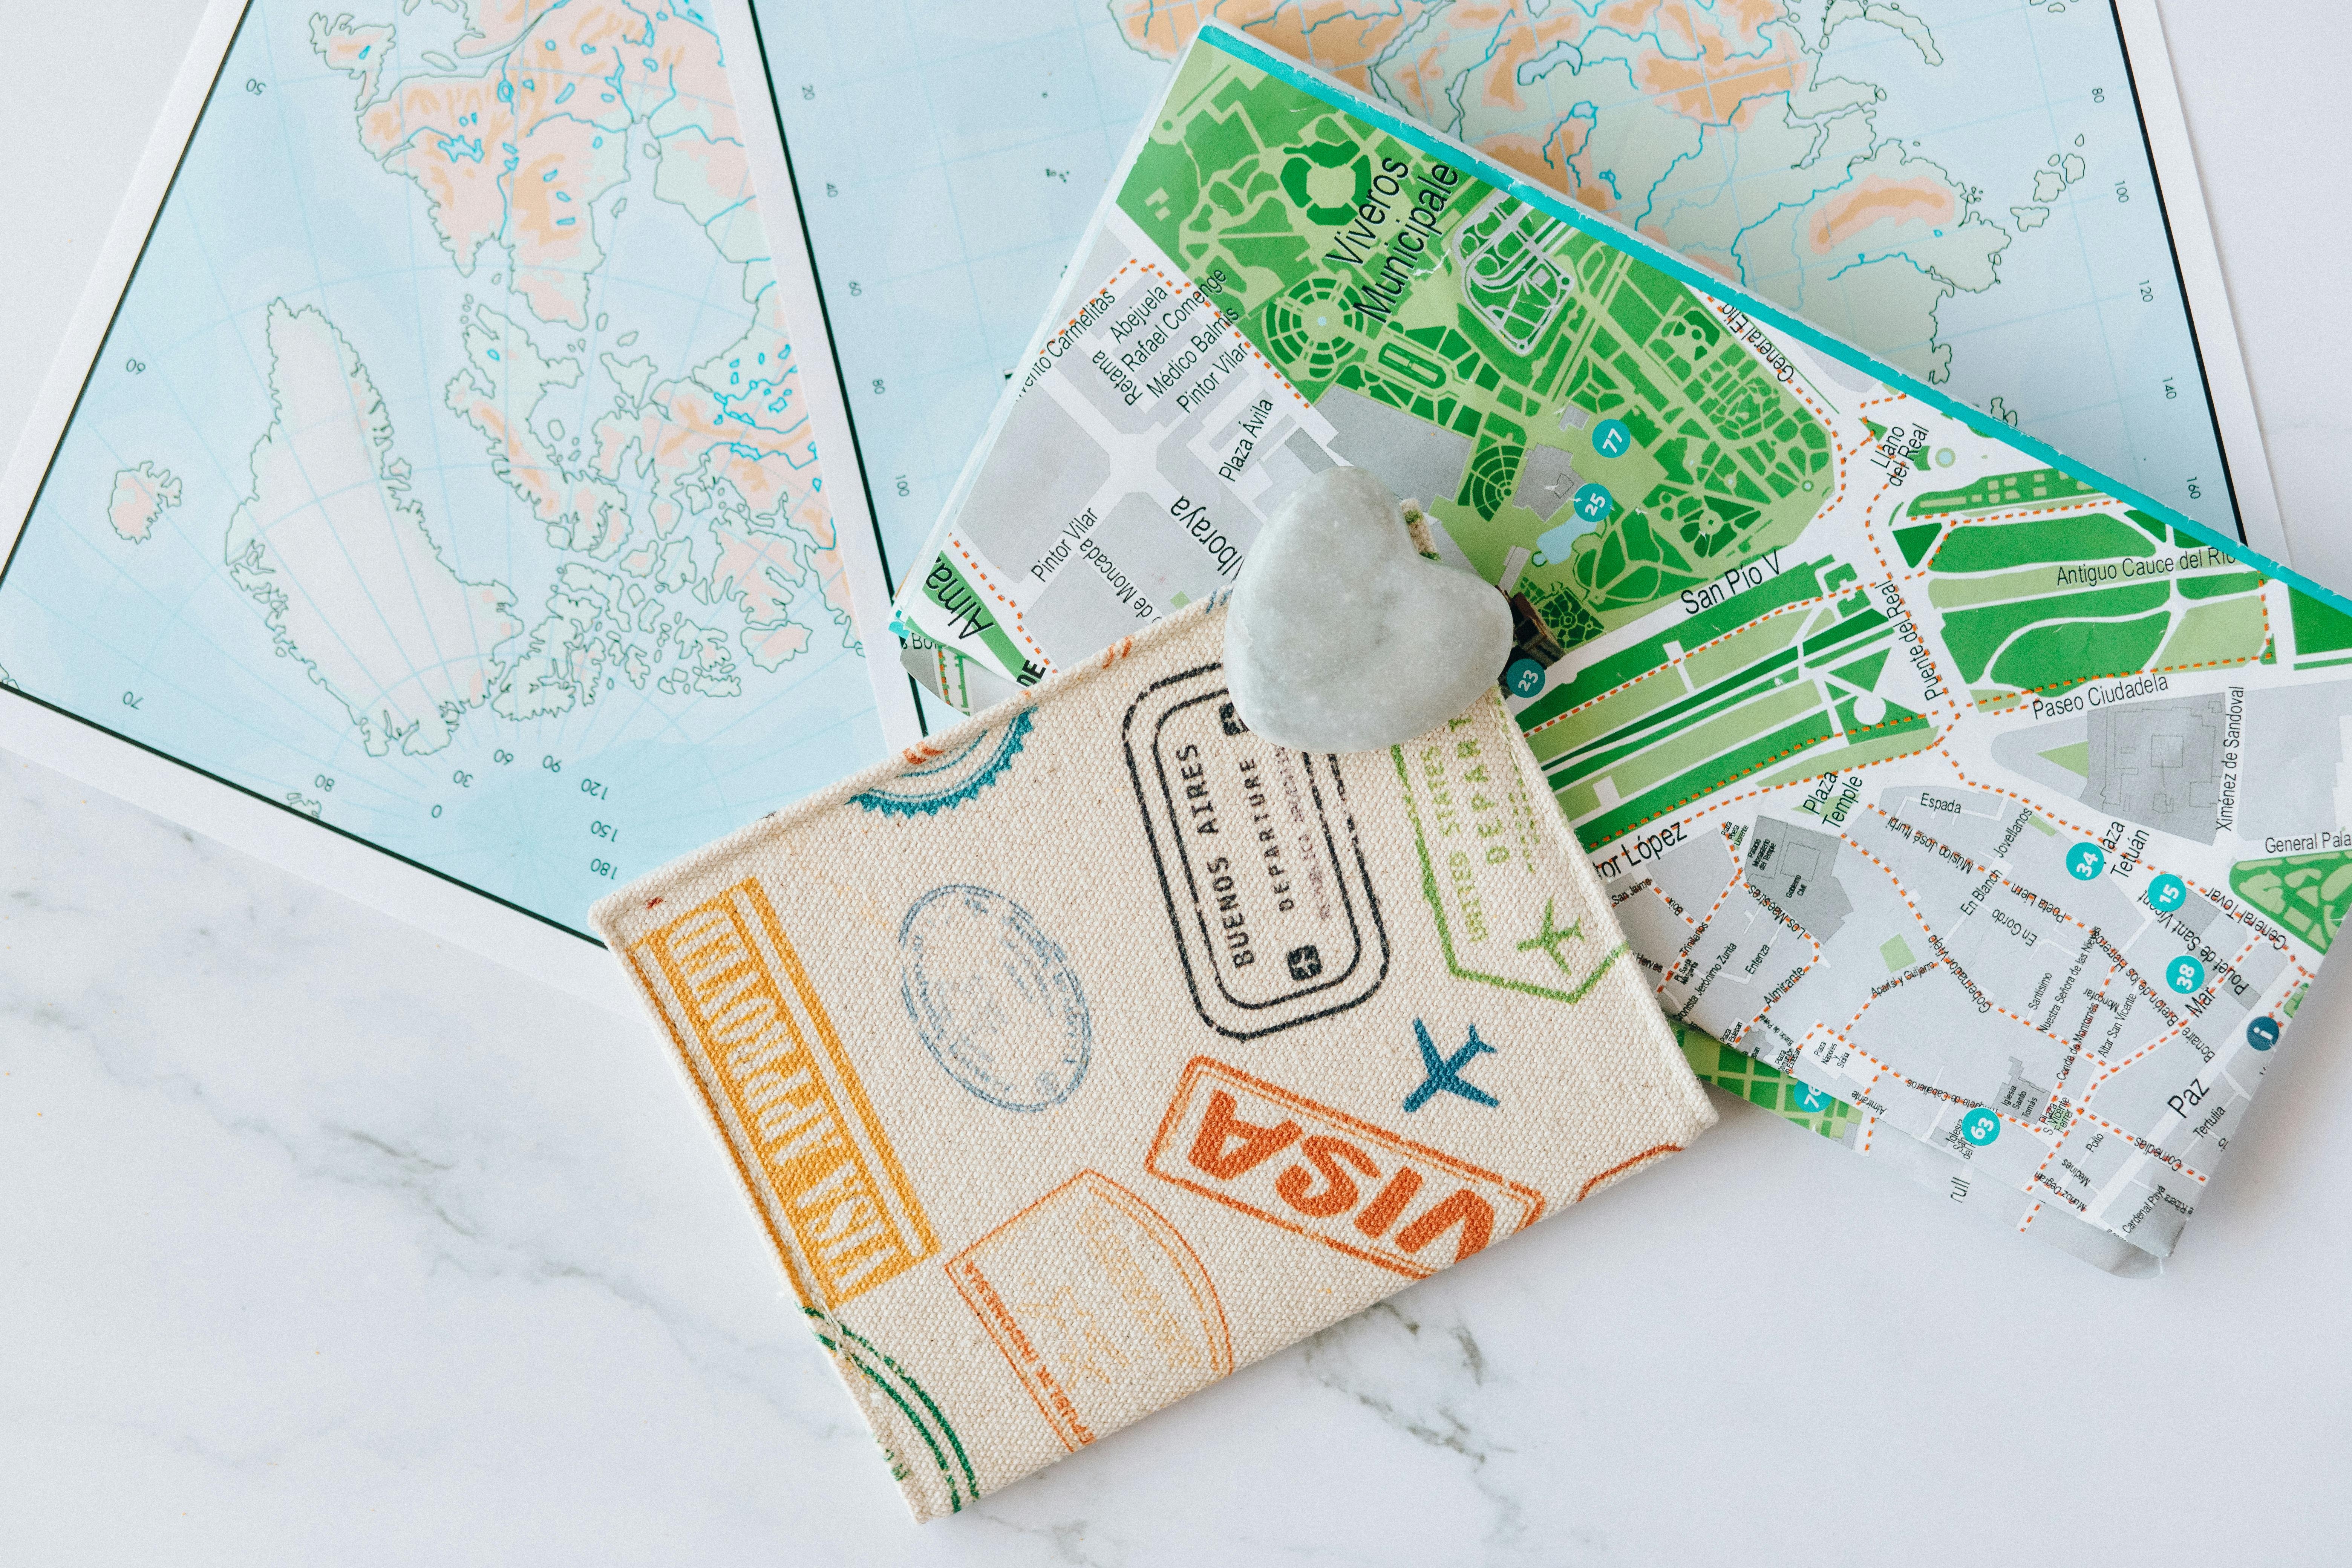
Your Pre-Departure Blueprint
Feeling organized is the first step to feeling confident. A detailed checklist ensures you don't miss a single crucial step, from visa applications to travel insurance. Download our free, comprehensive International Travel Checklist to start your planning process with total clarity.
Your Tactical Safety Guide to Europe

While Europe is generally very safe, its popular tourist hubs are magnets for petty crime and sophisticated scams. Your best defense is awareness. While a significant 66% of women who travel solo report worrying about their personal safety, data from recent surveys paints a more empowering picture. While 25% have found themselves in a situation they perceived as dangerous, a mere 1% were the victim of a crime. This shows that women are overwhelmingly successful at navigating the world safely. The key is trading abstract fear for concrete knowledge. This is the core of safe solo female travel Europe.
Recognizing and Dodging Common Tourist Scams
Scammers rely on distraction, confusion, and your natural inclination to be polite. By knowing their playbook, you can recognize the performance and walk away before you become a part of it.
The Friendship Bracelet/Rose Scam: Found near major landmarks, a person will approach, grab your wrist, and quickly weave a "friendship bracelet" onto it, or thrust a "free" rose into your hand. Once the item is attached or accepted, they aggressively demand payment. Defense: Keep your hands in your pockets in these areas. Do not stop walking. Use a firm, clear "No" and pull away if contact is made.
The Petition Scam: Common in cities like Paris and Berlin, a person shoves a clipboard at you for a signature. While you’re distracted, an accomplice pickpocket's you. Defense: Legitimate charities rarely operate this way. Never stop for street petitions. Ignore the person and keep moving.
The "Found Gold Ring" Scam: Someone "finds" a gold-colored ring on the ground in front of you and asks if you dropped it. They'll then offer to sell you the worthless brass ring for a "good price." Defense: Recognize it's a performance. Do not engage; simply shake your head and walk away.
The Spilled Drink/Fake Bird Poop Scam: Someone "accidentally" spills a substance on you. They will be profusely apologetic and immediately start "helping" you clean up, using the distraction to steal your wallet or phone. Defense: If a stranger spills something on you, your first move is to clutch your bag and secure your valuables. Create physical distance, firmly state, "I'm fine," and walk away to a safe place.
The Broken Taxi Meter Scam: A driver claims the meter is broken after the ride has started, then demands an exorbitant fare. Defense: Whenever possible, use reputable ride-sharing apps. With local taxis, use official stands and confirm they will use the meter before you get in.
The Secure Sanctuary: Your Hotel Room Safety Checklist
Your accommodation is your safe haven. Performing this consistent security check upon arrival provides critical peace of mind.
Prop the Door: Before entering, use your luggage to prop the main door open. This ensures an escape route if the room is unexpectedly occupied.
Sweep the Room: Do a quick but thorough search of the entire space—under the bed, in closets, behind the shower curtain.
Test All Locks: Once clear, close the door and immediately test the deadbolt, chain lock, and any other security latches. Check that all windows and balcony doors lock securely.
Deploy a Portable Lock: Use your own device, like a rubber doorstop alarm or a portable metal lock, to provide a layer of security that is entirely within your control.
Perform a Hidden Camera Scan: Use your phone's flashlight to scan for the glint of a tiny camera lens in unusual places like smoke detectors, clocks, and USB chargers. In the dark, your phone's front-facing camera is more sensitive to the small IR lights used by night-vision cameras.
Map Your Exits: Find the fire escape map on the back of the door and physically walk the route to the two nearest exits.
Pro-Tip: Your intuition is your most advanced piece of security gear. If a person, place, or situation feels "off," it probably is. Don't hesitate to leave a street or enter a different train car. You don’t need to justify this feeling; just honor it and act on it.
Crafting Your Perfect First-Time Itinerary

With your transport, budget, and safety strategies in place, the fun begins: deciding where to go! For a first-timer, the best destinations are those with excellent infrastructure, low crime rates, and an easy-to-navigate environment. Countries like Portugal, Ireland, and Slovenia are fantastic choices. They offer stunning scenery, friendly locals, and a well-trodden tourist path that makes independent travel feel seamless and secure.
For a destination that perfectly blends history, sunshine, and an incredible solo-friendly infrastructure, Spain is an incredible choice. From the energetic tapas bars of Madrid to the fantastical architecture of Barcelona, it's a country that feels made for independent exploration. Our comprehensive travel guides to Spain and Portugal contain detailed itineraries and local secrets that will make your trip unforgettable.
Frequently Asked Questions for a First-Time Solo Trip to Europe
Even with a plan, questions will pop up. Here are answers to the most common anxieties first-timers face.
Is it weird to eat alone in Europe?
Absolutely not. Dining solo is common across the continent. To feel more comfortable, choose a seat at the bar or a counter, which are natural spots for single diners. Bringing a book or a travel journal also gives you a purposeful focus.
How do I handle language barriers?
In most major tourist destinations, English is widely spoken in hotels, restaurants, and attractions. However, learning a few key phrases in the local language ("Hello," "Please," "Thank you," "Do you speak English?") is a sign of respect that goes a long way. Download the Google Translate app and pre-download the language pack for your destination for offline use.
What's the best way to meet other people?
Stay in a modern hostel (even in a private room) to access social common areas and events. Joining a free walking tour on your first day in a new city is a classic and effective strategy. Small group activities like a local cooking class or a day tour also create a natural environment for connection.
Do I really need travel insurance?
Yes. It is non-negotiable. For a solo traveler, it's your financial and logistical safety net for everything from a medical emergency to lost luggage or a canceled flight. Look for policies with strong emergency medical and evacuation coverage.

Your European Adventure Awaits
The dream of a European adventure doesn't have to remain a distant fantasy. It is an achievable, empowering, and profoundly rewarding journey that is more accessible to you now than ever before. By breaking down the process into manageable steps, you can conquer the logistics of transport and budgeting. By arming yourself with tactical safety knowledge, you can move through the world with confidence and awareness. This guide has given you the blueprint for your first solo female travel Europe adventure, transforming overwhelming questions into a clear, actionable plan.
The personal growth, resilience, and radical self-reliance you will discover on this journey will become a permanent part of who you are. The world is waiting.
Don't Miss Out! Subscribe for Exclusive Content
SubscribeComments 0
No comments yet
Be the first to share your experience!
Dont Miss Out! Subscribe for Exclusive Content

A Woman's Guide to Safe Travel: 10 Critical Tips

7 Hotel Safety & Security Tips for Peace of Mind

11 Essential Solo Travel Safety Tips You Need to Know

The Ultimate Guide to Travel Safety: A 2026 Playbook

How to Meet People While Traveling Solo (Without Being Awkward)

5 Ways to Confidently Eat Alone While Traveling
Lollapalooza: 7 Stage-Hopping Tips
TrekGuider @trekguider
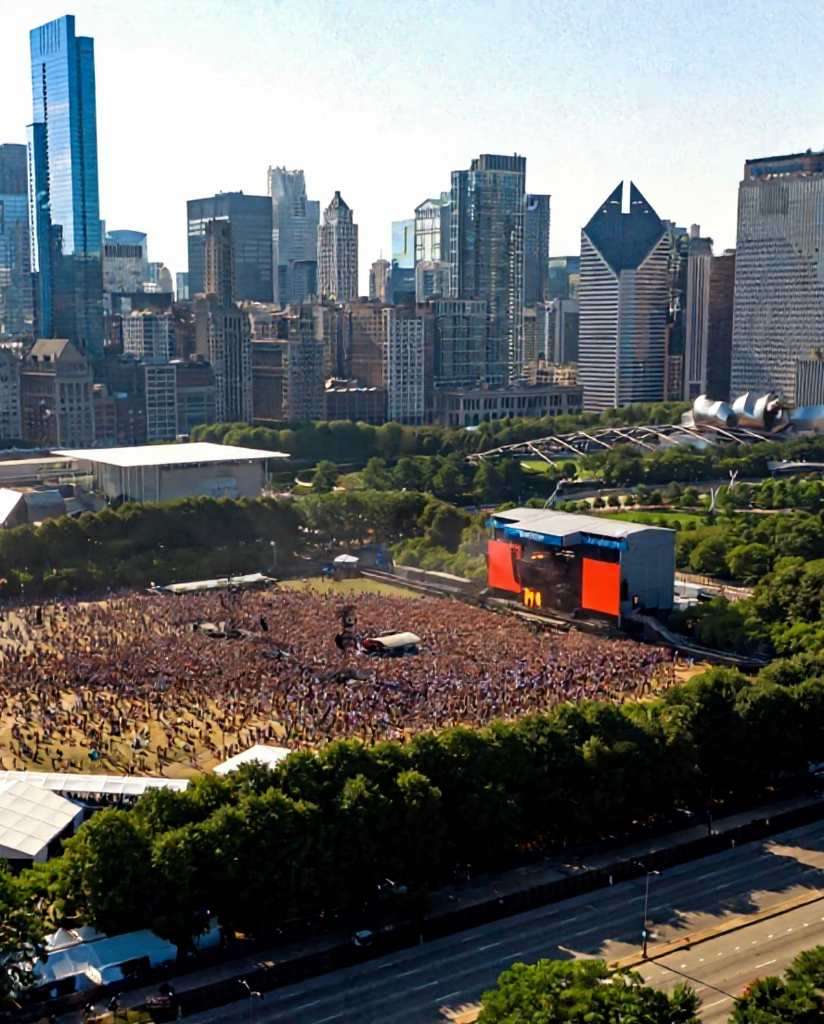
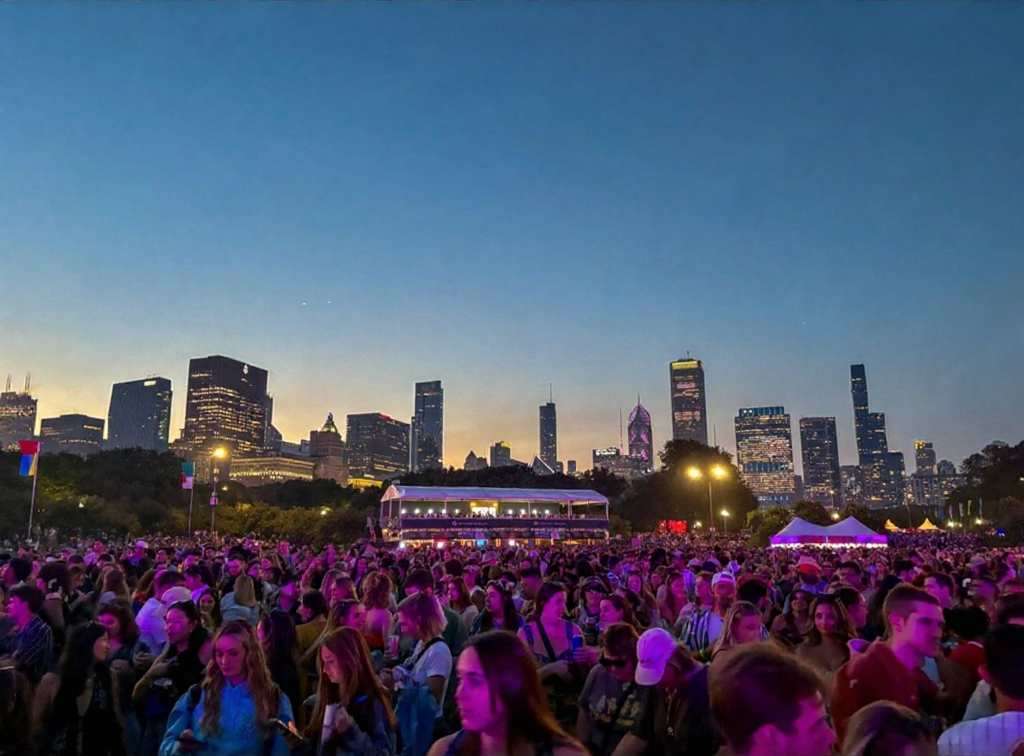
You’ve done it. You scored the golden ticket to Lollapalooza, the four-day musical marathon that transforms Chicago’s Grant Park into the center of the universe. But now, staring at a schedule that looks more like a complex circuit board than a concert lineup, the reality sets in. Dozens of artists you’re dying to see are scattered across a dozen stages, their set times overlapping in a cruel twist of fate. The sheer scale of the festival, with its massive crowds and sprawling grounds, suddenly feels less like a dream and more like a daunting logistical nightmare.
The anxiety begins to bubble. You picture yourself spending half the day trudging from the T-Mobile stage at the south end to the Bud Light stage at the north, only to arrive sweaty, exhausted, and just in time to hear the final chords of your favorite song. The fear of missing out becomes a palpable threat, turning the promise of unforgettable musical moments into a frantic race against the clock. Without a rock-solid plan, your festival experience could be defined by endless walks, missed opportunities, and the nagging feeling of being perpetually in the wrong place. This isn't just about seeing bands; it's about conquering one of the keystone events in a city known for its epic celebrations, a true highlight among the many experiences we cover in our definitive guide to Chicago Holidays: Windy City Thrills.
Forget the stress. This guide is your strategic playbook for navigating the glorious chaos of Lollapalooza Chicago. We’re breaking down the art of stage-hopping into seven actionable, pro-level tips that will transform you from a frantic fan into a festival veteran. From mastering the map before you even step foot in Grant Park to planning a seamless exit, these strategies will ensure you maximize your time, conserve your energy, and catch every single performance on your must-see list.
1. Become a Pre-Festival Master of the Map & Schedule
The biggest mistake a Lollapalooza rookie can make is showing up and trying to figure it all out on the fly. Grant Park is a massive urban oasis, and when it’s filled with stages, vendors, and hundreds of thousands of people, it becomes a complex, pulsating labyrinth. Your success begins long before you scan your wristband.
Download the Official App Immediately
Long before you even think about packing, your first move is to download the official Lollapalooza app. Consider it your digital command center for the entire weekend, running from July 31 to the final day of the festival. The app provides the most up-to-date schedule, a detailed festival map, and, most importantly, real-time push notifications. If a set time changes, a stage is delayed, or a surprise guest appears, the app will be the first to tell you. It also sends out crucial emergency alerts, making it an indispensable tool for staying safe and informed.
Create Your Artist Tiers
Once the full schedule drops, it’s time for strategy. Open the lineup—featuring titans like Olivia Rodrigo, Tyler the Creator, Sabrina Carpenter, and A$AP Rocky for the 2026 festival—and categorize every artist into two simple lists:
Tier 1 (Must-See): These are your non-negotiables. The artists you bought the ticket for. You will be at their set, no matter what.
Tier 2 (Nice-to-See): These are the artists you’d love to catch if the timing and location work out. They are your flexible options, the happy bonuses.
This simple act of prioritization is the bedrock of your stage-hopping plan. It allows you to build your day around your top-tier artists and fill the gaps with others, preventing the decision paralysis that comes from having too many choices.
Internalize the Grant Park Layout
Study the festival map like you’re planning a heist. The two main stages are typically located at the far north and south ends of Grant Park, a walk that can easily take 20-30 minutes through a thick crowd. Identify the locations of your Tier 1 artists and mentally map the routes between them. Note the locations of smaller stages, food courts (Chow Town), and, critically, the free water stations. Understanding the physical distances involved will help you make realistic calls about which back-to-back sets are doable and which are pure fantasy.

2. Master the "Perimeter Path" to Navigate Crowds
The center of any festival crowd is a slow-moving, densely packed sea of humanity. Trying to cut directly through the middle to get from one stage to another is a rookie move that wastes time and energy. The secret to swift movement is to think like a river, flowing where the resistance is lowest.
Stick to the Arteries
The most effective way to navigate Lollapalooza Chicago is by using the perimeter paths. Instead of plunging into the heart of the crowd, stick to the designated walkways along the sides. These paths, often lining the edges of the park or separating vendor areas, are the festival's arteries. While they may look like the longer route on a map, they are almost always faster than trying to push through a stationary audience. Make a mental note of these pathways when you first arrive.
Live by the 15-Minute Rule
If your next Tier 1 artist is on a stage across the park, you need to be ruthless with your timing. Implement the 15-Minute Rule: leave the current set 15 minutes before it ends. This gives you a critical head start, allowing you to exit the immediate crowd before the mass exodus begins when the music stops. It might sting to walk away from the end of a great performance, but that small sacrifice ensures you’re in a good position for the next one, rather than hearing it faintly from a quarter-mile away.
3. Hydrate and Fuel Like a Seasoned Athlete
Stage-hopping is a sport. You’ll be on your feet for 10 hours a day, walking several miles under the summer sun. You’re not just attending a concert; you’re entering a temporary city that generates a staggering economic impact—estimated at over $440 million. That scale demands respect and a bit of preparation.
Make Water Your First Priority
Lollapalooza provides free water refill stations throughout the grounds. When you first enter Grant Park, make it your mission to locate the station nearest the entrance and the stages you’ll be frequenting. Dehydration is the number one enemy of the festival-goer; it saps your energy, causes headaches, and can ruin your entire weekend. Make it a personal rule to refill your water bottle every single time you pass a station.
Pro-Tip: Bring a collapsible water bottle or an empty hydration pack. It's light, complies with security rules, and allows you to carry more water than a standard bottle. This means fewer trips to the refill station and more time enjoying the music.

4. Dress for a Four-Day Marathon, Not a Fashion Sprint
While Lollapalooza is a prime spot for people-watching and showing off your style, practicality should be your guiding principle. Your fashion choices can make or break your physical ability to enjoy the festival.
Your Shoes Are Your Most Important Gear
You will be walking and standing on concrete, grass, and uneven ground for hours on end. This is not the time for brand-new boots that need breaking in, flimsy sandals, or anything with a heel. Your number one priority should be comfortable, supportive, and already broken-in sneakers or walking shoes. Your feet are your foundation for the entire weekend; treat them well.
Prepare for All Four Chicago Seasons in One Day
Chicago weather is famously unpredictable. A day that starts hot and sunny can quickly turn cool and rainy. The key is to dress in layers. Start with a lightweight, breathable base layer and bring a flannel, hoodie, or light jacket that you can tie around your waist during the day and put on after the sun goes down. Most importantly, pack a poncho. It’s small, light, and will be an absolute lifesaver if a sudden downpour occurs.
5. Establish a "Home Base" for Your Crew
Navigating Lollapalooza Chicago with friends is a core part of the experience, but it’s incredibly easy to get separated. Cell service is notoriously unreliable when tens of thousands of people are trying to use it at once, so you can’t count on a text message or call to find your group.
Why a Meeting Point is Non-Negotiable
Before you even think about splitting up to see different artists, establish a clear, specific, and easy-to-find meeting point. This is your group’s "home base." If anyone gets lost, their phone dies, or you just need to regroup, everyone knows exactly where to go.
How to Choose a Good Spot
Don’t pick a generic spot like "the fountain" or "the food court." Choose a unique and unmistakable landmark. A good meeting point is something like, "the giant silver sculpture near the Buckingham Fountain" or "the corner of the 'Deep Dish' pizza stand in Chow Town." Pick a spot that is slightly away from the main walkways to avoid being constantly jostled. Check in at your home base at pre-determined times to ensure everyone is safe and accounted for.

6. Embrace the Journey Between the Stages
Stage-hopping isn’t just a commute; it’s an opportunity. The journey from one performance to another is part of the festival experience itself. Instead of seeing it as a chore, reframe it as a chance for discovery and inspiration.
Discover Your Next Favorite Band
As you walk the perimeter paths, you’ll pass smaller stages where artists you’ve never heard of are playing. Pause for a few minutes and listen. This is how you stumble upon incredible new music. Some of the most memorable Lollapalooza moments happen not at the massive headliner stages, but in the intimate settings of the BMI or Grove stages. Let your ears guide you.
Explore the Full Festival Experience
Lollapalooza is more than just a concert. It’s a massive cultural event filled with creativity. On your way from one stage to the next, take a detour through the art installations, check out the merch tents, or see what activations the sponsors have set up. This spirit of creative discovery is what fuels the best entrepreneurs. If you're feeling inspired by the artistry around you, channel that energy into your own project with our free Digital Product Ideas Guide. By exploring, you break up the monotony of walking and get a richer, more complete festival experience.

7. Plan Your Grand Escape in Advance
How you leave the festival is just as important as how you navigate it. At 10 PM, when the final headliner finishes, a massive wave of people will pour out of the Grant Park exits, creating a human traffic jam that can be overwhelming and slow.
Beat the Final Rush
Just as with the 15-Minute Rule for stage-hopping, consider leaving a few minutes before the absolute end of the night. Slipping out during the last song or just before the encore can save you up to an hour of being stuck in a slow-moving crowd. You’ll get to public transit or your rideshare pickup spot ahead of the main surge, which is a priceless advantage after a long day.
Know Your Public Transit Route Cold
The best way to get to and from Lollapalooza Chicago is by using the CTA rail system. Multiple downtown street closures make driving or using rideshares near the park a nightmare. Before the festival, identify the closest CTA station to your accommodation and memorize the route to and from the park exits. Having this plan locked in will prevent you from wandering aimlessly with a dead phone at the end of a long day.
Pro-Tip: If you must use a rideshare, set your pickup location several blocks away from the Grant Park exits. Walk away from the chaos and toward your pin. You'll escape the immediate surge pricing, and your driver will be able to find you much more easily than in the gridlock traffic near the festival grounds.
Your Blueprint for Lollapalooza Domination
The overwhelming scale of Lollapalooza can intimidate even the most enthusiastic music fan, but it doesn’t have to. With a strategic approach, the festival transforms from a logistical puzzle into the ultimate musical playground. By preparing in advance, navigating smartly, and taking care of your body, you shift from being a passive attendee to the master of your own experience. With these stage-hopping tips, you're now fully equipped with the knowledge of a seasoned pro, ready to conquer Lollapalooza Chicago and create a weekend of flawless, unforgettable memories.

Your Lollapalooza adventure is just one part of an incredible trip. To make the most of your time in the Windy City and beyond, check out our comprehensive Travel Guide. It’s packed with insider tips for exploring the best destinations across the USA.
Don't Miss Out! Subscribe for Exclusive Content
SubscribeComments 0
No comments yet
Be the first to share your experience!
Dont Miss Out! Subscribe for Exclusive Content

San Francisco Cherry Blossoms: A Local's Guide to the Blooms

Halloween SF: Haunts Without Horrors

SF Festivals: 7 Must-See Lineups

Christmas SF: Lights & Wharf Wonders

SF Pride: 6 Route & Party Hacks
