How to Stay Safe While Hiking: A Hiker's Safety Guide
TrekGuider @trekguider
The call of the trail is a powerful one. It promises sweeping vistas, the quiet solitude of the forest, and the profound satisfaction of reaching a summit under your own power. But for all its beauty, the wilderness is impartial and unforgiving. The same trail that offers bliss on a sunny morning can present serious danger when the weather turns, a wrong turn is made, or an ankle is twisted. This is the problem every hiker faces: the gap between the adventure we dream of and the preparation it demands.
That gap is often filled with anxiety. A flicker of doubt about reading the map, a worry about the approaching clouds, or a sudden fear of what that noise was in the undergrowth can rob an incredible experience of its joy. Too often, hikers—both novice and experienced—find themselves in serious trouble simply by underestimating the trail and overestimating their preparedness. According to Search and Rescue (SAR) teams, most emergencies are the result of small, preventable mistakes. This guide is your definitive playbook for closing that gap for good. We’re providing the essential, expert-backed hiking safety tips you need to move through the backcountry with unwavering confidence. This isn't about fear; it's about empowerment. By mastering these skills, you’re ensuring every hike is a safe one, a core pillar of the responsible adventurer’s mindset we explore in our definitive [The Ultimate Guide to Travel Safety: A 2026 Playbook]. Let’s gear up, get smart, and get you ready to hit the trail.

This journey from novice to self-sufficient hiker begins not on the trail itself, but with a simple, powerful philosophy of preparedness that has been tested and refined by generations of mountaineers and wilderness experts. It all starts with your pack.
The Foundation of Safety: The 10 Essentials System
Long before your boots touch the dirt, your safety on the trail has already been decided by one thing: what’s inside your pack. Endorsed by the National Park Service and outdoor organizations like REI, the "10 Essentials" is not just a packing list; it's a systematic approach to preparedness. It ensures you have the tools to handle common problems and survive an unexpected night outdoors. Think of these not as ten individual items, but as ten crucial systems.
Navigation: Your primary system for knowing where you are and where you’re going. This must include a physical topographic map of the area and a compass. A GPS device or a smartphone with downloaded offline maps is a great tool, but electronics can fail. A map and compass are your foolproof backup.
Illumination: You need to be able to see in the dark, period. Carry a headlamp or flashlight with a full charge, and always pack extra batteries. A headlamp is superior as it keeps your hands free for other tasks.
Sun Protection: Sunburn and sunstroke can be serious dangers on the trail. This system includes sunglasses, broad-spectrum sunscreen (SPF 30+), and a wide-brimmed hat. Sun-protective clothing can also be a game-changer.
First-Aid Supplies: You must have the ability to treat common trail injuries. Your kit should be equipped to handle blisters, cuts, scrapes, and sprains. A basic kit is good; a custom-built one is better.
Repair Kit and Tools: Gear can break. A multi-tool or knife is invaluable, and a small roll of duct tape can repair everything from a torn jacket to a broken tent pole.
Fire: In an emergency, fire provides warmth, a way to purify water, and a powerful psychological boost. Carry waterproof matches, a reliable lighter, and a dedicated fire starter like dryer lint or a commercial fire-starting block.
Insulation: Weather can change in an instant, especially at elevation. You must carry an extra layer of clothing beyond what you start the hike in, regardless of the forecast. This should be a moisture-wicking layer, like a fleece jacket or thermal top—never cotton, which loses all insulating properties when wet.
Nutrition: Always pack more food than you think you’ll need. An extra day’s worth of non-perishable, high-energy food is the standard. Items like protein bars, nuts, and dried fruit are perfect.
Hydration: Carry more water than you expect to need and have a way to purify more. This means carrying a water filter or purification tablets to safely treat water from streams or lakes in an emergency.
Emergency Shelter: If you’re forced to spend an unplanned night out, protection from the elements is critical to preventing hypothermia. This doesn't mean a tent. A lightweight, packable emergency space blanket or bivy sack is all you need.

For expert-vetted gear lists and detailed trail guides from seasoned creators, the TrekGuider Marketplace is an invaluable resource for taking your preparation to the next level.
"Never Get Lost Again": Mastering Trail Navigation
Of all the potential hiking dangers, getting lost is one of the most common and terrifying. A recent study of SAR missions revealed that "error in judgment" was a leading cause of hikers needing rescue, and a huge part of that is poor navigation. Relying solely on your phone’s GPS is one of the biggest hiking safety tips to ignore—service is unreliable in the backcountry, and batteries die. True navigational confidence comes from time-tested skills.
How to Use a Map and Compass
This fundamental skill is easier than you think and is your most reliable tool.
Place the Compass on the Map: Lay your map flat. Identify your current location and your destination. Place your compass so the long edge of its baseplate creates a line connecting the two points, with the "Direction of Travel" arrow on the compass pointing toward your destination.
Set the Compass Bezel: Keeping the baseplate still, rotate the round bezel (the dial) until the orienting lines inside it are parallel with the map's north-south grid lines. Make sure the "N" on the bezel is pointing to North on the map. The number on the bezel aligned with the Direction of Travel arrow is now your bearing.
Follow the Bearing: Lift the compass off the map and hold it level in front of you. Turn your body until the red magnetic needle is "in the shed"—that is, perfectly inside the red orienting arrow on the bezel. The Direction of Travel arrow now points precisely to your destination. Pick a landmark in that direction, walk to it, and repeat the process.
Pro-Tip: The difference between "true north" (on your map) and "magnetic north" (where your compass points) is called declination. For precise navigation, you must adjust your compass for the local declination, which will be printed on your map.

Wildlife on the Trail: A Guide to Safe Encounters
Seeing wildlife is a thrilling part of hiking, but it’s crucial to remember that you are a visitor in their home. The core principles of every encounter are to maintain a safe distance, never feed wildlife, and know how to react to avoid escalating a situation.
Bear Encounters (Black vs. Grizzly)
Making noise while you hike (talking, clapping) is the best way to avoid surprising a bear. If you do encounter one, your reaction depends on the species.
If a Black Bear Approaches: Never run. Make yourself look as large as possible by raising your arms and opening your jacket. Yell, clap, and make loud noises. If it attacks, fight back aggressively. Target the bear's face and nose with anything you have—rocks, trekking poles, your fists. Do not play dead.
If a Grizzly Bear Approaches/Charges: Do not run and do not make direct eye contact. Speak in a calm, low voice to show you are not a threat. If it charges, stand your ground and use bear spray when it is within 30 feet. If it makes contact, play dead. Lie flat on your stomach, protect the back of your neck with your hands, and use your pack as a shield.
Mountain Lion (Cougar) Encounters
These predators are ambush hunters, so an encounter is rare. If you see one, it has likely been watching you.
Protocol: Do not run, as this triggers their chase instinct. Make direct eye contact. Make yourself appear larger by raising your arms and opening your jacket. Speak in a loud, firm voice. Slowly back away, giving the cat an escape route.
If Attacked: Fight back with everything you've got. Use rocks, sticks, or your hands to target the animal's eyes and face.
Venomous Snake Encounters
Snakes have no interest in humans and will only strike if they feel threatened.
Protocol: If you see a snake, freeze. Do not make any sudden movements. Once you've located the snake, slowly back away and give it a wide berth to move on. Be careful where you step and place your hands, especially when scrambling over rocks or logs.
If Bitten: The priority is to stay calm to slow the spread of venom. Limit physical activity and get to a hospital as quickly and safely as possible for evaluation and potential antivenom treatment.
Handling Trail Emergencies: What to Do When Things Go Wrong
Even with perfect preparation, accidents can happen. A twisted ankle, a sudden illness, or getting turned around can escalate quickly. Your ability to stay calm and make rational decisions is your most valuable asset. If you find yourself in trouble, remember the acronym S.T.O.P.
Stop: The moment you realize you are in trouble, stop moving. Sit down.
Think: Assess your situation calmly. What went wrong? What resources do you have?
Observe: Look around you. Where is the sun? Can you see any landmarks? Is there a source of water or shelter nearby?
Plan: Formulate a simple, logical plan. Don't make panicked decisions.
First Aid on the Trail
Your first-aid kit from the 10 Essentials is your go-to tool for injuries. Here's how to handle the most common trail ailments:
Blisters: The moment you feel a "hot spot" on your foot, stop and address it. Clean the area and apply moleskin or a blister-specific pad. Don't wait for it to become a full-blown blister.
Sprains: For a twisted ankle or knee, use an elastic wrap bandage from your kit to provide compression and support. Loosen it if you feel any numbness or tingling. Elevate the joint when you rest, and use a trekking pole or sturdy branch as a crutch if needed.
Cuts and Scrapes: Control any bleeding with direct pressure using a sterile gauze pad. Once it stops, clean the wound thoroughly with an antiseptic wipe and apply antibiotic ointment before covering it with a bandage.
A well-stocked daypack is crucial, but so is a plan for the whole trip. Before you head out to explore our incredible national parks, make sure your vehicle and supplies are just as prepared as your hiking gear.
Your Ultimate Adventure Blueprint
Ready to hit the road? Don't leave home without our expert-vetted [National Park Road Trip Checklist]. This free guide covers everything from vehicle prep and essential gear to can't-miss stops, ensuring your adventure is seamless from start to finish. Download it for free now!
Hiking Safety FAQs
A prepared mind anticipates questions. Here are expert answers to common concerns.
1. What's the right way to signal for help?
If you determine you cannot get yourself out of a situation safely, you need to signal for help. The universal distress signal is three of anything: three whistle blasts, three flashes of a headlamp, or three piles of rocks. A whistle is a must-have item that uses far less energy and carries further than shouting. For serious backcountry travel, consider investing in a personal locator beacon (PLB) or satellite messenger, which can send an SOS signal with your exact location to emergency services.
2. Is it safe to hike alone?
Solo hiking can be an incredibly rewarding experience, but it requires a higher level of preparation and self-sufficiency. All the rules in this guide become even more critical. It is absolutely essential that you leave a detailed itinerary with a trusted friend or family member. Include your planned route, your start and end times, and a "panic time"—the specific time they should call for help if they haven't heard from you.
3. What do I do if the weather turns bad unexpectedly?
Your first priority is to get below the treeline if you're in an exposed area to reduce the risk of lightning strikes. Put on your extra insulating layer and your rain gear before you get wet and cold. Assess your map and your situation. It is often safer to turn back, even if you're close to your destination, than to push on into deteriorating conditions.
Pro-Tip: Always tell someone your plan. Before every hike, leave a detailed itinerary with a trusted friend or family member. This is the single most important safety net you have.

Your Adventure, Empowered by Preparation
The goal of these hiking safety tips is not to fill you with fear, but to arm you with confidence. Every piece of gear you pack and every skill you learn is a key that unlocks a new level of freedom on the trail. Preparation allows you to push your boundaries, explore wilder places, and immerse yourself in the beauty of nature without the nagging whisper of anxiety. By respecting the wilderness and committing to self-sufficiency, you transform from a simple visitor into a capable, confident adventurer.
Now that you have the skills for a safe hike, you can integrate that adventure into a larger, perfectly planned journey. For a complete master plan covering everything from budgeting and logistics to finding the best trails and tours, our all-encompassing [Travel Guide] is the only resource you'll ever need.
Don't Miss Out! Subscribe for Exclusive Content
Subscribe


Comments 0
No comments yet
Be the first to share your experience!
Dont Miss Out! Subscribe for Exclusive Content

How to Avoid Travel Scams: A Global Guide

Is Public WiFi Safe? How to Protect Your Data Abroad

A Woman's Guide to Safe Travel: 10 Critical Tips

7 Hotel Safety & Security Tips for Peace of Mind

9 Beach Safety Tips That Could Save Your Life

7 Travel Insurance Red Flags to Spot Before You Buy
7 Best Travel Photography Blogs for Tips
TrekGuider @trekguider
You know the feeling. You’re standing before a truly breathtaking scene—a fiery sunset melting into the ocean, a frenetic city street alive with energy, a mountain range so vast it stills your breath. You raise your camera, convinced you can bottle that magic. But when you get home, the photos on your screen are a pale imitation. The colors look washed out, the epic scale feels diminished, and the raw emotion of the moment is gone. It's the most common frustration in photography.
The gap between the photos you take and the professional shots you admire isn't about money or a more expensive camera. It's about knowledge. It's about seeing the world through a trained eye and understanding the techniques that transform a simple snapshot into a powerful story. The secret is learning from those who have already walked the path and mastered the craft. In a world saturated with social media portfolios, however, finding true educators can feel impossible.
That’s why we’ve sifted through the noise for you. We’ve identified the creators who are dedicated to teaching—the ones who provide the actionable advice, in-depth tutorials, and honest gear reviews that will actually make you a better photographer. If you’re ready to finally start creating travel photos that do your memories justice, you’re in the right place. These are the best travel photography blogs for real, practical tips. And for panoramic view of the top creators ac across every niche, our definitive guide to [The Best Travel Blogs to Follow in 2026] is your essential starting point.
What Separates a Portfolio from a Powerhouse Educational Blog?
Before we dive in, let’s clarify our criteria. A gallery of beautiful photos is inspiring, but it won’t teach you how to improve. The blogs on this list were handpicked because they are exceptional educational platforms that empower their audience.
According to our 2025-2026 market analysis, the most authoritative blogs share key traits that set them apart. First is niche specificity and expertise; they establish themselves as deep experts in a specific domain, whether it’s adventure photography or post-processing. Second is the quality of writing and originality, allowing them to deconstruct complex topics—like the exposure triangle or advanced composition—into language anyone can understand. They are teachers, not just tastemakers.
The Top 7 Travel Photography Blogs for Actionable Advice
These seven blogs deliver on the promise of education. Each offers a unique perspective and a wealth of knowledge to help you improve your craft, whether you’re starting out or looking to refine your professional skills.
1. Expert Vagabond (Matthew Karsten)
For the photographer who thrives in the wild, there’s no better mentor than Matthew Karsten of Expert Vagabond. With over a decade of professional experience shooting in some of the world's most remote corners, Karsten doesn’t just show you the shot; he shows you the grit behind it. His gear guides are legendary for their depth, explaining not just what he uses, but why a particular piece of equipment is e essential for a specific environment. This is the ultimate resource for learning to create stunning images under rugged, challenging conditions.
2. Along Dusty Roads (Andrew & Emily)
Andrew and Emily are masters of mood. Their work has a distinct, cinematic quality, and their blog is an incredible resource for learning how to evoke emotion through imagery. While they offer detailed guides on photography techniques, their true genius lies in post-processing. Their Lightroom tutorials are models of clarity, focused on teaching you how to use editing to enhance the story of your image, not just apply a generic filter. They prove that the art happens just as much in the digital darkroom as it does in the camera.
3. BucketListly Blog (Pete R.)
If you love the tech behind the art, BucketListly Blog is your paradise. Pete’s gear reviews are exhaustive, moving far beyond spec sheets to deliver careful real-world performance analysis. He covers everything from the latest flagship mirrorless cameras to the best travel drones and action cameras. What makes his blog essential is its dual focus on both photography and videography, making it a one-stop shop for the modern hybrid creator who needs to produce elite content in multiple formats.
4. I Hit The Button (Andy Feliciotti)
The name says it all. This blog is laser-focused on the science and art of photography. Andy Feliciotti dives deep into the technical craft, offering detailed explorations of topics like long exposure, astrophotography, and advanced composition. This is where you go when you’re ready to move beyond beginner tips and truly understand the why behind a great photo. It’s the perfect resource for the photographer who loves to geek out on the details and push their creative boundaries.

5. The Blonde Abroad (Kiersten Rich)
Kiersten Rich is a powerhouse in the travel industry, and her photography is a masterclass in creating a vibrant, aspirational brand. Her blog is an excellent resource for anyone looking to master lifestyle and portrait travel photography. She offers fantastic, practical tips on everything from styling and wardrobe choices to using presets to achieve a cohesive, professional aesthetic. Her content is especially helpful for solo travelers who want to learn how to take incredible photos of themselves.
6. The Planet D (Dave & Deb)
Dave and Deb have been exploring the world for over a decade, and their photography captures the sheer scale and grandeur of our planet's most epic landscapes. Their blog is a fantastic learning tool for anyone looking to improve their landscape and wildlife photography. They provide practical, field-tested advice on what lenses to use for sweeping vistas, how to shoot in harsh weather conditions (like Antarctica!), and how to tell a story of adventure through a series of powerful images.
7. The Lovers Passport (Stephen & Giselle)
Focused on couple’s travel, The Lovers Passport is an invaluable resource for anyone wanting to learn how to weave human elements into their photography. They excel at breaking down how to plan and execute an epic shot, from location scouting with Google Earth to posing subjects to create a compelling narrative. Their guides are packed with practical advice on making a destination feel both grand in scale and deeply intimate at the same time.
Decoding the Masters: Key Lessons from the Pros
Studying the work of these top-tier photographers reveals a set of shared principles. Their incredible images are not the result of magic, but a consistent application of three core pillars: strategic gear selection, timeless composition, and masterful post-processing.

It Starts with the Right Gear (But Not How You Think)
A unanimous philosophy among these pros is that the best camera for travel is the one you’re willing to carry. A bulky, heavy kit is a liability, not an asset. The market trend is toward smaller, lighter, yet incredibly powerful mirrorless systems.
Beyond the camera, your core kit should include a few essentials: a versatile "walk-around" lens (like a 24-70mm), extra batteries, and a solid camera bag.
Pro-Tip: A lightweight carbon fiber tripod is the single best investment for elevating your landscape photography. It allows you to shoot at "golden hour" with a low ISO for clean images and enables creative long exposures that are impossible handheld.
Mastering the Fundamentals of Composition
Gear is just a tool. The real art lies in arranging the elements within your frame. The best photographers use these timeless principles to tell a story.
Rule of Thirds: Mentally divide your frame into a 3x3 grid. By placing your subject along a line or at an intersection, you create a more balanced and visually engaging image than a simple centered shot.
Leading Lines: Use a road, river, or fence to create a line that guides the viewer's eye through the scene toward your main subject. This technique is a powerful way to create a sense of depth.

Shooting at Golden Hour: The hour after sunrise and before sunset offers soft, warm, directional light. This is far more flattering and dramatic than the harsh, flat light of midday.
Framing: Use foreground elements like an archway, a window, or tree branches to create a natural frame around your subject. This adds context and draws the viewer's focus.
Changing Perspective: Don't shoot everything from eye level. Get low to the ground to emphasize a foreground or find a high vantage point for a unique, sweeping overview. This simple shift can make a scene extraordinary.
Ready to Practice Your Composition Skills? Download the free Best NYC Photo Spots Map and start capturing incredible cityscapes today!
The Digital Darkroom: Post-Processing is Half the Battle
Every single professional photo you admire has been post-processed. Editing is not about "fixing" a bad photo; it's about enhancing a good one to fully realize your creative vision. The blogs we've highlighted consistently teach three key areas of editing in software like Adobe Lightroom.
Using Lightroom Presets: Presets are one-click settings that create a consistent aesthetic. They are excellent learning tools for understanding how different settings interact to create a professional look.
Editing Sunset Photos: This is a classic challenge that requires balancing the extreme dynamic range between the bright sky and the dark landscape. Tutorials will teach you how to use tools like graduated filters and the shadow/highlight sliders to balance the exposure and bring out the rich, vibrant colors.
Basic Color Grading: This is the art of adjusting the colors in your image to create a specific mood. Mastering the HSL (Hue, Saturation, Luminance) panel allows you to take full control, making the blues in the ocean deeper, the greens in a forest richer, or giving your entire photo a warm, autumnal feel. Destinations with distinct color palettes, like the neon-lit streets of Tokyo or the serene temples of Kyoto, are perfect places to practice these skills. If you're planning a trip, our Japan Travel Guide can help you find the most visually stunning locations.
Pro-Tip: When starting with post-processing, focus on mastering one tool at a time. The HSL panel in Lightroom is a great place to begin. Learning how to selectively adjust the hue, saturation, and luminance of individual colors can have a bigger impact on your photos than trying to learn every single tool at once.
Your Path to Better Travel Photos
Improving your travel photography is a journey, not a destination. It doesn't happen overnight. But by following the right guides, you can accelerate your progress and avoid common pitfalls. The path is simple: learn from the best travel photography blogs, focus on mastering the fundamental techniques of composition and light, and practice every chance you get. Pick one blog from this list to follow this week. Choose one composition technique to practice on your next outing, even if it's just in your own backyard. The more you shoot with intention, the faster you will begin to create images that truly capture the magic of your travels.
Meta Data Suggestions:
SEO Meta Title (56 characters): 7 Best Travel Photography Blogs for Tips (2026 Update)
URL Slug: best-travel-photography-blogs-tips
SEO Meta Description (154 characters): Want to take better travel photos? Discover the 7 best travel photography blogs that offer actionable tips on gear, composition, and editing from the pros.
Don't Miss Out! Subscribe for Exclusive Content
SubscribeComments 0
No comments yet
Be the first to share your experience!
Dont Miss Out! Subscribe for Exclusive Content

Ultimate USA Holidays Guide: Top Picks

FTC Affiliate Disclosure Essentials: Stay Compliant as a Travel Creator

Essential Affiliate Tools: From Tracking to Full Optimization

Avoid These 5 Affiliate Landing Page Mistakes for Better Conversions

Affiliate Keyword Research Mastery for Travel Blogs

Booking.com Affiliate Program Review: Pros, Cons, and Earnings Potential
Is Solo Travel Safe? A Data-Driven Look at the Real Risks & How to Mitigate Them
TrekGuider @trekguider
You've pictured it a thousand times: a journey planned entirely for you, by you. The pure, unadulterated freedom of the open road. But then the doubt creeps in, fueled by worried questions and sensational headlines. Is it actually safe to venture out alone? That single question can be paralyzing, trapping you between a deep desire for adventure and a genuine concern for your well-being.
This constant drumbeat of fear can be deafening, causing you to second-guess your ambitions and question whether your dream of independent exploration is just a reckless fantasy.
This guide is your way through that noise. We believe that safe solo travel is not only possible but is one of the most profoundly empowering experiences a person can have. While we offer deep resources on all kinds of journeys, from group adventures detailed in our Family Travel Ideas: The 2026 Guide to Unforgettable Trips to individual quests, this article is dedicated to you, the solo explorer. It’s about replacing vague fears with a clear, data-driven assessment of the real risks and arming yourself with practical, proven strategies to manage them.
The Statistical Truth: Is Solo Travel Safe from a Data Perspective?
First, let's ground ourselves in reality, not headlines. The perception of danger, often amplified by a 24-hour news cycle, is frequently magnified far beyond the statistical truth. While any travel carries inherent risks, data shows that the world is not the uniformly dangerous place it's often made out to be.
Violent crime rates, for instance, have been on a global decline for decades. According to the United Nations Office on Drugs and Crime (UNODC), the global homicide rate has been steadily decreasing. Furthermore, areas popular with tourists are often more heavily policed and protected, simply because tourism is a vital economic engine for many countries.
The most common crimes affecting travelers are not violent assaults, but rather crimes of opportunity—preventable incidents that prey on distraction. These fall into three main categories:
Petty Theft: This is the undisputed champion of tourist troubles. It includes pickpocketing in crowded squares, snatching a phone left on a cafe table, and swiping an unattended bag. Data from cities like Barcelona and Rome consistently shows that this is, by a huge margin, the most reported crime against visitors.
Scams: From the aggressive "friendship bracelet" weavers in Paris to the notoriously creative taxi drivers in Bangkok, scams are designed to trick you out of your money through clever, non-violent deception.
Credit Card Fraud: Sophisticated skimming devices at ATMs or dishonest vendors can capture your card information, leading to fraudulent charges days or weeks later.

Understanding this allows for a critical mindset shift. The goal is not to build a fortress around yourself. It’s to develop smart, consistent habits that make you a "hard target" for these common, low-level threats. The answer to "is solo travel safe?" is overwhelmingly yes, provided you are prepared, aware, and informed.
Building Your Safety Foundation Before You Go
True travel safety isn't something you find; it's something you build. The foundation for a secure and confident solo trip is laid long before you ever start packing a bag. This pre-trip protocol is your blueprint for mitigating risk from the comfort of your own home.
1. Master Your Destination Before You Arrive

Every location has its own unique rhythm and set of unwritten rules. Conducting a deep analysis of your destination with safety as the primary lens is the first and most crucial step.
Consult Official Channels: Start with the U.S. Department of State's travel advisories. They provide detailed, country-specific information on everything from political unrest and health concerns to targeted advice for female or LGBTQ+ travelers. Pay attention to the overall country level, but also look for specific regional warnings.
Dig for Local Nuances: Go beyond official reports. Use travel blogs and forums to understand neighborhood dynamics. Instead of a generic search, use specific, targeted queries like "(City Name) solo female safety" or "scams to watch for in (Country)" on Reddit (r/solotravel) or Facebook groups. This uncovers the subtle, on-the-ground intelligence that guidebooks often miss.
Understand the Cultural Context: Research local customs, dress codes, and social norms. In some countries, what's considered a friendly gesture at home might be interpreted differently. Understanding and respecting the local culture not only enriches your experience but is also a powerful tool for blending in and avoiding unwanted attention.
2. Fortify Your Finances and Documents
The goal here is redundancy. You want to ensure that the loss of a single item—like your wallet or phone—is merely an inconvenience, not a trip-ending catastrophe.
Build a Digital Vault: Scan your passport, driver's license, visa, and the front and back of your credit cards. Save these as encrypted files in a secure cloud service (like Google Drive or Dropbox) and email a copy to yourself and a trusted contact. To ensure you don't miss any critical documents, our International Travel Checklist is an indispensable tool.
Distribute Your Itinerary: Leave a detailed copy of your itinerary—including flight numbers, accommodation names and addresses, and a general daily plan—with a family member or friend back home.
Diversify Your Money: Never depend on a single source of funds. Travel with at least two different credit cards and one debit card, and store them in separate locations. Keep one card in your wallet, one in a hidden pocket of your daypack, and perhaps a third in the safe back at your hotel.
Alert Your Banks: A simple but critical step. Inform your bank and credit card companies of your travel dates and destinations. This prevents their fraud detection systems from freezing your accounts when they see a transaction from a foreign country.
3. Travel Insurance
Think of travel insurance as your ultimate safety net. For a solo traveler, it's not a luxury; it's an absolute necessity. A comprehensive policy is your financial backstop for the unexpected. Look for coverage that includes:
Emergency medical and dental expenses
Emergency medical evacuation (this is critical and can cost tens of thousands of dollars without insurance)
Trip cancellation, delay, or interruption
Lost or stolen luggage and personal effects
A 24/7 emergency assistance hotline
Your On-the-Ground Toolkit for Staying Safe Solo
Once you arrive, your most powerful safety tool is situational awareness. This isn't about being paranoid; it's about being present, perceptive, and engaged with your surroundings.
Mastering the Art of Situational Awareness

This is the skill of observing your environment and making smart, proactive decisions based on what you see.
Walk with Purpose and Confidence: Even when you’re utterly lost, walk like you know exactly where you're going. Keep your head up, your shoulders back, and your pace steady. A confident posture is a natural deterrent.
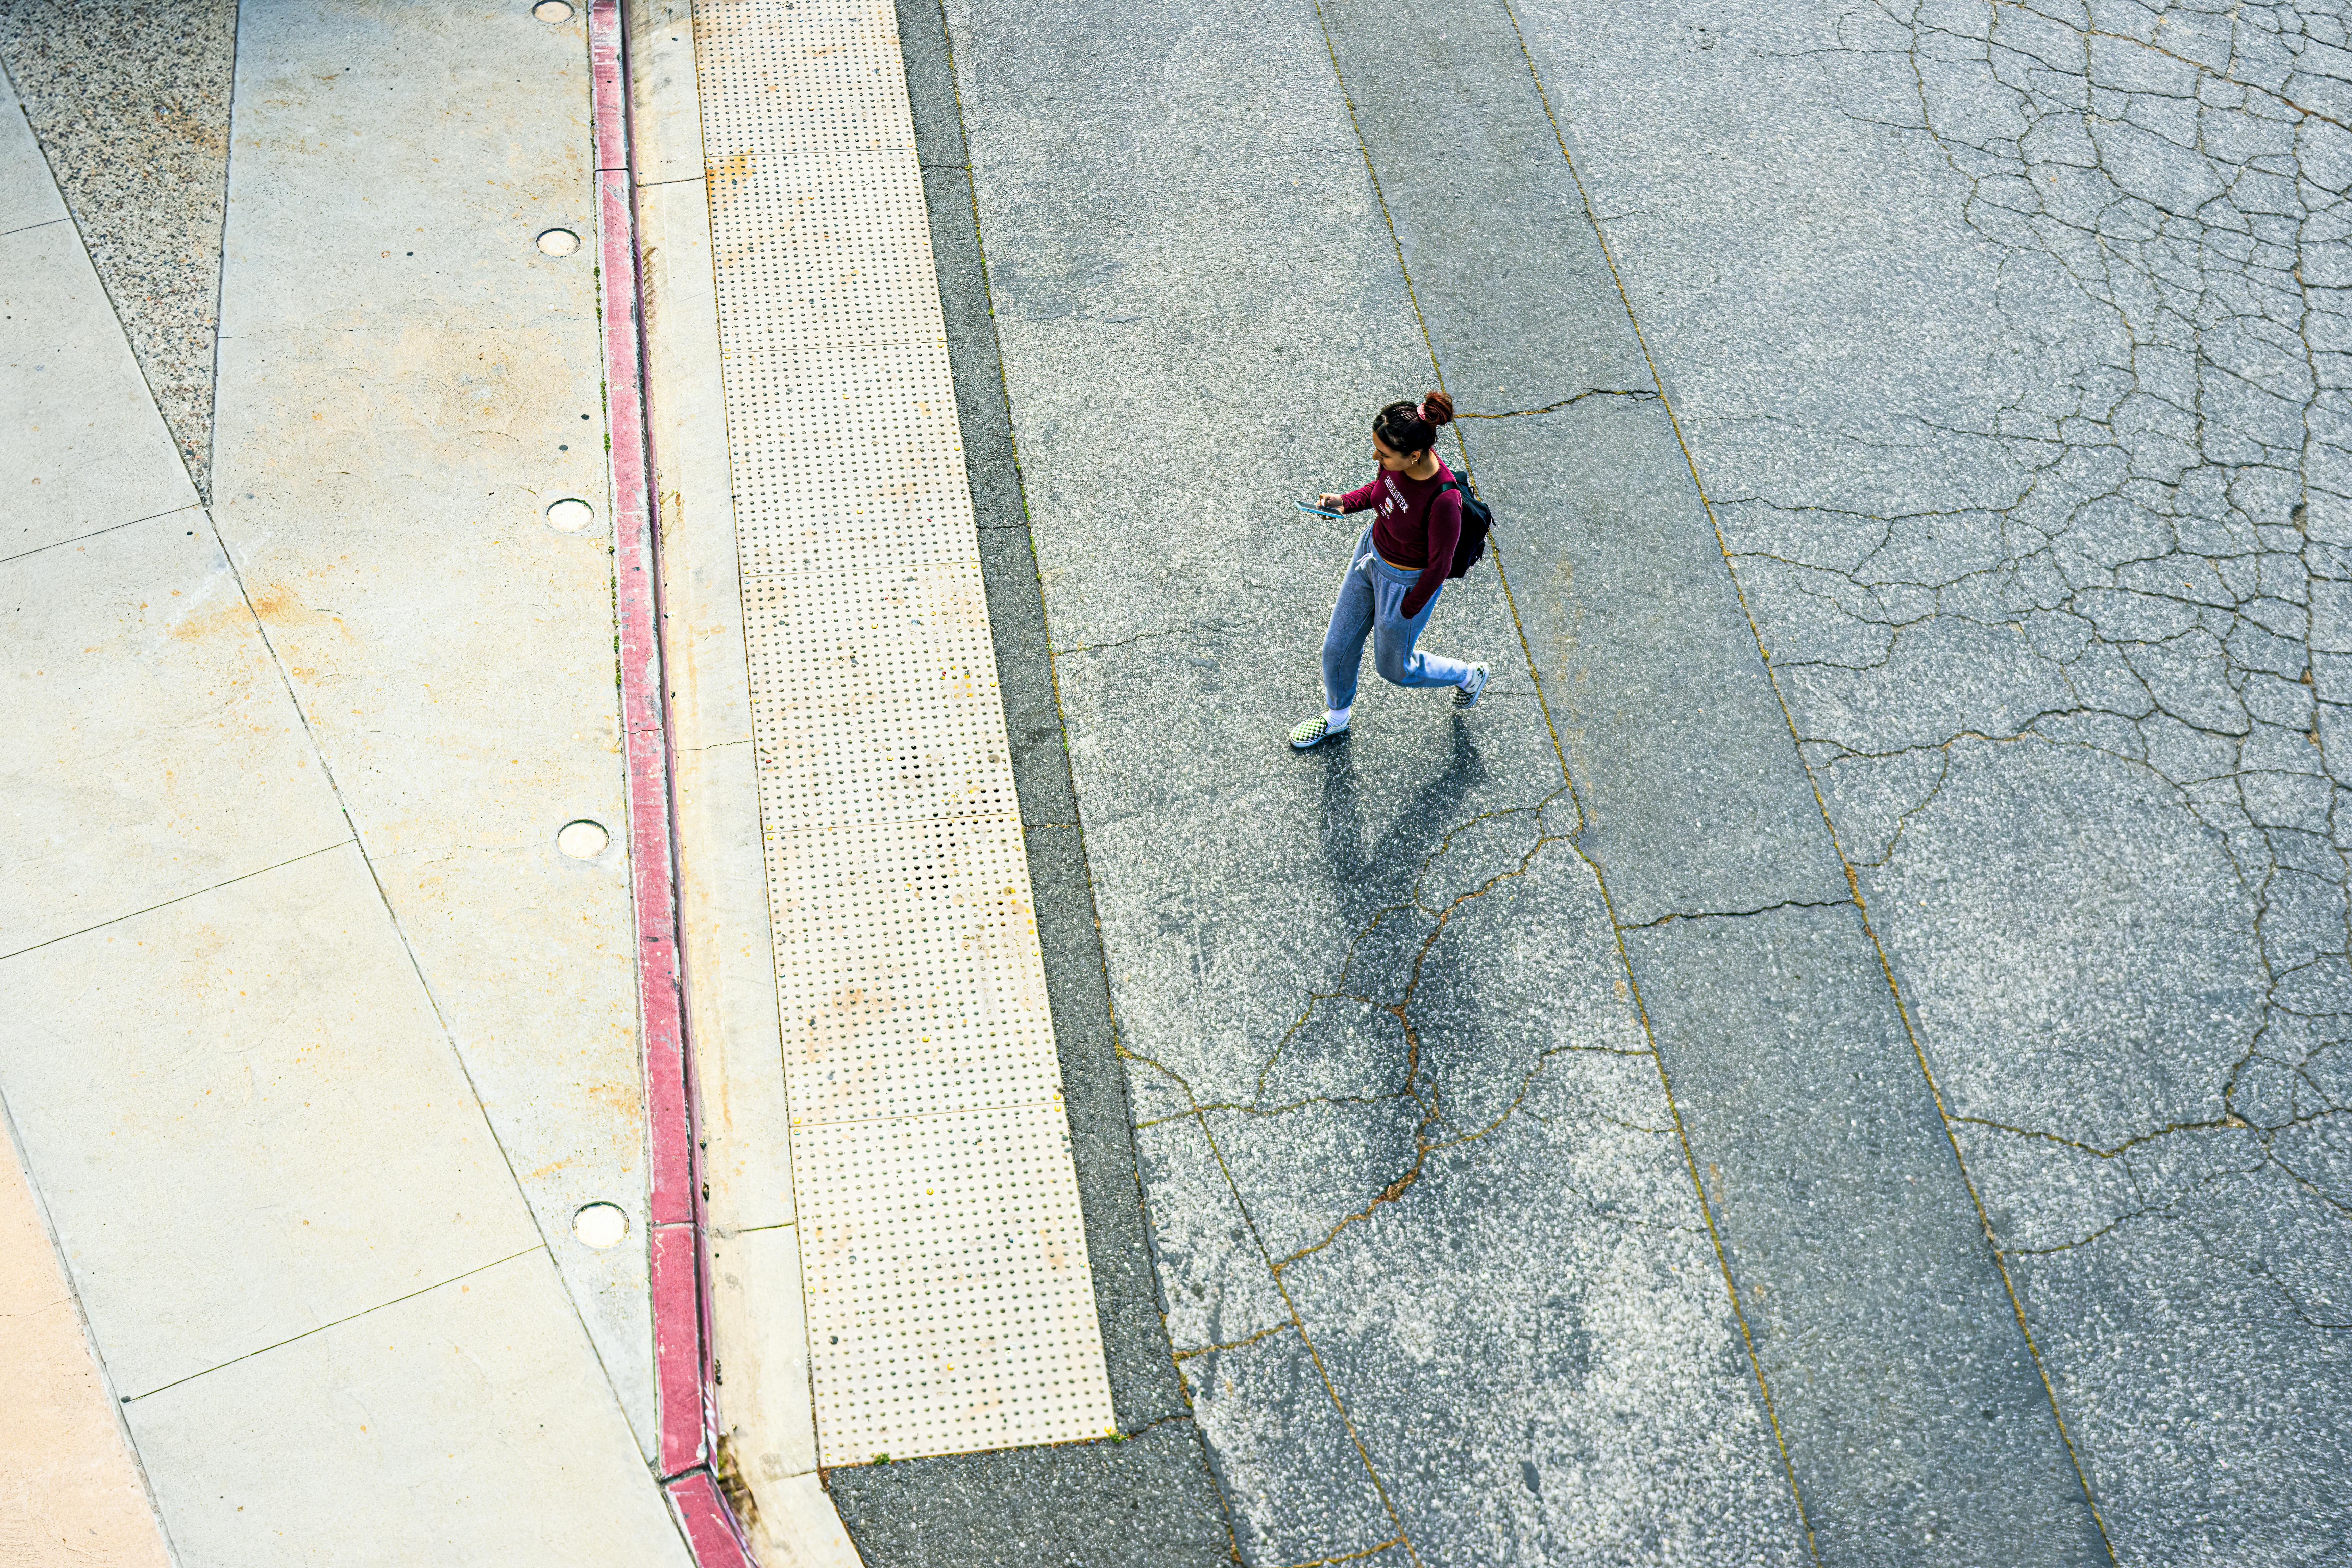
Minimize Distractions, Maximize Perception: Avoid walking while staring down at your phone or wearing headphones in both ears. These actions scream "distracted tourist" and make you a prime target for pickpockets. Keep your phone in your pocket and one earbud out so you can hear your surroundings.
Blend In, Don't Stand Out: The goal is to look like a savvy local, not a bewildered tourist. Dress in a way that aligns with local styles—if locals don't wear shorts, maybe you shouldn't either. Avoid flashing expensive jewelry, wads of cash, or a high-end camera slung around your neck.
Trust Your Gut Instinct: Your intuition is a highly advanced, subconscious pattern-recognition machine. If a person, a dark alley, or a situation feels "off," it probably is. Don't hesitate or worry about being polite—remove yourself from the situation immediately.
Pro-Tip: Carry a "decoy" wallet. Get a cheap, old wallet and stock it with a small amount of local currency and some expired credit cards or old loyalty cards. Keep this in your pocket or an easily accessible part of your bag. In the unlikely event of a robbery, you can hand this over without losing your primary financial resources.
How to Guarantee Your Accommodation Is Safe for Solo Travel
Your hotel, hostel, or rental is your sanctuary. A few simple checks can ensure it stays that way.
Vet the Location: Before booking, use Google Street View to take a virtual walk around the block. Is it a deserted industrial area or a lively street with open cafes? Read recent reviews, specifically searching for keywords like "safe," "location," and "solo."
Secure Your Room: The moment you check in, test the locks on the door and windows. Always use the deadbolt and security chain when you're inside. For an incredibly effective and cheap extra layer of security, pack a simple rubber doorstop and wedge it under your door at night.
Use the Safe (That's What It's For): Don't leave your passport, extra cash, or spare credit cards lying around. Use the in-room safe. If you're in a hostel, choose one that offers secure individual lockers and bring your own padlock.
Digital Defense: Ensuring Your Solo Travel is Safe Online
In the 21st century, physical safety is only half the battle. Public Wi-Fi networks are notoriously insecure, making them prime hunting grounds for data thieves.
A VPN is Non-Negotiable: A Virtual Private Network (VPN) is an essential tool for any traveler. It encrypts your internet connection, creating a secure, private tunnel for your data that is unreadable to anyone snooping on the network.
Embrace Two-Factor Authentication (2FA): Activate 2FA on all your important accounts (email, banking, social media). This means that even if a thief manages to get your password, they can't access your accounts without a second, time-sensitive code sent to your device.
Be Wary of Public Computers: Avoid logging into sensitive accounts on public computers, like those in an internet cafe or hotel business center. If you absolutely must, use a private/incognito browsing window and be certain to log out of all accounts and clear the browser history before you leave.
Pro-Tip: Adapt the "Morning Photo" protocol for solo use. Each morning, send a quick photo of yourself (showing your outfit) and a brief text outlining your general plans for the day to a trusted contact back home. This creates a simple, timestamped visual record of your appearance and intended whereabouts.
A Crucial Guide for Solo Female Travelers
While the vast majority of safety advice is universal, it's a reality that women traveling alone can face a unique set of concerns and scrutiny. Adhering to the core principles of solo travel safety is therefore doubly important.
Confidence is Your Cloak: Your body language is your first line of defense. Walk tall, be assertive in your interactions, and don't be afraid to be firm or even loud if someone is making you uncomfortable. A simple, sharp "No" is a complete sentence in every language.
Be Mindful of Local Gender Dynamics: Research how men and women typically interact in your destination. In some conservative cultures, direct eye contact or an unsolicited smile from a woman can be misinterpreted as an invitation. Adapting your behavior isn't about submission; it's a sign of cultural respect and a smart safety tactic.
Strategically Handle Unwanted Attention: If you feel you are being followed or persistently harassed, walk directly into a busy shop, restaurant, or hotel lobby. Approach a staff member (especially another woman) and calmly explain the situation. A simple "that person is bothering me" is universally understood.
Use the "Ring" Trick: Many experienced solo female travelers wear a simple, plain band on their left ring finger, regardless of their actual marital status. It can be a simple, non-confrontational way to deter unwanted advances or questions about why you're alone.
Your Essential Toolkit for Confident Exploration
The advice in this section is just the beginning. For a deeper dive into female-specific safety strategies, real-world scenarios, and expert-level preparation, download our free Solo Female Travel Safety Guide. It's the definitive resource for every woman who's ready to see the world on her own terms.
Frequently Asked Questions
What is the most common crime against solo travelers?
The most common risks are crimes of opportunity, not violence. Petty theft, like pickpocketing and bag snatching in crowded tourist areas, is by far the most frequent issue. Being aware and keeping your valuables secure are your best defenses.
Is it safe for a woman to travel alone for the first time?
Absolutely. Thousands of women travel solo safely every day. The key is thorough preparation: choose a destination with a good safety record for solo women, research local customs, and follow the universal safety protocols outlined in this guide.
Should I carry my passport with me while I'm out exploring?
In most cases, it's safer to leave your passport secured in your hotel safe. Carry a photocopy or a digital image on your phone for identification purposes. Some countries legally require you to carry the original, so always verify the local law for your destination.
What is the single most important safety tip for a solo traveler?
Trust your intuition. More than any single gadget or tactic, your gut feeling is your best defense. If a situation or person feels wrong, remove yourself from it immediately without hesitation or apology.
Safety Is the Freedom to Explore
So, after all this, is solo travel safe? The answer is a resounding, confident yes. True safety on the road is not a matter of luck; it is the direct and empowering result of thoughtful preparation, heightened awareness, and a proactive mindset.
By shifting your perspective from a fear of the unknown to a healthy respect for the variables, you transform yourself from a potential target into a capable, worldly explorer. The strategies outlined here are not meant to make you fearful, but to make you free—free from the anxiety that holds you back, and free to embrace the incredible growth, perspective, and pure joy that only solo travel can provide. Armed with this knowledge and a commitment to smart travel practices, you can ensure your journey is not just memorable, but also profoundly safe.
Don't Miss Out! Subscribe for Exclusive Content
SubscribeComments 0
No comments yet
Be the first to share your experience!
Dont Miss Out! Subscribe for Exclusive Content
Ultimate USA Holidays Guide: Top Picks
FTC Affiliate Disclosure Essentials: Stay Compliant as a Travel Creator
Essential Affiliate Tools: From Tracking to Full Optimization
Booking.com Affiliate Program Review: Pros, Cons, and Earnings Potential

Decoding Affiliate Commission Rates: Benchmarks for Travel Creators
