The Ultimate Guide to Travel Safety: A 2026 Playbook
TrekGuider @trekguider
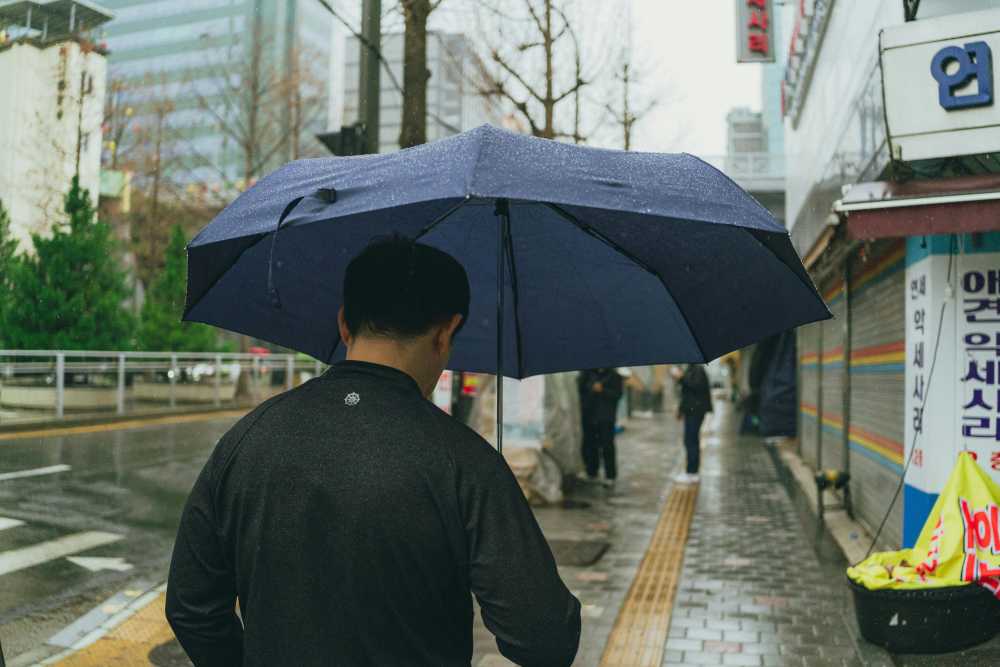
Travel holds a mirror up to the world and shows us who we can be within it. It’s a force that pushes our boundaries, reshapes our perspectives, and fills the pages of our lives with stories we’ll tell for decades. Yet, for all the joy it promises, a shadow of uncertainty—the thought of what could go wrong—can temper the most thrilling plans. In a world defined by its unpredictability, feeling prepared is the currency that buys a truly carefree adventure. That’s why we’ve created this ultimate guide to travel safety. This isn’t a list of warnings to scare you; it's your definitive playbook for navigating the globe with unwavering confidence. We’ve synthesized advice from the world’s leading health organizations, security experts, and seasoned travelers to bring you the most essential travel safety tips for every stage of your journey.

Think of this as your central command. We will cover the full spectrum of travel safety—health and medical preparedness, personal and digital security, accommodation and transportation smarts, and even the specific risks tied to your favorite activities. For each topic, we provide a powerful, actionable overview right here. When you’re ready to master a specific area, we’ll point you directly to our deep-dive guides. Let’s get you prepared, so you can focus on what travel is truly about: the experience.
Health First: Your Foundation for a Safe Trip
Nothing can sideline a trip faster than an unexpected health issue. From a common stomach bug to a more serious injury, being medically unprepared can turn a dream vacation into a logistical and physical nightmare. The good news is that with smart preparation, you can preemptively solve the vast majority of health-related travel risks. It all boils down to two pillars: understanding the potential challenges of your destination and equipping yourself with the right tools to handle them.

This means more than just throwing a few bandages in your suitcase. It’s about proactive prevention—knowing what to eat, what to drink, and how to protect yourself from the elements. And it’s about reactive readiness—having a carefully stocked first-aid kit and a clear grasp of your health insurance. In this section, we'll lay the groundwork for a healthy journey, so you can spend less time worrying and more time exploring.
Food & Water Safety: The Golden Rules of Eating Well Abroad
One of travel’s greatest thrills is diving into the local cuisine. But new flavors can mean new microbes your body isn’t accustomed to. It’s no surprise that traveler’s diarrhea is, by a massive margin, the most common travel-related illness, affecting up to 80% of international travelers depending on the destination. As the Centers for Disease Control and Prevention (CDC) confirms, it's most often caused by consuming food or water contaminated with bacteria. Beyond that, more severe illnesses like Hepatitis A and Typhoid Fever remain significant risks in many regions.
The key to staying healthy is a simple, unforgettable mantra: “Boil it, cook it, peel it, or forget it.” This single rule can guide nearly all your culinary decisions.
Boil It: Applies to all water and liquids. The safest bet is always commercially bottled water with an intact seal. If that's unavailable, bringing water to a rolling boil for at least one full minute is the most effective purification method. Hot beverages like coffee and tea, made with boiled water, are also generally safe.
Cook It: Heat is your best friend. Only eat food that is cooked thoroughly and served steaming hot. This is especially crucial for street food; if you can watch it being cooked fresh to order, it’s a much safer choice than something that’s been sitting in a tray.
Peel It: Contaminants often reside on the skin of raw fruits and vegetables. If you can peel it yourself (with clean hands), it’s safe. This makes bananas, mangoes, oranges, and avocados your go-to snacks.
Forget It: This is the most critical part of the rule. If it doesn’t meet the criteria above, skip it. This means no tap water, no ice cubes, no salads or raw leafy greens, and no unpeeled fruits like grapes or berries.
When choosing where to eat, trust the locals. A busy stall with a long line of residents is a glowing review of its safety and quality. High turnover means fresh ingredients. Conversely, avoid stalls that look dirty, have visible pests, or where the vendor uses the same unwashed hands or utensils for both raw and cooked foods.
For a complete strategy on choosing safe food and purifying water, see our guide on Food & Water Safety Abroad: How to Avoid Getting Sick.
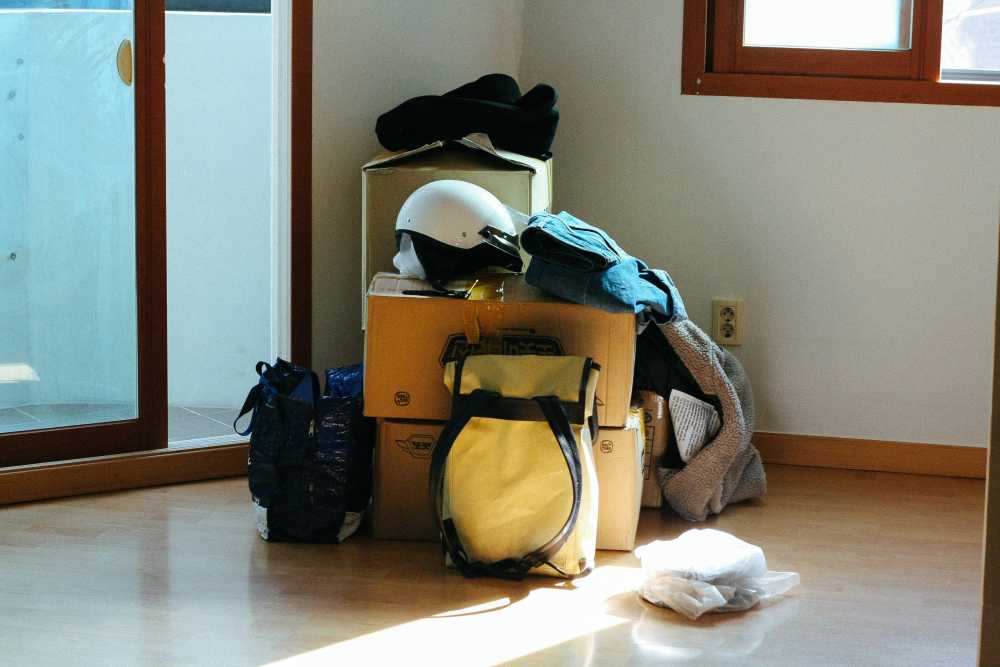
The Essential Travel First-Aid Kit
A well-stocked first-aid kit isn't just an accessory; it's a non-negotiable piece of gear. While you can buy pre-made versions, building your own allows you to tailor it perfectly to your trip. A truly comprehensive kit moves beyond basic bandages to address the most common travel ailments: minor wounds, pain, digestive issues, and skin irritations.
Wound & Burn Care: The foundation of your kit.
Antiseptic wipes to clean wounds and hands.
Antibiotic ointment to prevent infection.
Assorted adhesive bandages, larger gauze pads, and medical tape.
Blister treatment pads (like moleskin) are a must for any walking-heavy trip.
Aloe vera gel for minor sunburns.
Pain, Fever & Sprains:
Pain relievers like Ibuprofen (Advil/Motrin) and Acetaminophen (Tylenol).
An elastic wrap bandage for joint support.
Digestive Issues: Since traveler’s diarrhea is the #1 travel illness, this section is vital.
Anti-diarrhea medication like Loperamide. Imodium is a top pharmacist-recommended brand.
Antacids for indigestion.
Oral rehydration salts to replenish critical fluids and electrolytes.
Allergies, Bites & Skin:
Antihistamine for allergic reactions.
Hydrocortisone cream for insect bites and rashes.
Insect repellent with DEET or Picaridin is essential for destinations with mosquito-borne diseases.
Finally, add the tools: fine-point tweezers, small scissors, and a digital thermometer. Most importantly, pack a sufficient supply of any personal prescription medications in their original containers, plus extra for delays. Before you leave, make sure it's all organized and you've double-checked every item against our International Travel Checklist.
Get the full, pharmacist-approved list in The Ultimate Travel First Aid Kit Checklist (2026).
Personal Security: Navigating the World with Confidence
Beyond health, personal security is often the biggest source of travel anxiety. The thought of scams, theft, or cultural misunderstandings can be intimidating, especially for first-time or solo travelers. But personal safety isn’t about paranoia; it’s about presence. It’s a mindset built on situational awareness, confident decision-making, and an informed understanding of your environment.
By knowing the common challenges and arming yourself with simple, proven strategies, you shift from being a potential target to being a savvy, hard-to-fool traveler. This section will give you those tools, covering everything from outsmarting common tourist scams to specific, empowering advice for solo and female travelers.
How to Avoid the Top 10 Travel Scams
Travel scams persist for a simple reason: they exploit human nature. Scammers are masters of distraction, confusion, and a traveler's own politeness or desire for a deal. Your best defense is to know their script before the show starts. From the "broken taxi meter" to the "friendship bracelet" gambit, recognizing the setup is the key to sidestepping the con entirely. In most cases, a firm, polite "No, thank you" while confidently walking away is your most effective tool.
Learn to spot and disengage from every common con in our detailed breakdown: How to Avoid Travel Scams: A Global Guide.
Essential Tips for Solo Travelers
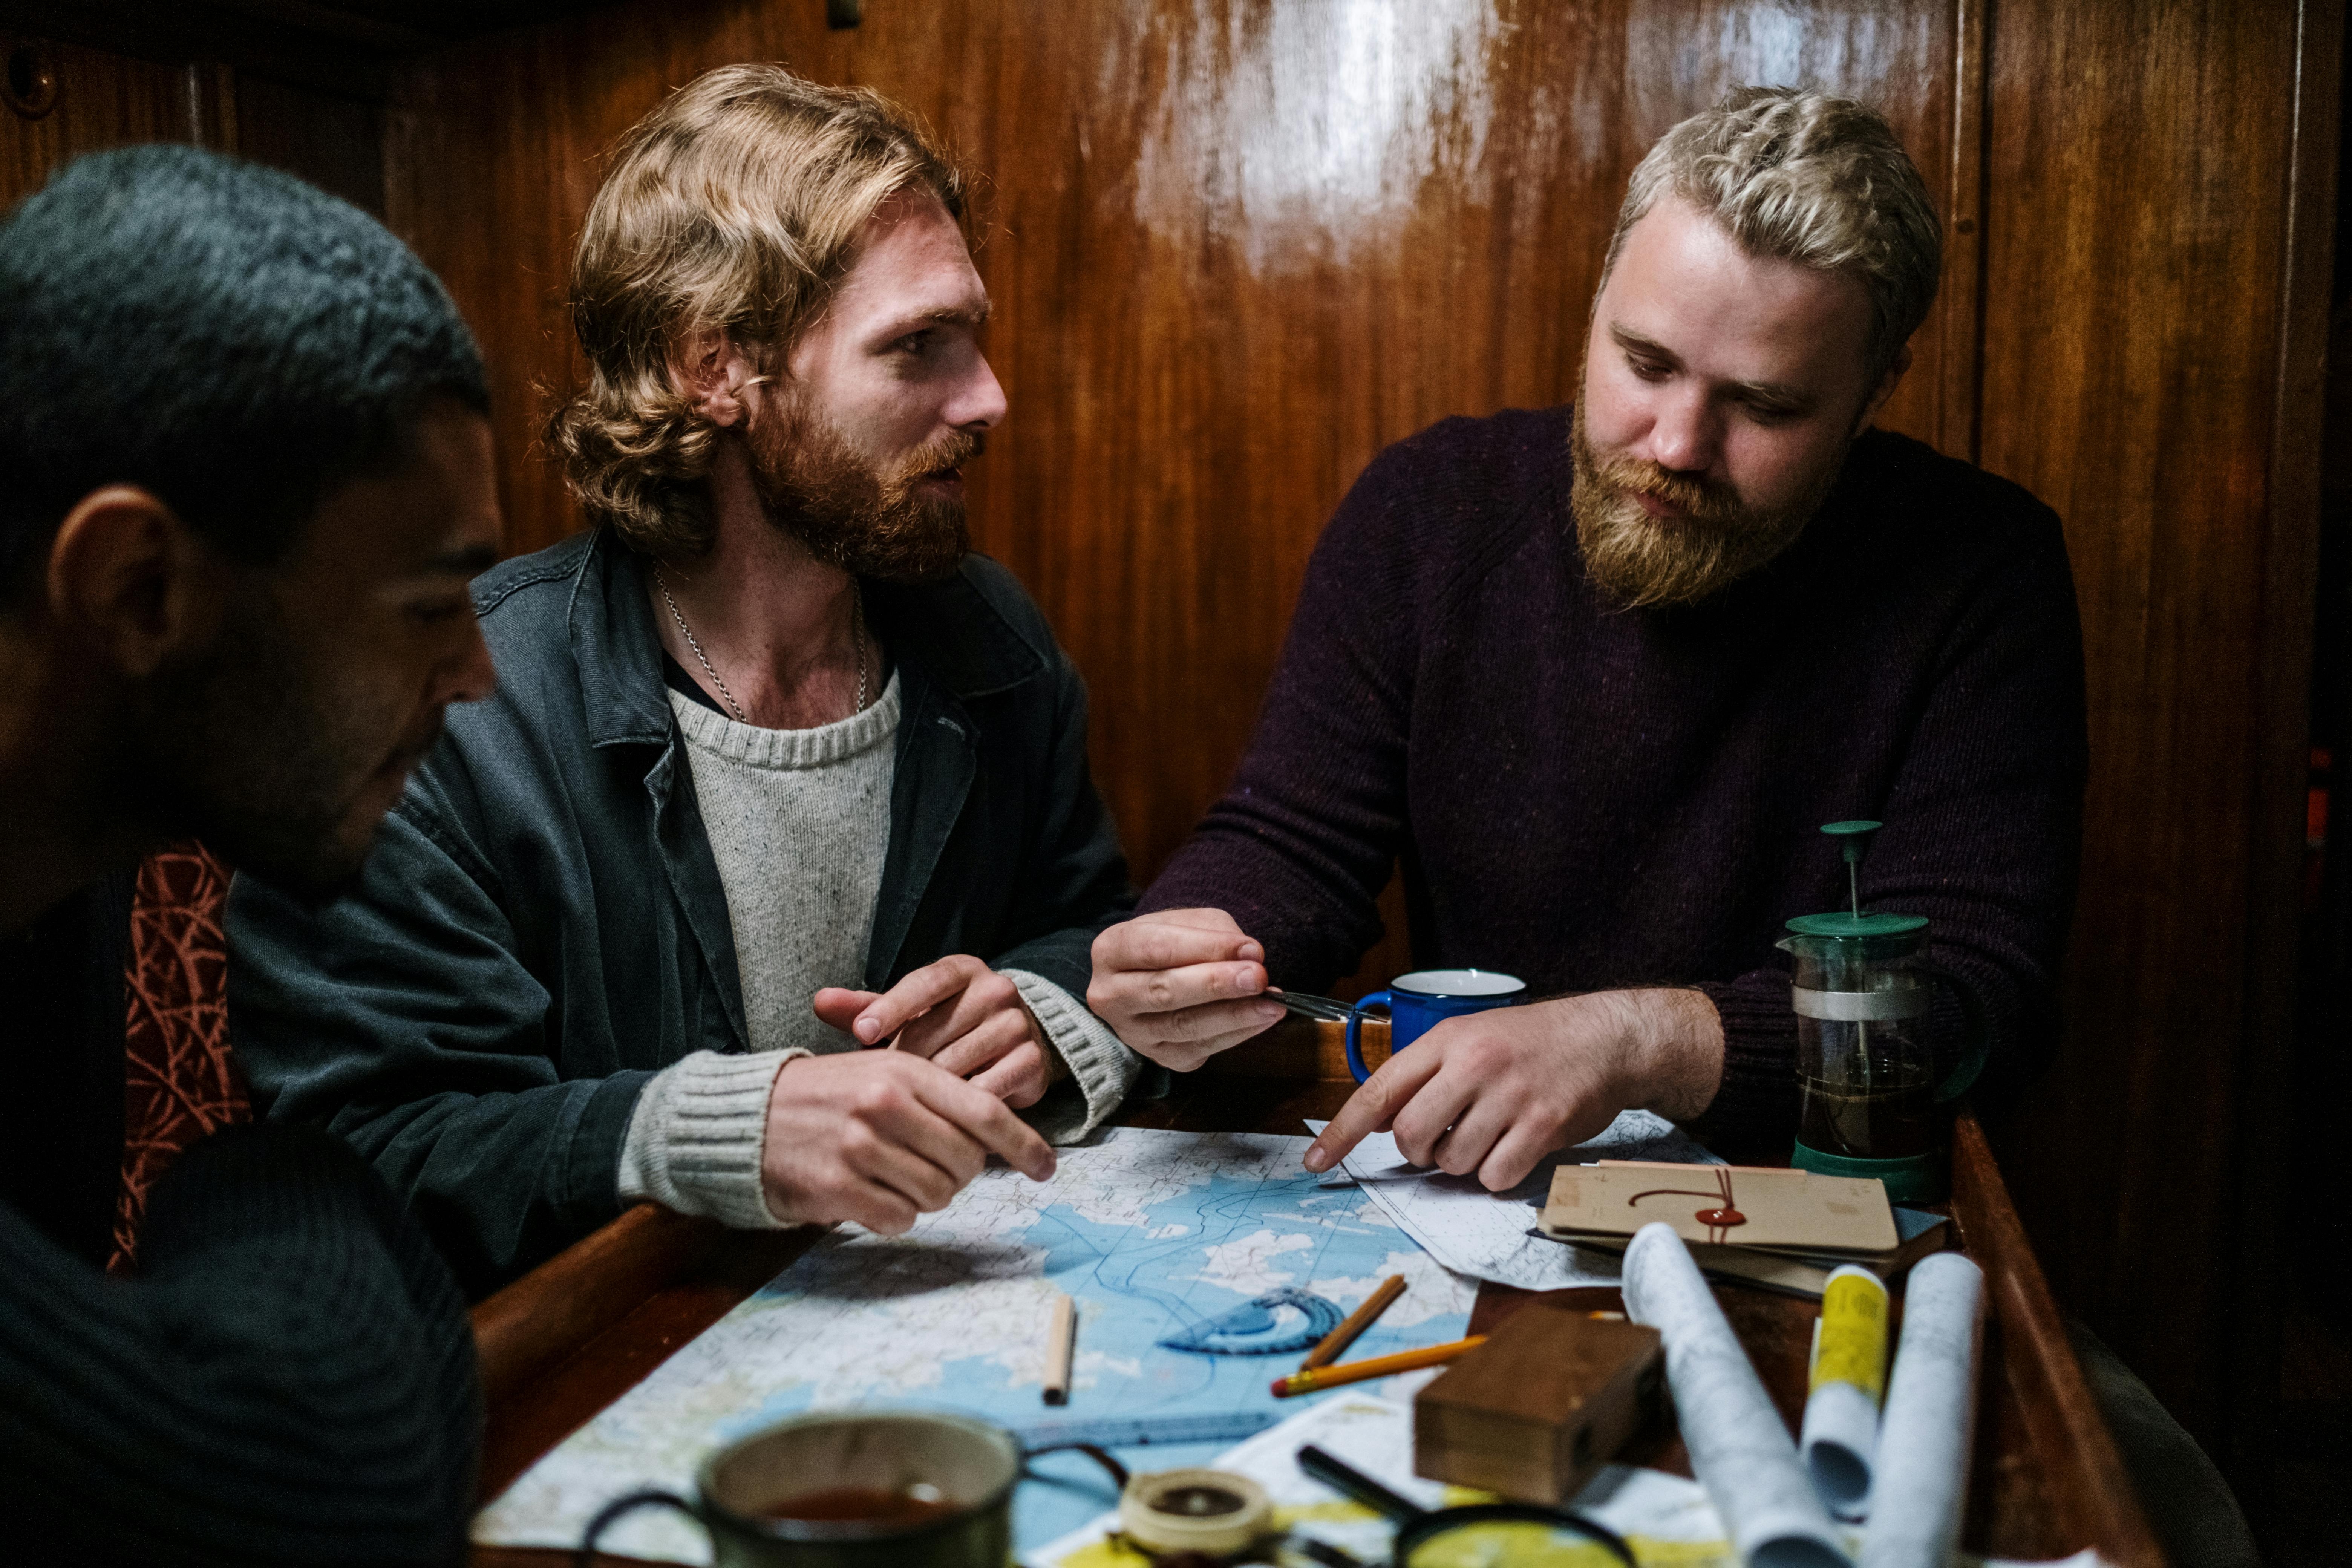
The currency of safe solo travel is confidence. It’s a mindset, a posture, and a projection that transforms you from a potential target into a savvy, self-assured traveler. This journey begins at home, by researching your destination’s culture and learning a few phrases in the local language. When you arrive, walk with purpose. If you need to check a map, step into a café to orient yourself discreetly. Above all, trust your intuition; that gut feeling is a powerful, primitive security system. If a person or situation feels wrong, it is. Don't hesitate to remove yourself immediately.
For gender-neutral advice on navigation, confidence-building, and socializing safely, read 11 Essential Solo Travel Safety Tips You Need to Know.
A Woman's Guide to Safe Travel
While many safety principles are universal, women often navigate an additional layer of gender-specific risks and cultural nuances. Safe and empowered travel as a woman is rooted in preparation. A critical aspect is respecting and understanding local dress codes. In many cultures, dressing modestly by covering shoulders and knees isn't just a sign of respect—it’s a powerful tool that helps you blend in and deter unwanted attention. It’s equally vital to research norms around social interaction. Beyond your own research, one of the best resources is other women who have been there before. On the TrekGuider platform, you can explore our Catalog of Authors to discover and follow trusted female travel creators, accessing their expert guides and articles all in one place.

For a deeper dive into empowerment, cultural respect, and navigating harassment, see A Woman's Guide to Safe Travel: 10 Critical Tips.
Safe Spaces: Accommodation & Transportation Security
Your safety isn't just about how you navigate crowded streets; it's also about ensuring your private spaces—your hotel room, your train cabin, your taxi—are secure sanctuaries. Every transition point on a journey, from checking into a hotel to hailing a ride, is a moment where a quick, deliberate safety check can provide immense peace of mind.
A few simple, repeatable habits can drastically reduce your vulnerability. These aren't complicated procedures; they are the smart, swift routines that become second nature to seasoned travelers.
Your Hotel Room Security Checklist
The moment you cross the threshold of a new hotel room, perform this 60-second security sweep. First, prop the door open with your luggage and do a quick visual clear of the room—behind curtains, under the bed, in the closet, and shower. Once clear, close the door and test every single lock: the deadbolt, the security chain, the latch. They should all feel solid and function smoothly.
Next, find the emergency evacuation map on the back of the door. Don't just glance at it. Identify the two nearest exits and physically count the doors between your room and the closest one. This knowledge is invaluable if you ever need to navigate a dark or smoke-filled hallway. Check that the room phone works, and ensure all windows and connecting doors lock securely. For your valuables, use the room safe. If one isn't available, avoid obvious hiding spots. Taping an envelope with cash to the underside of a heavy desk or the back of a drawer is far more secure than leaving it in your suitcase.
Find a complete, step-by-step process in our guide: 7 Hotel Safety & Security Tips for Peace of Mind.
Transportation Safety: Planes, Trains, and Automobiles
Getting from A to B safely is about protecting both yourself and your belongings while in transit. Each mode of transport has its own playbook.
In the Airport: The TSA recommends using TSA-recognized locks on checked baggage, which allows security to inspect a bag without destroying the lock. The golden rule: never pack valuables in your checked luggage. Electronics, medications, documents, and jewelry belong in your carry-on. Make your bag instantly identifiable with a colorful strap to prevent mix-ups at the carousel.
On Trains: On an overnight journey, secure your main bag to a fixed object like a luggage rack with a small cable lock. Keep your absolute essentials—passport, phone, wallet—on your person in a money belt or in a small bag you can use as a pillow. In a private or shared cabin, always lock the door from the inside at night.
In Taxis & Ride-Shares: Before getting in, verify. For a ride-share, match the license plate, car model, and driver's photo with your app. Ask the driver, “Who are you here for?” so they confirm your name. Don't volunteer it. Once moving, use the app’s “Share Trip” feature to send your live location to a trusted contact.

For a mode-by-mode breakdown of best practices, read our Transportation Safety: Staying Safe on Planes & Trains guide.
Digital Defenses: Protecting Your Data Abroad
In our hyper-connected world, travel safety extends far beyond the physical. Your digital identity is one of your most valuable assets, and it's never more vulnerable than when you're on the road, connecting to unfamiliar networks. Public WiFi, shared computers, and even public USB charging ports can be gateways for data thieves.
Hackers specifically target travelers, but you don’t need to be a cybersecurity expert to defend yourself. A few fundamental habits and one essential tool can build a powerful fortress around your digital life.
The Dangers of Public WiFi and How to Stay Safe
Public WiFi is a minefield. These networks are the primary hunting ground for "Man-in-the-Middle" attacks. A hacker simply sets up a fake WiFi network with a believable name, like "CoffeeShop Guest WiFi." The moment you connect, they become an invisible eavesdropper, capturing every password, credit card number, and private message you send.
Your single most effective defense is a Virtual Private Network (VPN). A VPN is a simple app that encrypts your internet connection, creating a secure, private tunnel that makes your data completely unreadable to anyone else on the network. Before you travel, subscribe to a reputable VPN service and install the app on your phone and laptop. Then, every time you use public WiFi, just open the app and tap “Connect.” It’s that simple. Also, practice good device hygiene: lock your devices with strong passphrases and avoid public USB charging ports, which can be used for "juice jacking" to install malware. Always use your own power adapter or a portable power bank.
Get our simple, step-by-step instructions in Is Public WiFi Safe? How to Protect Your Data Abroad.
Adventure-Ready: Activity-Specific Safety
Many of the best trips are built around specific adventures—trekking through mountains or relaxing on a perfect beach. While these experiences create lifelong memories, they carry unique risks that demand specific preparation. General safety knowledge is a great start, but understanding the particular challenges of your environment is what truly prepares you for a safe and successful adventure.

From packing the right gear for the wilderness to knowing how to spot a dangerous rip current, this specialized knowledge can make all the difference.
Hiking Safety: Be Prepared on the Trail
Heading into the great outdoors requires a commitment to self-sufficiency. The National Park Service promotes the "10 Essentials," a system of critical gear every hiker must carry. This includes Navigation (map, compass), Illumination (headlamp), Sun Protection, a First-Aid Kit, Tools, Fire starters, extra Insulation (clothing), extra Nutrition, extra Hydration, and an Emergency Shelter. If you're looking for expert-vetted packing lists or detailed trail guides for your next adventure, the TrekGuider Marketplace is an invaluable resource where seasoned hikers and outdoor creators share their knowledge. Beyond gear, wildlife safety is key. Never run from a bear. Instead, make noise and make yourself look large. For mountain lions, maintain eye contact and back away slowly.

For a full gear list and wildlife protocols, check out How to Stay Safe While Hiking: A Hiker's Safety Guide.
Beach Safety: Know Before You Go
A day at the beach can feel idyllic, but the ocean demands constant respect. The most critical skill is spotting a rip current. According to NOAA, look for a channel of choppy water, a break in the wave pattern, or a line of foam moving away from shore. If you're caught in one, don't fight it. Swim parallel to the shore until you're free of the current's pull. Also, always heed the beach warning flag system. A yellow flag signifies moderate surf/currents, while a red flag means high hazard, and swimming is discouraged. The absence of flags doesn't guarantee safety, so always be vigilant.

For more on rip currents, sun safety, and marine life, read our 9 Beach Safety Tips That Could Save Your Life.
Financial Protection: The Safety Net of Travel Insurance
Even the best-laid plans can be upended. A canceled flight, lost luggage, or a sudden medical emergency can be financially devastating in a foreign country. Travel insurance is your ultimate financial safety net. However, policies are filled with fine print that can confuse even savvy travelers.
Understanding what you’re buying is as important as buying it. Knowing the key terms and common red flags ensures your policy will be there for you when it matters most. Before finalizing any travel plans, make sure you're covered with both a good insurance policy and a solid plan using our International Travel Checklist.
Demystifying Travel Insurance
Choosing the right policy means looking for common red flags. The pre-existing medical conditions exclusion is a big one; many policies won't cover issues from a condition you had before purchase. Another is the exclusion for high-risk activities; if you plan to ski or scuba dive, you likely need an add-on.
It’s also crucial to understand key terms. The deductible is what you pay out-of-pocket before the insurer pays. Primary coverage is better than secondary coverage because it pays first, resulting in faster claims. For ultimate flexibility, a “Cancel for Any Reason” (CFAR) upgrade lets you cancel for any reason not covered in the base policy and still recoup 50-80% of your non-refundable costs. A small investment in the right policy—and our all-encompassing Travel Guide—can save you a fortune.
Learn to decode policy jargon and spot bad deals with our guide on 7 Travel Insurance Red Flags to Spot Before You Buy.
Travel with Confidence
The world is a magnificent, welcoming place, and the goal of travel is to experience it with an open heart. Being prepared isn't about building walls of fear; it's about building a foundation of knowledge that gives you the freedom to embrace the unexpected with confidence. By internalizing these travel safety tips, you invest in your own peace of mind, ensuring your focus remains on the beauty, connection, and growth that every journey offers. From packing a smart first-aid kit to recognizing a scam, each act of preparation contributes to a safer, more rewarding adventure. So go—plan the trip, book the ticket, and step out into the world. You’ve got this.

Are you a travel expert with hard-won knowledge to share? If this guide resonated with you, and you have your own expertise in a specific destination or travel style, consider becoming a creator on TrekGuider. Our Publishing Platform and Monetization Tools empower travel bloggers and experts like you to build authority, share your wisdom, and sell your own digital products to a community that values authentic, on-the-ground knowledge.
Don't Miss Out! Subscribe for Exclusive Content
Subscribe


Comments 0
No comments yet
Be the first to share your experience!
Dont Miss Out! Subscribe for Exclusive Content

Ultimate USA Holidays Guide: Top Picks

FTC Affiliate Disclosure Essentials: Stay Compliant as a Travel Creator

Essential Affiliate Tools: From Tracking to Full Optimization

Booking.com Affiliate Program Review: Pros, Cons, and Earnings Potential

Decoding Affiliate Commission Rates: Benchmarks for Travel Creators

Amazon Associates for Travel: Strategies to Maximize Commissions
Solo Travel for Men: An Honest Guide to the Road Less Traveled
TrekGuider @trekguider
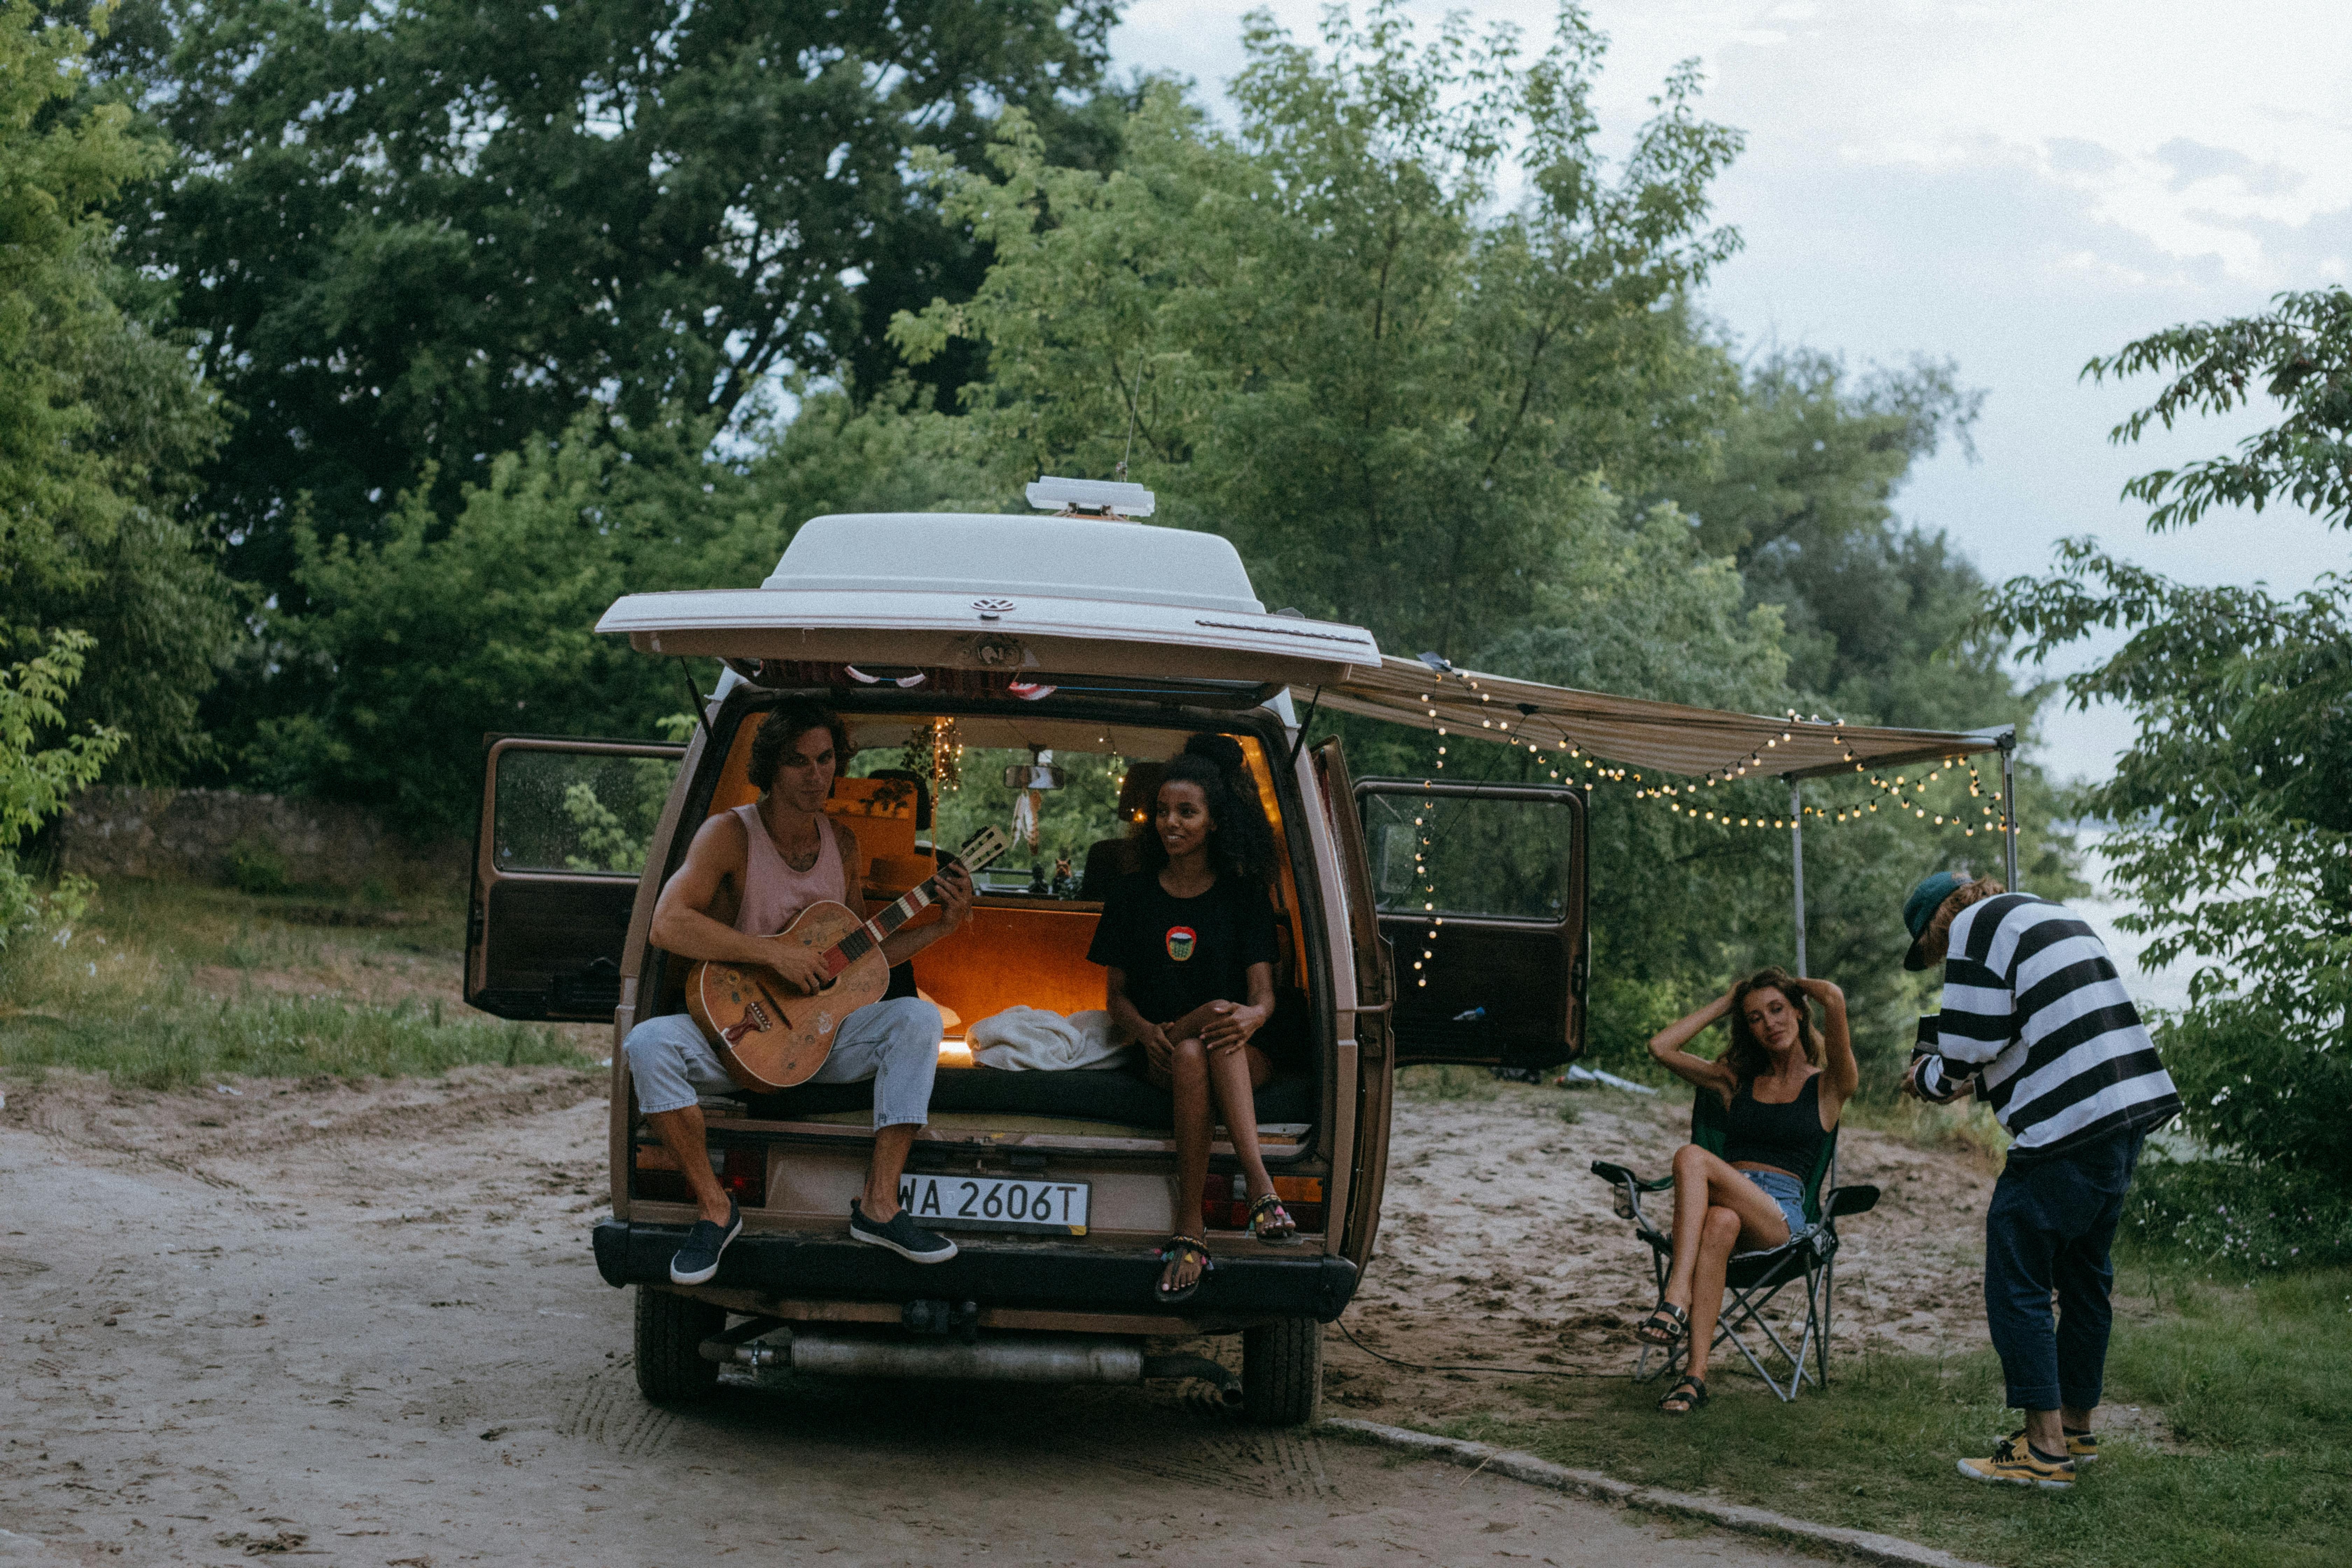
You feel that pull, don't you? It's the spark you get from a photo of a rugged coastline or a bustling foreign market—the call to adventure, to test your limits, and see the world on your own terms. But then the "what ifs" rush in. Are the logistics too complicated? Will it be lonely? Is it weird to travel by yourself? This guide is here to tell you those fears are normal, but they shouldn't be the reason you stay home. This is your definitive playbook for planning and executing your first incredible solo trip.
This hesitation is the silent thief of profound, life-altering experiences. It keeps you anchored in the familiar while a world of opportunity for growth, resilience, and radical self-discovery passes you by. Every year you put it off is a year you don't learn what you're truly made of when no one else is around to rely on. The comfort zone, once a safe harbor, slowly becomes a cage.
While the ultimate goal for many is creating unforgettable memories with loved ones, a journey of self-discovery through solo travel can be the most profound preparation. It builds the confidence and worldview that enriches every future trip, including those you'll find in Family Travel Ideas: The 2026 Guide to Unforgettable Trips.
Let's cut through the noise. This isn't another blog post filled with vague platitudes. This is an operational playbook, a mission briefing for one of the most rewarding journeys you'll ever undertake. We will dismantle every one of your concerns and equip you with the tools, tactics, and confidence to take that first monumental step. By the end of this guide, the idea of traveling alone won't be an intimidating fantasy; it will be your next actionable, exciting mission.
Why Going It Alone is a Modern Rite of Passage
In our day-to-day lives, men are often slotted into specific roles: the provider, the leader, the planner, the rock. These roles, while important, can also be limiting. Solo travel is a powerful antidote, a hard reset that strips away these external expectations and forces you to confront a more fundamental question: Who are you when no one is watching? The benefits aren't just about cool stories; they are tangible upgrades to your character.
Radical Self-Reliance: When you're alone in a new country and you miss the last train, there's no one to turn to for a solution. You have to figure it out. This isn't a hypothetical exercise; it's a real-time test of your problem-solving skills. You learn to trust your own judgment, navigate ambiguity, and find solutions under pressure. This builds a deep, unshakable confidence that permeates every other area of your life.
The Power of Decisive Action: At home, decisions can be made by committee. On the road, you are the committee. Where to eat, what to see, when to splurge, when to save—every choice is yours. This constant cycle of decision and consequence sharpens your instincts and teaches you to be decisive, cutting through the paralysis of overthinking.
A Hard Reset for the Mind: Routine is the enemy of growth. Solo travel is the ultimate pattern interrupt. It forces you out of your physical, mental, and social comfort zones, exposing you to new perspectives, cultures, and ways of thinking. This novelty stimulates your brain, fostering a level of creativity and open-mindedness that's difficult to achieve when you're stuck in a rut.
Forging Genuine Human Connection: Traveling with a partner or group can create a social bubble. When you travel alone, you are more approachable and more motivated to connect with others. These interactions—with fellow travelers in a hostel common room, a local shopkeeper, or a guide—are often more authentic and memorable. You learn to listen more and connect with people from vastly different backgrounds, building empathy and social skills.
A Step-by-Step Playbook for Launching Your Solo Journey
The biggest hurdle isn't the cost or the time off; it's inertia. Faced with a world of options, it's easy to get stuck in the planning phase forever. This playbook is designed to break that inertia and propel you from your couch to the boarding gate.
Step 1: Define Your Mission. What Kind of Solo Trip Are You After?
Before you look at a map, look in the mirror. Why are you doing this? Your motivation should define your destination.
The Recharge: Is the goal to decompress and escape the daily grind? You're looking for low-stress, high-comfort environments. Think a quiet coastal town in Portugal, a laid-back island in Thailand, or a cabin in a national park. The mission is relaxation, not a logistical marathon.
The Skill Acquisition: Do you want to learn something new? Pick a place that's a hub for that skill. Head to Costa Rica to learn to surf, to Chiang Mai for a Thai cooking course, or to the Alps for an introductory mountaineering class. This gives your trip a clear purpose and a built-in social structure.
The Frontier Test: Is this about pushing your limits and seeing what you're made of? This calls for a more adventurous destination. Consider trekking in Patagonia, motorbiking through Vietnam, or exploring the cultural depths of Colombia. These trips build maximum resilience.
Step 2: Choose Your Destination
Your first solo trip should be a win. It's about building confidence, not testing your absolute limits. Here are three archetypes for a successful first mission:
The Easy-Win (English-Speaking & High-Infrastructure): These are destinations where the learning curve is gentle. Think Ireland, Scotland, Australia, or New Zealand. The lack of a language barrier removes a major layer of stress, and the well-trodden tourist paths mean logistics are straightforward. You can focus on the experience of being alone without battling constant communication challenges.
The Adventure Hub (Activity-Focused): If your goal is to be active, choose a place known for it. The national parks of the Western USA for hiking, the mountains of British Columbia for biking, or Queenstown, New Zealand for adrenaline sports. These places are full of other active, often solo, travelers, making it easy to meet like-minded people.
The Backpacker's Trail (Social & Budget-Friendly): Southeast Asia (Thailand, Vietnam) or parts of South America (Peru, Colombia) are legendary for a reason. They offer an incredible value for money and a built-in social infrastructure of hostels, tours, and transportation that caters specifically to independent travelers. It's almost impossible not to meet people.
Step 3: The Budget
Your budget dictates your trip's style and duration. Be realistic and thorough. A well-structured plan, perhaps organized with a Travel Itinerary Template, is your best friend here.
Big Ticket Items: Start with the non-negotiables: flights and accommodation. Use tools like Google Flights and Skyscanner to track prices. For lodging, hostels are the most budget-friendly and social option, while private rooms on Airbnb or budget hotels offer more solitude.
Daily Expenses: Research the average daily cost in your chosen destination using sites like Numbeo. This includes food, local transport, and activities. A good rule of thumb is to estimate this and then add a 20% buffer.
Contingency Fund: This is non-negotiable. Have access to an extra $500-$1000 for emergencies—a missed flight, a medical issue, or a lost phone. This isn't for souvenirs; it's your get-out-of-jail-free card.
Pro-Tip: Always carry a portable power bank. A dead phone in an unfamiliar city isn't just an inconvenience; it's a safety risk. It’s your map, translator, and lifeline. Charge it religiously every night.
Step 4: Packing
Overpacking is a rookie mistake. Every item you bring is something you have to carry. The goal is to be prepared, not to bring your entire apartment.

The Right Bag: A travel backpack (40-50L) is far more versatile than a rolling suitcase. It forces you to be disciplined and can handle cobblestone streets, crowded trains, and hostel staircases with ease.
The Clothing Trinity: Pack items that are versatile, quick-drying, and layerable. Merino wool is the gold standard for travel clothing; it's temperature-regulating, odor-resistant, and comfortable. Aim for a week's worth of clothes and plan to do laundry.
3-4 merino wool t-shirts/henleys
1-2 pairs of versatile travel pants (not jeans)
1 pair of shorts (if climate appropriate)
1 packable rain jacket
1 mid-layer fleece or hoodie
4-5 pairs of wool socks and underwear
Essential Gear:
Packing cubes to organize everything.
A quick-dry travel towel.
A universal power adapter.
A basic first-aid kit with pain relievers, blister care, and any personal medications.
A padlock for hostel lockers.
Your Free Toolkit for Smarter Packing
Packing light is a skill. Our free How to Pack Light Guide is a masterclass in efficiency, showing you exactly how to fit everything you need into a single carry-on. Download it now and transform the way you prepare for any trip.
Tactics for Mastering the Solo Experience
Planning is only half the battle. Thriving on the road requires a specific mindset and a set of practical skills. This is where the real growth happens.
Neutralizing the "Big Three" Anxieties of Solo Travel for Men
Let’s address the elephants in the room head-on. These are the primary concerns that hold men back, and each one has a practical solution.
The Fear of Loneliness: This is the most common fear, but it's often misplaced. Being alone is not the same as being lonely.
Stay in Social Environments: Choose hostels with good common areas and organized events (like pub crawls or walking tours). This is the single easiest way to meet other travelers.
Embrace Day Tours: Joining a food tour, a hiking group, or a historical walking tour provides structured, low-pressure social interaction.
Learn a Few Key Phrases: Simply learning "Hello," "Please," and "Thank you" in the local language can break down barriers and make you seem more approachable.
Concerns About Safety: The world is generally safer than the news suggests, but being smart is non-negotiable.
Master Situational Awareness: This is your primary weapon. Constantly run a mental checklist: Where are the exits? Who seems out of place? Walk with purpose and confidence. Avoid flashing expensive electronics or large amounts of cash.
Secure Your Valuables: Keep your passport, extra cash, and credit cards locked in your accommodation. Carry only what you need for the day in a front pocket or a secure bag. Never put your wallet in your back pocket.
Inform Someone: Share your itinerary with a friend or family member back home and check in regularly.
Trust Your Gut: If a situation or a person feels off, it probably is. Remove yourself from the situation immediately. Don't worry about being polite; your safety is your only priority.
The Social Stigma (Is it "Weird"?): Let's be blunt: No one cares. The idea that it's strange for a man to travel alone is a self-imposed mental barrier. In the travel world, it's completely normal. You will see hundreds of other people doing the exact same thing.
How to Meet People Without Being Awkward
The Common Room is Your Stage: In a hostel, the common area is designed for interaction. Don't just sit in a corner on your phone. Sit at a communal table. A simple "Hey, where are you from?" is the universal icebreaker.
Ask for Advice: People love to be helpful. Asking another traveler for a restaurant recommendation is a low-stakes way to start a conversation that can easily lead to "Hey, I was about to head there now, want to join?"
Mastering the Art of Dining Alone: For many, this is surprisingly intimidating.
Sit at the Bar: It's more social and less formal than a table for one. You can chat with the bartender or the people next to you.
Bring a Prop: A book or a journal can make you feel less self-conscious, but try not to hide behind it. Make eye contact and be open to conversation.
Choose Casual Spots: Street food stalls, food halls, and casual eateries are much more comfortable for solo diners than formal restaurants.

Pro-Tip: The "Leading Question" technique is your best conversational tool. Instead of asking a closed question like "Are you having a good trip?" ask an open-ended one like, "What's been the most unexpected thing you've done in this city?" This invites a story, not a one-word answer.
Frequently Asked Questions
What's the best type of accommodation for a first-time solo male traveler?
For maximizing social opportunities and minimizing cost, hostels are unbeatable. Look for ones with highly-rated common areas and organized social events. If you need more privacy and have a larger budget, a private room in an Airbnb or a centrally-located hotel are also great options.
How do I handle eating alone in restaurants without feeling awkward?
Confidence is key. Sit at the bar whenever possible, as it's a more social and casual setting. Choosing less formal spots like food halls or bustling cafes can also feel more comfortable than a quiet, formal restaurant.
Is solo travel for men expensive?
It doesn't have to be. Your biggest expenses will be flights and accommodation. By choosing budget-friendly destinations (like Southeast Asia or Eastern Europe), staying in hostels, and eating like a local, you can travel for a fraction of what a typical resort vacation would cost.
What are some of the safest destinations for a first solo trip?
Countries with a strong tourism infrastructure and low crime rates are excellent starting points. Consider places like Portugal, Ireland, New Zealand, Japan, and South Korea. These destinations offer a great balance of adventure and security.
The Only Thing Left Is to Go
The journey of solo travel for men is far more than a simple vacation. It's a deliberate act of self-investment. It's an opportunity to strip away the noise of daily life, challenge your own preconceived limits, and build a more resilient, resourceful, and worldly version of yourself. The skills you learn are not just travel skills; they are life skills. You will return home not just with photos, but with a quiet confidence that can only be forged in the fires of experience.
The path is laid out. The excuses have been dismantled. The only thing left is to take the first step. Start the research, check the flights, and request the time off. Your adventure is waiting, but it demands that you go out and claim it.

Read the full guide: Family Travel Ideas: The 2026 Guide to Unforgettable Trips
Don't Miss Out! Subscribe for Exclusive Content
SubscribeComments 0
No comments yet
Be the first to share your experience!
Dont Miss Out! Subscribe for Exclusive Content
Ultimate USA Holidays Guide: Top Picks
FTC Affiliate Disclosure Essentials: Stay Compliant as a Travel Creator
Essential Affiliate Tools: From Tracking to Full Optimization
Booking.com Affiliate Program Review: Pros, Cons, and Earnings Potential
Decoding Affiliate Commission Rates: Benchmarks for Travel Creators
Amazon Associates for Travel: Strategies to Maximize Commissions
Ultra Festival: Beat the Heat Guide
TrekGuider @trekguider
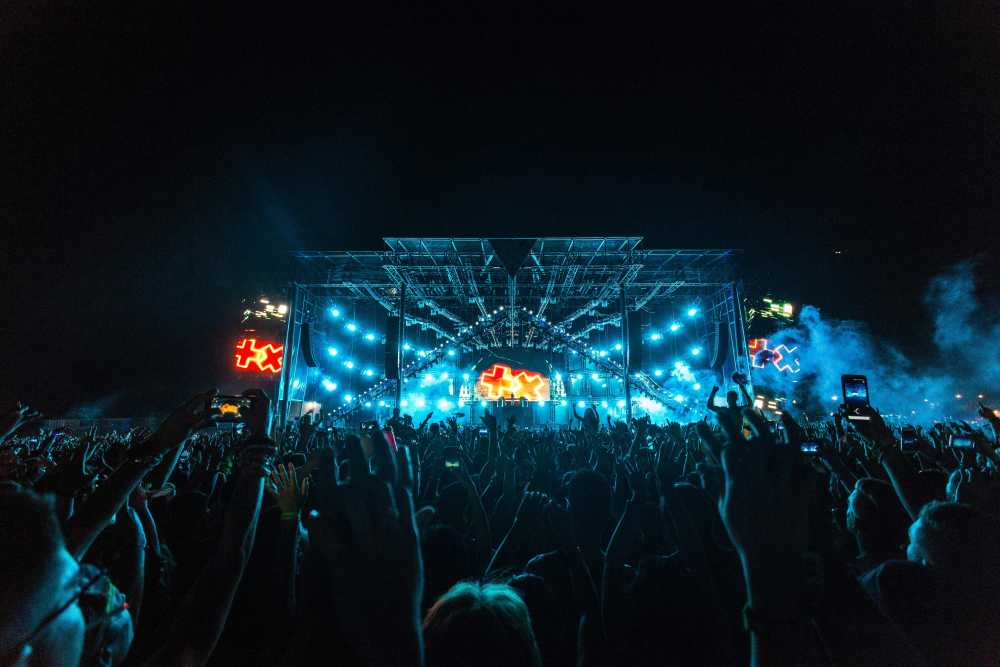
You’ve done it. You scored the golden ticket to Ultra Music Festival, a three-day sonic pilgrimage in the heart of Miami where the world’s greatest DJs command colossal stages and the energy is nothing short of electric. But as the bass drops, so does the relentless Florida sun. The real problem isn't just the heat; it's the brutal combination of scorching temperatures, suffocating humidity, and tens of thousands of dancing bodies that can quickly turn your dream festival into a dehydrated, sun-stroked nightmare.
Imagine the agony of missing Skrillex’s closing set because you’re dizzy and nauseous, huddled in a medical tent. Picture the sheer frustration of tapping out before sunset on day one, your energy completely drained, while your friends rave on into the night. This isn't a scare tactic; it's a common reality for unprepared attendees who fatally underestimate the physical toll of partying under the Miami sun for three straight days. The line between an unforgettable weekend and a miserable, potentially dangerous one is drawn by a single thing: a bulletproof strategy.
This is that strategy. Forget the generic "drink water" advice you’ve heard a thousand times. This is your new bible for not just surviving, but truly conquering the heat at Ultra. We’re providing a pro-level, comprehensive blueprint covering everything from tactical gear selection and advanced hydration science to strategic stage navigation and leveraging festival tech for your safety. Follow these steps, and you won't just beat the heat—you'll own the entire experience, from the opening beat on Friday to the final fireworks on Sunday.
Understanding the Ultra Music Festival Environment: Sun, Crowds, and Sound
Before you can build a plan, you must understand the battlefield. Ultra Music Festival unfolds in late March at Bayfront Park, a beautiful but notoriously exposed venue. For 2026, the festival runs from March 28-30 (and for you long-term planners, March 27-29 in 2026), a time when Miami’s weather is deceptively intense. While the festival is at the heart of the city's vibrant event calendar—a scene we detail in our complete guide to Miami Holidays: 8 Beach Fest Vibes—its unique environment presents a specific set of challenges you must be prepared for.
The festival operates on a strict "rain or shine" policy, meaning you need to be ready for anything. The schedule itself is a marathon, not a sprint:
Friday, March 28: 4:00 PM – 12:00 AM
Saturday, March 29: 12:00 PM – 12:00 AM
Sunday, March 30: 12:00 PM – 10:00 PM
Notice that Saturday and Sunday demand ten to twelve hours of exposure. The primary obstacles you will face are:
Intense Solar Radiation: The Florida sun is powerful. Without adequate shade, direct exposure can lead to severe sunburn and rapidly increase your core body temperature.
Oppressive Humidity: Miami's humidity cripples your body's natural cooling system. It prevents sweat from evaporating effectively, making 85°F feel like a suffocating 95°F.
Massive Crowds: Dense crowds trap body heat, creating microclimates that are significantly hotter than the ambient air. Navigating these human seas requires immense physical energy.
Constant Movement: You’ll be walking, standing, and dancing for hours on end, burning calories and losing fluids at a dangerously accelerated rate.
The first and most critical mindset shift is to treat Ultra like an athletic event. Your preparation starts long before you ever step foot in Bayfront Park.

Pre-Festival Prep: Your Foundation for Success
Victory is won in the preparation. What you do in the days leading up to the festival and what you pack in your bag will absolutely dictate your endurance and enjoyment.
The Ultimate Packing List: Beyond the Basics
Your packing list is your first line of defense. Every single item should serve a purpose, primarily focused on cooling, hydration, and comfort.
Clothing (The Three B’s: Breathable, Bright, and Barely-There):
Fabrics: Choose lightweight, moisture-wicking materials like polyester, nylon, or bamboo blends. These technical fabrics pull sweat away from your skin, allowing it to evaporate and cool you down. Avoid cotton at all costs; it absorbs moisture, becoming a heavy, suffocating trap for heat.
Colors: Opt for light-colored clothing. White, beige, and pastels reflect sunlight rather than absorbing it like dark colors do.
Fit: Loose-fitting garments are your best friend. They allow for crucial airflow against your skin, preventing heat from getting trapped.
Footwear (Your Most Important Gear): You will be on your feet for 30+ hours over the weekend. Comfortable, well-worn sneakers are non-negotiable. Do not, under any circumstances, wear brand-new shoes, flimsy sandals, or heavy boots. Running or athletic shoes with proven arch support are ideal.
Hydration Hardware:
Hydration Pack: This is the single most important piece of gear you can bring. A CamelBak or a similar backpack with a water bladder allows you to carry 2-3 liters of water and sip continuously without fumbling with a bottle. Ensure it complies with the latest festival size and pocket regulations before you go.
Electrolyte Packets: Pack single-serving powders or tablets (like Liquid I.V., Nuun, or Pedialyte packets). They are small, light, and absolutely essential for true hydration.
Sun & Heat Protection Arsenal:
Sweatproof Sunscreen: A broad-spectrum, water-resistant sunscreen with an SPF of 50 or higher is mandatory. Apply it generously 30 minutes before you enter and reapply every two hours, no exceptions.
Wide-Brimmed Hat: A bucket hat or other wide-brimmed hat provides a portable oasis of shade for your face, neck, and ears, significantly reducing your perceived temperature.
UV-Protective Sunglasses: Protect your eyes from the relentless glare and long-term sun damage.
Cooling Towel: These hyper-evaporative towels, when soaked in water, provide incredible cooling relief when worn around your neck.
Handheld Fan/Mister: A small, battery-operated fan can be a godsend in a stagnant, dense crowd, creating a personal breeze when you need it most.
Physical Conditioning: Don't Underestimate the Marathon
You wouldn't run a 10k without training, and you shouldn't tackle Ultra without some physical prep.
Pre-Hydrate Aggressively: Begin increasing your water intake 2-3 days before the festival. Your goal is to start Day 1 with your body in a state of optimal hydration, not playing a desperate game of catch-up.
Build Endurance: In the weeks leading up, incorporate some light cardio into your routine. Even 30 minutes of brisk walking or jogging a few times a week will dramatically improve your stamina.
Prioritize Sleep: Get a full 8 hours of sleep each night in the week before the festival. A sleep deficit severely impairs your body's ability to regulate temperature and recover.
Just as detailed planning is key for a scenic road trip, like the one we map out in our Big Sur Map & Itinerary, careful preparation is essential for a massive festival. Don't leave your experience to chance.
Mastering Hydration: The Core of Your Ultra Music Festival Strategy
This is the most critical section of this guide. Proper hydration at Ultra is a science. Simply drinking water when you feel thirsty is a recipe for disaster; by the time you feel thirst, you are already significantly dehydrated.

Water Isn't Enough: The Critical Role of Electrolytes
When you sweat, you don't just lose water; you lose vital minerals called electrolytes—primarily sodium, potassium, and magnesium. These minerals are the spark plugs of your body, responsible for regulating nerve and muscle function, hydrating your cells, and balancing blood pressure. Replenishing them is just as important as replenishing water.
Why It Matters: Drinking excessive amounts of plain water without replacing electrolytes can lead to a dangerous condition called hyponatremia, where the sodium levels in your blood become dangerously diluted. Symptoms can mimic dehydration (nausea, headache, confusion) but can be far more severe.
Your Game Plan: For every two refills of your hydration pack with plain water, make the third refill an electrolyte mix. This simple rule ensures you are constantly replenishing what you're sweating out. Avoid relying on sugary energy drinks or sodas for hydration; they can often make dehydration worse.
Your Hydration Schedule: A Sip-by-Sip Plan
Discipline is everything. You need a proactive hydration schedule, not a reactive one.
The Morning Load-Up: Drink at least 16-20 ounces (about half a liter) of water with an electrolyte packet before you even leave for the festival.
The Immediate Refill: The very first thing you do upon entering Bayfront Park is locate a water station and fill your hydration pack to its maximum capacity.
The 15-Minute Rule: Take a few big sips of water from your pack every 15 minutes. Set a recurring alarm on your phone or watch if you have to. Do not wait until you feel thirsty.
The Proactive Refill: Never wait until your pack is empty to refill it. When it's about one-third full, make your way to a water station. The lines are shortest during non-peak times (e.g., during a headliner's set when everyone is at one stage, or early in the day).
The End-of-Night Recovery: Drink another 16-20 ounces of electrolyte-infused water before you go to sleep. This will supercharge your body's recovery overnight and prepare you for the next day.
Pro-Tip: As soon as you get inside, open the festival map on the official app and screenshot the locations of all free water refill stations. The stations located near smaller stages or along the perimeter of the park often have significantly shorter lines than the ones near the main stage.
Strategic Navigation and Lineup Planning
How you move through the festival and plan your day is just as important as what you pack. Wasting energy is a luxury you simply cannot afford.

Decoding the Festival Map for Heat Evasion
The festival grounds are a maze of stages, vendors, and people. Use the map to your real advantage.
Identify Cool Zones: Before you even start thinking about artists, scan the map for any designated shade structures, indoor stages (like the iconic Megastructure), or air-conditioned brand activations. These are your recovery oases.
Plan Efficient Routes: When moving from the Main Stage to the Resistance stage, don't just try to cut through the thickest part of the crowd. Use the perimeter walkways. It might be a slightly longer distance, but it will be faster and require far less energy than pushing through a human traffic jam.
Building a Smart Schedule: Pacing is Everything
With a 2026 lineup featuring titans like John Summit & Dom Dolla, Armin van Buuren, Tiësto, Chase & Status, and Deadmau5, the temptation is to sprint from stage to stage. This is a rookie mistake that will burn you out by 9 PM on Friday.
Prioritize Ruthlessly: Accept that you cannot see every artist. Pick your top 3-4 "can't-miss" sets for each day and build your schedule around them as anchors.
Schedule Deliberate Downtime: The hottest part of the day is typically between 2 PM and 5 PM. This is the perfect time to schedule a tactical break. Find a shady spot, sit down, focus on hydrating, and eat a proper meal. This planned rest will give you the energy you need for the headlining acts at night.
Embrace Discovery: Use the time between your must-see sets to explore smaller stages. They are often less crowded, providing more space to dance, breathe, and discover your new favorite artist.
Pro-Tip: When moving through a dense crowd to get closer to a stage, conserve energy by following directly behind a larger, determined person or group. Let them carve a path for you. It's a simple "drafting" trick that saves a surprising amount of physical effort.
Leveraging Technology and Safety Resources at Ultra Music Festival
In the modern festival era, your phone is an essential survival tool. Ultra has integrated technology to enhance attendee safety, and you should take full advantage of every resource.
Your Phone is Your Lifeline
The Official Ultra App: Download it well in advance. It contains the most up-to-date festival map, set times, and, most importantly, will send push notifications for any emergency alerts or important announcements.
The SaferWatch App: Ultra has partnered with the SaferWatch app, which allows you to report any safety or security concerns (medical emergencies, suspicious activity) directly and anonymously to festival staff in real-time. Have it downloaded and set up before you arrive.
Portable Charger: Your phone is useless with a dead battery. A fully charged portable power bank is not optional; it's mandatory.
Knowing Where to Go for Help
Even with perfect preparation, things can go wrong. Knowing how to recognize a problem and where to get help is crucial.
Locate Medical Tents: Just like the water stations, the first thing you should do is identify the location of all medical tents on your map. They are staffed with professionals who are there to help you, no questions asked. There is no shame in seeking help.
Recognize the Signs of Heat Exhaustion: Be aware of these symptoms in yourself and your friends:
Heavy sweating
Dizziness or lightheadedness
Nausea or vomiting
A throbbing headache
Cool, pale, clammy skin
If you or a friend experience these, get to a medical tent immediately. Do not try to "tough it out."
Be a Good Raver: The Ultra community is known for looking out for one another. If you see someone who looks unwell or is in distress, ask if they need help and guide them toward a medical tent or alert festival staff.

You're Ready to Conquer Ultra
The roar of the crowd, the earth-shaking bass, the Miami skyline lit up against the night sky—these are the moments that define the Ultra Music Festival experience. By approaching the weekend with the mindset of an endurance athlete, you are no longer at the mercy of the elements. You are in control. Preparation is your armor, hydration is your fuel, and a smart strategy is your map to victory. You now have the expert knowledge to stay cool, energized, and safe from the first set to the final encore.
You are now equipped to handle the heat, navigate the crowds, and fully immerse yourself in the magic of one of the world's greatest music festivals. This level of detailed planning is what transforms a good trip into an unforgettable one. For comprehensive strategies on navigating destinations and events worldwide, our master Travel Guide is the ultimate resource for the serious traveler. Now go, stay hydrated, and have the time of your life.
Don't Miss Out! Subscribe for Exclusive Content
SubscribeComments 0
No comments yet
Be the first to share your experience!
Dont Miss Out! Subscribe for Exclusive Content

San Francisco Cherry Blossoms: A Local's Guide to the Blooms

Halloween SF: Haunts Without Horrors

SF Festivals: 7 Must-See Lineups

Christmas SF: Lights & Wharf Wonders

SF Pride: 6 Route & Party Hacks
