The Complete Guide to Solo Road Trips: Planning, Safety & Vehicle Prep
TrekGuider @trekguider
You see the pictures, you hear the stories—the ultimate solo road trip, a journey of pure freedom on the open road. But when you actually start to think about it, a wave of very real questions hits hard: What if I get a flat tire in the middle of nowhere? How do I stay safe alone at a motel? Can I really handle all the planning, driving, and navigating by myself?
That initial thrill can quickly turn to anxiety, paralyzing you before you even check your tire pressure. Without a rock-solid plan, a dream trip can easily become a stressful, expensive, or even dangerous ordeal. The difference between a life-changing experience and a cautionary tale lies in preparation. While the logistics of solo travel are unique, the core principles of smart preparation are universal—a foundation just as crucial when mapping out Family Travel Ideas: The 2026 Guide to Unforgettable Trips as it is for hitting the road alone.
This guide is your solution. It is the definitive roadmap designed to systematically dismantle every fear and answer every question. We will replace uncertainty with a comprehensive, step-by-step framework covering everything from strategic planning and budgeting to critical safety protocols and vehicle preparation. After reading this, you will not only feel capable but completely empowered to pack your bags, turn the key, and confidently hit the road for one of the great solo road trips you've always imagined.

Why a Solo Trip is a Powerful Investment in Yourself
Before we dive into logistics, let's anchor ourselves in the why. A solo road trip is more than a change of scenery; it’s an active opportunity to disconnect from the demands of daily life and reconnect with the one person you can sometimes lose track of: yourself.
Absolute Freedom: You decide when to start, where to stop, and how long to linger. There are no compromises on the itinerary, the music, or the choice between a greasy-spoon diner and a scenic picnic. Every decision is yours alone.
Radical Self-Reliance: Successfully navigating hundreds of miles on your own is a profound confidence builder. You’ll learn to solve problems on the fly, trust your judgment, and discover a deep well of resilience you never knew you had.
The Luxury of Headspace: The long stretches of highway provide the mental space for deep thought and reflection. It’s a chance to process, dream, and learn what truly energizes you without the noise of external influence.
The Blueprint: Strategic Planning for the Open Road
While the soul of a road trip lives in its moments of spontaneity, its backbone is forged in smart preparation. This isn't about creating a rigid, fun-killing schedule; it's about building the strong framework that enables true freedom and removes decision fatigue when it matters most.

Define Your Mission: Destination & Purpose
First things first: What kind of journey are you craving? Your answer will be the compass for your entire plan. Are you seeking:
Rejuvenation? Picture a scenic drive along Oregon's coast, with stops in quiet towns and fog-laced forests.
High Adventure? A route looping through Utah's "Mighty 5" national parks, filled with challenging hikes and epic vistas. Planning a park-centric journey is a classic for a reason, and our National Park Road Trip Checklist can be an invaluable tool.
Cultural Discovery? A trip winding through the historic backroads of New England or the music-rich towns of the Mississippi Delta.
Your "why" dictates your route. The iconic Pacific Coast Highway delivers on coastal drama, while a journey along Route 66 is a nostalgic dive into Americana. Use tools like Google Maps, Roadtrippers, and travel blogs to map a general path, but also search for terms like "scenic byways in California" (or whichever state you're exploring) to uncover less-traveled gems.
The Art of the Flexible Itinerary
A rigid, minute-by-minute schedule is the enemy of a great road trip. The goal is to create a structured yet pliable plan.
Respect Your Driving Limits: This is the golden rule. Aim for no more than 4-6 hours of actual driving per day. This prevents burnout, gives you ample time to explore your stops, and, crucially, ensures you can arrive at your lodging before dark.
Anchor Your Journey: Always pre-book your accommodation for the first night and the last night of your trip. This brackets your journey, removing the stress of finding a place to stay when you’re either buzzing with first-day energy or exhausted from the final leg.
Identify Key "Pillars": Pinpoint the 2-3 must-see sights, cities, or parks on your route. These are your pillars. Plan your overnight stays around them, giving yourself enough time to explore them properly.
Embrace the In-Between: For the days between your pillars, keep your plans loose. This is where the magic happens. It allows you to follow a sign for a quirky roadside museum, spend an extra two hours at a breathtaking viewpoint, or explore a town that just feels right.
Budgeting: Your Financial Freedom Fund
A clear budget isn't a leash; it’s the tool that frees you from financial stress on the road.
Fuel: Use an app like GasBuddy to estimate total fuel costs based on your car's MPG and planned mileage. Be conservative and round up.
Lodging: Research average costs for hotels, motels, or campgrounds in your target areas. Prices can fluctuate wildly by season and local events.
Food & Drink: Set a daily food budget. Packing a cooler with drinks, snacks, and breakfast items is a pro move that drastically cuts costs.
Activities: Account for national park passes (an "America the Beautiful" annual pass is often a great value), museum tickets, and tours.
The "Uh-Oh" Fund: This is non-negotiable. Set aside 15-20% of your total budget as a contingency. This fund is for the flat tire, the surprise concert ticket, or the necessary hotel upgrade after a rough day.
Pro-Tip: Before you go, call your bank and credit card companies to notify them of your travel plans. This prevents them from freezing your account due to "unusual activity" when you're buying gas 500 miles from home.
Mastering Solo Road Trips with Confidence
Your personal safety matters most. A proactive, systematic approach doesn't create fear; it builds the confidence you need to explore freely.

Personal Safety
Think of your awareness as your most critical travel companion—the one piece of gear that should never be packed away. It's your built-in radar for navigating the world with confidence.
Share Your Battle Plan: Leave a detailed copy of your itinerary with at least two trusted friends or family members. Include hotel names, addresses, and phone numbers.
The Daily Check-In: Establish a simple system. A quick "Made it to Flagstaff! All good." text each evening provides peace of mind for everyone.
Daylight is Your Ally: Plan your driving to end well before sunset. Navigating unfamiliar roads and finding your hotel is infinitely easier and safer in the light.
Trust Your Gut Instinct: Your intuition is a highly evolved threat-detection system. If a gas station, rest stop, or situation feels wrong, it is wrong for you. Leave immediately. Don't second-guess it.
Walk with Purpose: Project confidence. Be aware of your surroundings. Avoid looking lost or glued to your phone. If you need to check a map, step inside a coffee shop or store.
Social Media Lag Time: Share your amazing photos after you've left a location. Posting your real-time whereabouts can broadcast your solo status to the wrong people.
A DEEPER DIVE ON SAFETY
For many independent travelers, safety is the number one concern. We've compiled a comprehensive resource filled with actionable strategies and expert advice specifically for navigating the world on your own.
Download our free Solo Female Travel Safety Guide to build unshakeable confidence for your next adventure.
The Solo Mindset: From Loneliness to Solitude
Let’s address the elephant in the room: loneliness. It's a valid concern, but it's crucial to differentiate it from solitude. Loneliness is a lack; solitude is a presence—the presence of yourself.
Embrace Dinners for One: Bring a book or a journal. Use the time to people-watch and savor your meal without distraction.
Strike Up Casual Conversations: Chat with the barista, the park ranger, or the shopkeeper. These small interactions can provide a welcome dose of human connection without any obligation.
Schedule Calls Home: Plan a few calls with friends or family during your trip. Hearing a familiar voice can be a great reset if you're feeling isolated.
Your Co-Pilot Check
On a solo trip, your car isn't just transportation; it's your partner. Ensuring it's in peak condition is the single most important thing you can do before you leave.

The Pre-Flight Mechanical Inspection
At least one week before you depart, have your vehicle inspected by a trusted mechanic, or do it yourself if you're knowledgeable.
Tires (The Four You See and The One You Don't): Check the pressure on all four tires plus the spare. Inspect the tread depth using the "penny test." If the tread doesn't cover Lincoln's head, you need new tires.
Fluids: Check your oil, coolant, brake fluid, and windshield washer fluid. Get an oil change if you're within 1,000 miles of your next service interval.
Brakes: Listen for squealing. Feel for any vibration when braking. Don't compromise here; get them checked if there's any doubt.
Battery: Look for corrosion (a white, powdery substance) on the terminals. If your battery is over three years old, have it load-tested at an auto parts store (it's often free).
Lights & Wipers: Test all lights. Replace wiper blades if they're cracked or leave streaks. A sudden downpour is a terrible time to discover they're useless.
Building the Ultimate Roadside Emergency Kit
A well-stocked kit can turn a trip-ending crisis into a manageable inconvenience. Having a comprehensive checklist is key. A great starting point for any major is our International Travel Checklist, which you can adapt for a domestic journey.
Jumper cables and a portable jump starter
Tire pressure gauge and a portable 12V air compressor
A complete first-aid kit
A powerful LED flashlight or headlamp (with extra batteries)
Basic toolkit (multi-tool, adjustable wrench, screwdrivers, gloves)
Duct tape and zip ties
Reflective warning triangles
A warm blanket, emergency rain poncho
High-energy, non-perishable snacks (protein bars, nuts)
At least one gallon of water
Pro-Tip: A portable jump starter (a small lithium-ion battery pack) is the best safety device a solo traveler can buy. It allows you to jump-start your own car without the need for another vehicle or the risk of asking a stranger for help.
Frequently Asked Questions
How much should I budget for a solo road trip?
Your main costs will be fuel, lodging, and food. A good starting point for a domestic US trip is to budget $150-$250 per day. This can be much lower if you're camping and cooking your own meals, or higher if you prefer nicer hotels and restaurants. Always add a 15-20% contingency fund for unexpected costs.
What's the best way to stay safe at rest stops or gas stations?
Choose busy, well-lit locations whenever possible. Before you get out of the car, take a moment to observe your surroundings. Stay off your phone, be aware of who is around you, and trust your gut instinct. If a place feels unsafe, leave and find the next one.
Is it better to book all my accommodations in advance for a solo trip?
We recommend a hybrid approach. Book your first and last nights in advance to reduce stress. For the nights in between, having flexibility is great, but it's wise to book your next night's stay at least 24 hours in advance, especially in popular areas, so you're not left scrambling at dusk.
Turn the Key: Your Adventure Begins Now
The journey of a thousand miles begins not with a single step, but with a decision—the decision to prepare. By now, the idea of a solo adventure should feel less like a daunting challenge and more like an exciting, achievable reality. You have the framework for careful planning, the knowledge to build a strong safety net, and the checklist to ensure your vehicle is a reliable partner.
You are equipped to handle the road with confidence and embrace the unparalleled freedom that only solo road trips can offer. The open road is not just a path to a new destination; it’s a path to a more capable and self-aware version of yourself. The planning is part of the adventure. The preparation is part of the empowerment. Now, it's time to put it all into action. Go create a story that is entirely your own.

Don't Miss Out! Subscribe for Exclusive Content
Subscribe


Comments 0
No comments yet
Be the first to share your experience!
Dont Miss Out! Subscribe for Exclusive Content

San Francisco Cherry Blossoms: A Local's Guide to the Blooms

Halloween SF: Haunts Without Horrors

SF Festivals: 7 Must-See Lineups

Christmas SF: Lights & Wharf Wonders

SF Pride: 6 Route & Party Hacks

Chinese New Year SF: Parade Essentials
How to Stay Safe While Hiking: A Hiker's Safety Guide
TrekGuider @trekguider
The call of the trail is a powerful one. It promises sweeping vistas, the quiet solitude of the forest, and the profound satisfaction of reaching a summit under your own power. But for all its beauty, the wilderness is impartial and unforgiving. The same trail that offers bliss on a sunny morning can present serious danger when the weather turns, a wrong turn is made, or an ankle is twisted. This is the problem every hiker faces: the gap between the adventure we dream of and the preparation it demands.
That gap is often filled with anxiety. A flicker of doubt about reading the map, a worry about the approaching clouds, or a sudden fear of what that noise was in the undergrowth can rob an incredible experience of its joy. Too often, hikers—both novice and experienced—find themselves in serious trouble simply by underestimating the trail and overestimating their preparedness. According to Search and Rescue (SAR) teams, most emergencies are the result of small, preventable mistakes. This guide is your definitive playbook for closing that gap for good. We’re providing the essential, expert-backed hiking safety tips you need to move through the backcountry with unwavering confidence. This isn't about fear; it's about empowerment. By mastering these skills, you’re ensuring every hike is a safe one, a core pillar of the responsible adventurer’s mindset we explore in our definitive The Ultimate Guide to Travel Safety: A 2026 Playbook. Let’s gear up, get smart, and get you ready to hit the trail.

This journey from novice to self-sufficient hiker begins not on the trail itself, but with a simple, powerful philosophy of preparedness that has been tested and refined by generations of mountaineers and wilderness experts. It all starts with your pack.
The Foundation of Safety: The 10 Essentials System
Long before your boots touch the dirt, your safety on the trail has already been decided by one thing: what’s inside your pack. Endorsed by the National Park Service and outdoor organizations like REI, the "10 Essentials" is not just a packing list; it's a systematic approach to preparedness. It ensures you have the tools to handle common problems and survive an unexpected night outdoors. Think of these not as ten individual items, but as ten crucial systems.
Navigation: Your primary system for knowing where you are and where you’re going. This must include a physical topographic map of the area and a compass. A GPS device or a smartphone with downloaded offline maps is a great tool, but electronics can fail. A map and compass are your foolproof backup.
Illumination: You need to be able to see in the dark, period. Carry a headlamp or flashlight with a full charge, and always pack extra batteries. A headlamp is superior as it keeps your hands free for other tasks.
Sun Protection: Sunburn and sunstroke can be serious dangers on the trail. This system includes sunglasses, broad-spectrum sunscreen (SPF 30+), and a wide-brimmed hat. Sun-protective clothing can also be a game-changer.
First-Aid Supplies: You must have the ability to treat common trail injuries. Your kit should be equipped to handle blisters, cuts, scrapes, and sprains. A basic kit is good; a custom-built one is better.
Repair Kit and Tools: Gear can break. A multi-tool or knife is invaluable, and a small roll of duct tape can repair everything from a torn jacket to a broken tent pole.
Fire: In an emergency, fire provides warmth, a way to purify water, and a powerful psychological boost. Carry waterproof matches, a reliable lighter, and a dedicated fire starter like dryer lint or a commercial fire-starting block.
Insulation: Weather can change in an instant, especially at elevation. You must carry an extra layer of clothing beyond what you start the hike in, regardless of the forecast. This should be a moisture-wicking layer, like a fleece jacket or thermal top—never cotton, which loses all insulating properties when wet.
Nutrition: Always pack more food than you think you’ll need. An extra day’s worth of non-perishable, high-energy food is the standard. Items like protein bars, nuts, and dried fruit are perfect.
Hydration: Carry more water than you expect to need and have a way to purify more. This means carrying a water filter or purification tablets to safely treat water from streams or lakes in an emergency.
Emergency Shelter: If you’re forced to spend an unplanned night out, protection from the elements is critical to preventing hypothermia. This doesn't mean a tent. A lightweight, packable emergency space blanket or bivy sack is all you need.

For expert-vetted gear lists and detailed trail guides from seasoned creators, the TrekGuider Marketplace is an invaluable resource for taking your preparation to the next level.
"Never Get Lost Again": Mastering Trail Navigation
Of all the potential hiking dangers, getting lost is one of the most common and terrifying. A recent study of SAR missions revealed that "error in judgment" was a leading cause of hikers needing rescue, and a huge part of that is poor navigation. Relying solely on your phone’s GPS is one of the biggest hiking safety tips to ignore—service is unreliable in the backcountry, and batteries die. True navigational confidence comes from time-tested skills.
How to Use a Map and Compass
This fundamental skill is easier than you think and is your most reliable tool.
Place the Compass on the Map: Lay your map flat. Identify your current location and your destination. Place your compass so the long edge of its baseplate creates a line connecting the two points, with the "Direction of Travel" arrow on the compass pointing toward your destination.
Set the Compass Bezel: Keeping the baseplate still, rotate the round bezel (the dial) until the orienting lines inside it are parallel with the map's north-south grid lines. Make sure the "N" on the bezel is pointing to North on the map. The number on the bezel aligned with the Direction of Travel arrow is now your bearing.
Follow the Bearing: Lift the compass off the map and hold it level in front of you. Turn your body until the red magnetic needle is "in the shed"—that is, perfectly inside the red orienting arrow on the bezel. The Direction of Travel arrow now points precisely to your destination. Pick a landmark in that direction, walk to it, and repeat the process.
Pro-Tip: The difference between "true north" (on your map) and "magnetic north" (where your compass points) is called declination. For precise navigation, you must adjust your compass for the local declination, which will be printed on your map.

Wildlife on the Trail: A Guide to Safe Encounters
Seeing wildlife is a thrilling part of hiking, but it’s crucial to remember that you are a visitor in their home. The core principles of every encounter are to maintain a safe distance, never feed wildlife, and know how to react to avoid escalating a situation.
Bear Encounters (Black vs. Grizzly)
Making noise while you hike (talking, clapping) is the best way to avoid surprising a bear. If you do encounter one, your reaction depends on the species.
If a Black Bear Approaches: Never run. Make yourself look as large as possible by raising your arms and opening your jacket. Yell, clap, and make loud noises. If it attacks, fight back aggressively. Target the bear's face and nose with anything you have—rocks, trekking poles, your fists. Do not play dead.
If a Grizzly Bear Approaches/Charges: Do not run and do not make direct eye contact. Speak in a calm, low voice to show you are not a threat. If it charges, stand your ground and use bear spray when it is within 30 feet. If it makes contact, play dead. Lie flat on your stomach, protect the back of your neck with your hands, and use your pack as a shield.
Mountain Lion (Cougar) Encounters
These predators are ambush hunters, so an encounter is rare. If you see one, it has likely been watching you.
Protocol: Do not run, as this triggers their chase instinct. Make direct eye contact. Make yourself appear larger by raising your arms and opening your jacket. Speak in a loud, firm voice. Slowly back away, giving the cat an escape route.
If Attacked: Fight back with everything you've got. Use rocks, sticks, or your hands to target the animal's eyes and face.
Venomous Snake Encounters
Snakes have no interest in humans and will only strike if they feel threatened.
Protocol: If you see a snake, freeze. Do not make any sudden movements. Once you've located the snake, slowly back away and give it a wide berth to move on. Be careful where you step and place your hands, especially when scrambling over rocks or logs.
If Bitten: The priority is to stay calm to slow the spread of venom. Limit physical activity and get to a hospital as quickly and safely as possible for evaluation and potential antivenom treatment.
Handling Trail Emergencies: What to Do When Things Go Wrong
Even with perfect preparation, accidents can happen. A twisted ankle, a sudden illness, or getting turned around can escalate quickly. Your ability to stay calm and make rational decisions is your most valuable asset. If you find yourself in trouble, remember the acronym S.T.O.P.
Stop: The moment you realize you are in trouble, stop moving. Sit down.
Think: Assess your situation calmly. What went wrong? What resources do you have?
Observe: Look around you. Where is the sun? Can you see any landmarks? Is there a source of water or shelter nearby?
Plan: Formulate a simple, logical plan. Don't make panicked decisions.
First Aid on the Trail
Your first-aid kit from the 10 Essentials is your go-to tool for injuries. Here's how to handle the most common trail ailments:
Blisters: The moment you feel a "hot spot" on your foot, stop and address it. Clean the area and apply moleskin or a blister-specific pad. Don't wait for it to become a full-blown blister.
Sprains: For a twisted ankle or knee, use an elastic wrap bandage from your kit to provide compression and support. Loosen it if you feel any numbness or tingling. Elevate the joint when you rest, and use a trekking pole or sturdy branch as a crutch if needed.
Cuts and Scrapes: Control any bleeding with direct pressure using a sterile gauze pad. Once it stops, clean the wound thoroughly with an antiseptic wipe and apply antibiotic ointment before covering it with a bandage.
A well-stocked daypack is crucial, but so is a plan for the whole trip. Before you head out to explore our incredible national parks, make sure your vehicle and supplies are just as prepared as your hiking gear.
Your Ultimate Adventure Blueprint
Ready to hit the road? Don't leave home without our expert-vetted National Park Road Trip Checklist. This free guide covers everything from vehicle prep and essential gear to can't-miss stops, ensuring your adventure is seamless from start to finish. Download it for free now!
Hiking Safety FAQs
A prepared mind anticipates questions. Here are expert answers to common concerns.
1. What's the right way to signal for help?
If you determine you cannot get yourself out of a situation safely, you need to signal for help. The universal distress signal is three of anything: three whistle blasts, three flashes of a headlamp, or three piles of rocks. A whistle is a must-have item that uses far less energy and carries further than shouting. For serious backcountry travel, consider investing in a personal locator beacon (PLB) or satellite messenger, which can send an SOS signal with your exact location to emergency services.
2. Is it safe to hike alone?
Solo hiking can be an incredibly rewarding experience, but it requires a higher level of preparation and self-sufficiency. All the rules in this guide become even more critical. It is absolutely essential that you leave a detailed itinerary with a trusted friend or family member. Include your planned route, your start and end times, and a "panic time"—the specific time they should call for help if they haven't heard from you.
3. What do I do if the weather turns bad unexpectedly?
Your first priority is to get below the treeline if you're in an exposed area to reduce the risk of lightning strikes. Put on your extra insulating layer and your rain gear before you get wet and cold. Assess your map and your situation. It is often safer to turn back, even if you're close to your destination, than to push on into deteriorating conditions.
Pro-Tip: Always tell someone your plan. Before every hike, leave a detailed itinerary with a trusted friend or family member. This is the single most important safety net you have.

Your Adventure, Empowered by Preparation
The goal of these hiking safety tips is not to fill you with fear, but to arm you with confidence. Every piece of gear you pack and every skill you learn is a key that unlocks a new level of freedom on the trail. Preparation allows you to push your boundaries, explore wilder places, and immerse yourself in the beauty of nature without the nagging whisper of anxiety. By respecting the wilderness and committing to self-sufficiency, you transform from a simple visitor into a capable, confident adventurer.
Now that you have the skills for a safe hike, you can integrate that adventure into a larger, perfectly planned journey. For a complete master plan covering everything from budgeting and logistics to finding the best trails and tours, our all-encompassing Travel Guide is the only resource you'll ever need.
Don't Miss Out! Subscribe for Exclusive Content
SubscribeComments 0
No comments yet
Be the first to share your experience!
Dont Miss Out! Subscribe for Exclusive Content

How to Avoid Travel Scams: A Global Guide

Is Public WiFi Safe? How to Protect Your Data Abroad

A Woman's Guide to Safe Travel: 10 Critical Tips

7 Hotel Safety & Security Tips for Peace of Mind

9 Beach Safety Tips That Could Save Your Life

7 Travel Insurance Red Flags to Spot Before You Buy
Solo Travel Blog Monetization: Turning Stories into Income
TrekGuider @trekguider
You've seen the Instagram posts tagged '#digitalnomad' and wondered if it's actually real. Can a solo travel blog—your solo travel blog—truly become a source of income, or is it just a path to burnout? The truth is, most new bloggers fail because they follow a random list of 'monetization ideas.' They're missing the most critical element: a strategic, time-based plan. This is not a list of ideas. This is your 24-month roadmap, grounded in real data from six-figure bloggers, showing you exactly what to do, when to do it, and the income you can realistically expect at each stage. This is your guide to successful solo travel blog monetization.

Moving from Hobbyist to Business Owner
The first and most critical shift you must make is mental. Your blog is no longer just a personal travel diary; it is the central asset of a new business. Every decision, from the topics you cover to the way you structure your articles, must be made with a clear purpose: to provide immense value to a specific audience. Before you can monetize effectively, you must provide that value, which starts with mastering the fundamentals. For a complete playbook on creating world-class content and navigating your journey, review our comprehensive .
This business-oriented mindset means prioritizing the single most important driver of revenue: Search Engine Optimization (SEO). While social media can provide fleeting traffic spikes, SEO delivers a consistent, sustainable stream of readers who are actively searching for the solutions you provide. These are the people who will click your links, book tours, and buy your products. From this day forward, think of yourself not as a blogger, but as the CEO of a media company whose primary asset is high-ranking, helpful content.
What to Expect and When
Forget the overnight success stories. Building a profitable blog is a marathon, not a sprint. Having a realistic timeline prevents discouragement and keeps you focused on the right tasks at the right time.

Year 1 Expectations: Building Traffic and Earning Your First ~$2,000
The first year is all about laying the foundation. Your primary goal is not to make a full-time income, but to publish a critical mass of high-quality, SEO-optimized content and establish topical authority in your niche. You'll spend the first few months writing and publishing consistently without seeing much traffic, and that's completely normal.
Data from established bloggers shows that you can expect to make your first affiliate sale around month four or five. By the end of the first year, a dedicated blogger can realistically earn between $1,000 and $5,000. This income will come almost exclusively from strategic affiliate marketing.
Year 2 Expectations: Scaling to a Viable Income ($20,000 - $40,000)
Year two is the scaling phase. The content you published in your first year begins to mature and rank higher in Google search results, leading to a significant increase in traffic. This is the year you'll likely cross the critical threshold needed to qualify for premium ad networks. This combination of escalating affiliate commissions and new, high-earning display ad revenue is what transforms your blog from a side hustle into a viable business. It's not uncommon for bloggers who were earning $200/month at the end of year one to be earning $2,000-$4,000/month by the end of year two.
(Months 1-6): Laying the Foundation for Your Solo Travel Blog Monetization
Welcome to the grind. In this foundational phase, you are building the powerful engine of your business long before you see significant fuel (i.e., traffic). Success here isn't measured in dollars; it's measured in discipline and consistent output.
Your Primary Focus: Publishing High-Quality, SEO-Optimized Content
Think of high-quality content as the real estate upon which you'll build your entire business. It's the non-negotiable asset that makes all future income possible. In these first six months, your goal should be to publish 25-40 thoroughly researched, long-form articles that target specific keywords your audience is searching for. Every article should aim to be the single best resource on the internet for its given topic. This early library of content is what Google will eventually reward with traffic.
Method 1: Strategic Affiliate Marketing (The Best First Step)
Affiliate marketing is the practice of earning a commission by promoting another company's products or services. It is the perfect first monetization method because most programs have no minimum traffic requirements. You can, and should, include affiliate links from day one.
The key is to recommend products you genuinely use and trust. Your recommendations must be woven naturally into helpful content. Don't just list products; explain why a certain backpack is perfect for a carry-on-only trip or how a specific travel insurance policy saved you during an emergency. A crucial element of this is transparency. Always include a clear affiliate disclosure at the top of your posts. This isn't just an FTC requirement; it's a critical component of building long-term trust with your audience.
Choosing the Right Affiliate Platforms: A Data-Driven Comparison
Start with a mix of affiliate aggregators and direct programs to maximize your opportunities.
Travelpayouts: An excellent starting point. It's an aggregator that gives you access to dozens of travel brands like Booking.com, GetYourGuide, and Hostelworld through a single platform, making it easy to manage your links and payments.
Stay22: A powerful, map-based tool specifically for accommodations. It often has a higher conversion rate than other hotel affiliate links because it shows users a variety of options on a map, which is incredibly helpful in the travel planning process.
Direct Programs: Many essential travel brands have their own programs. Be sure to sign up for:
Amazon Associates: For all the physical gear you recommend, from packing cubes to portable chargers.
Booking.com / Agoda: The top platforms for hotel bookings worldwide.
GetYourGuide / Viator: The leaders in tours, activities, and attraction tickets.
Pro-Tip: Don't go back and add affiliate links later. Research and include relevant links in every article as you write it. This saves an immense amount of time and ensures your monetization efforts start from the moment you hit "publish."
(Months 7-18): Scaling Traffic and Unlocking Serious Income
With a solid foundation of content beginning to rank, you now shift your focus from pure production to growing the one metric that unlocks the next level of income: monthly sessions.
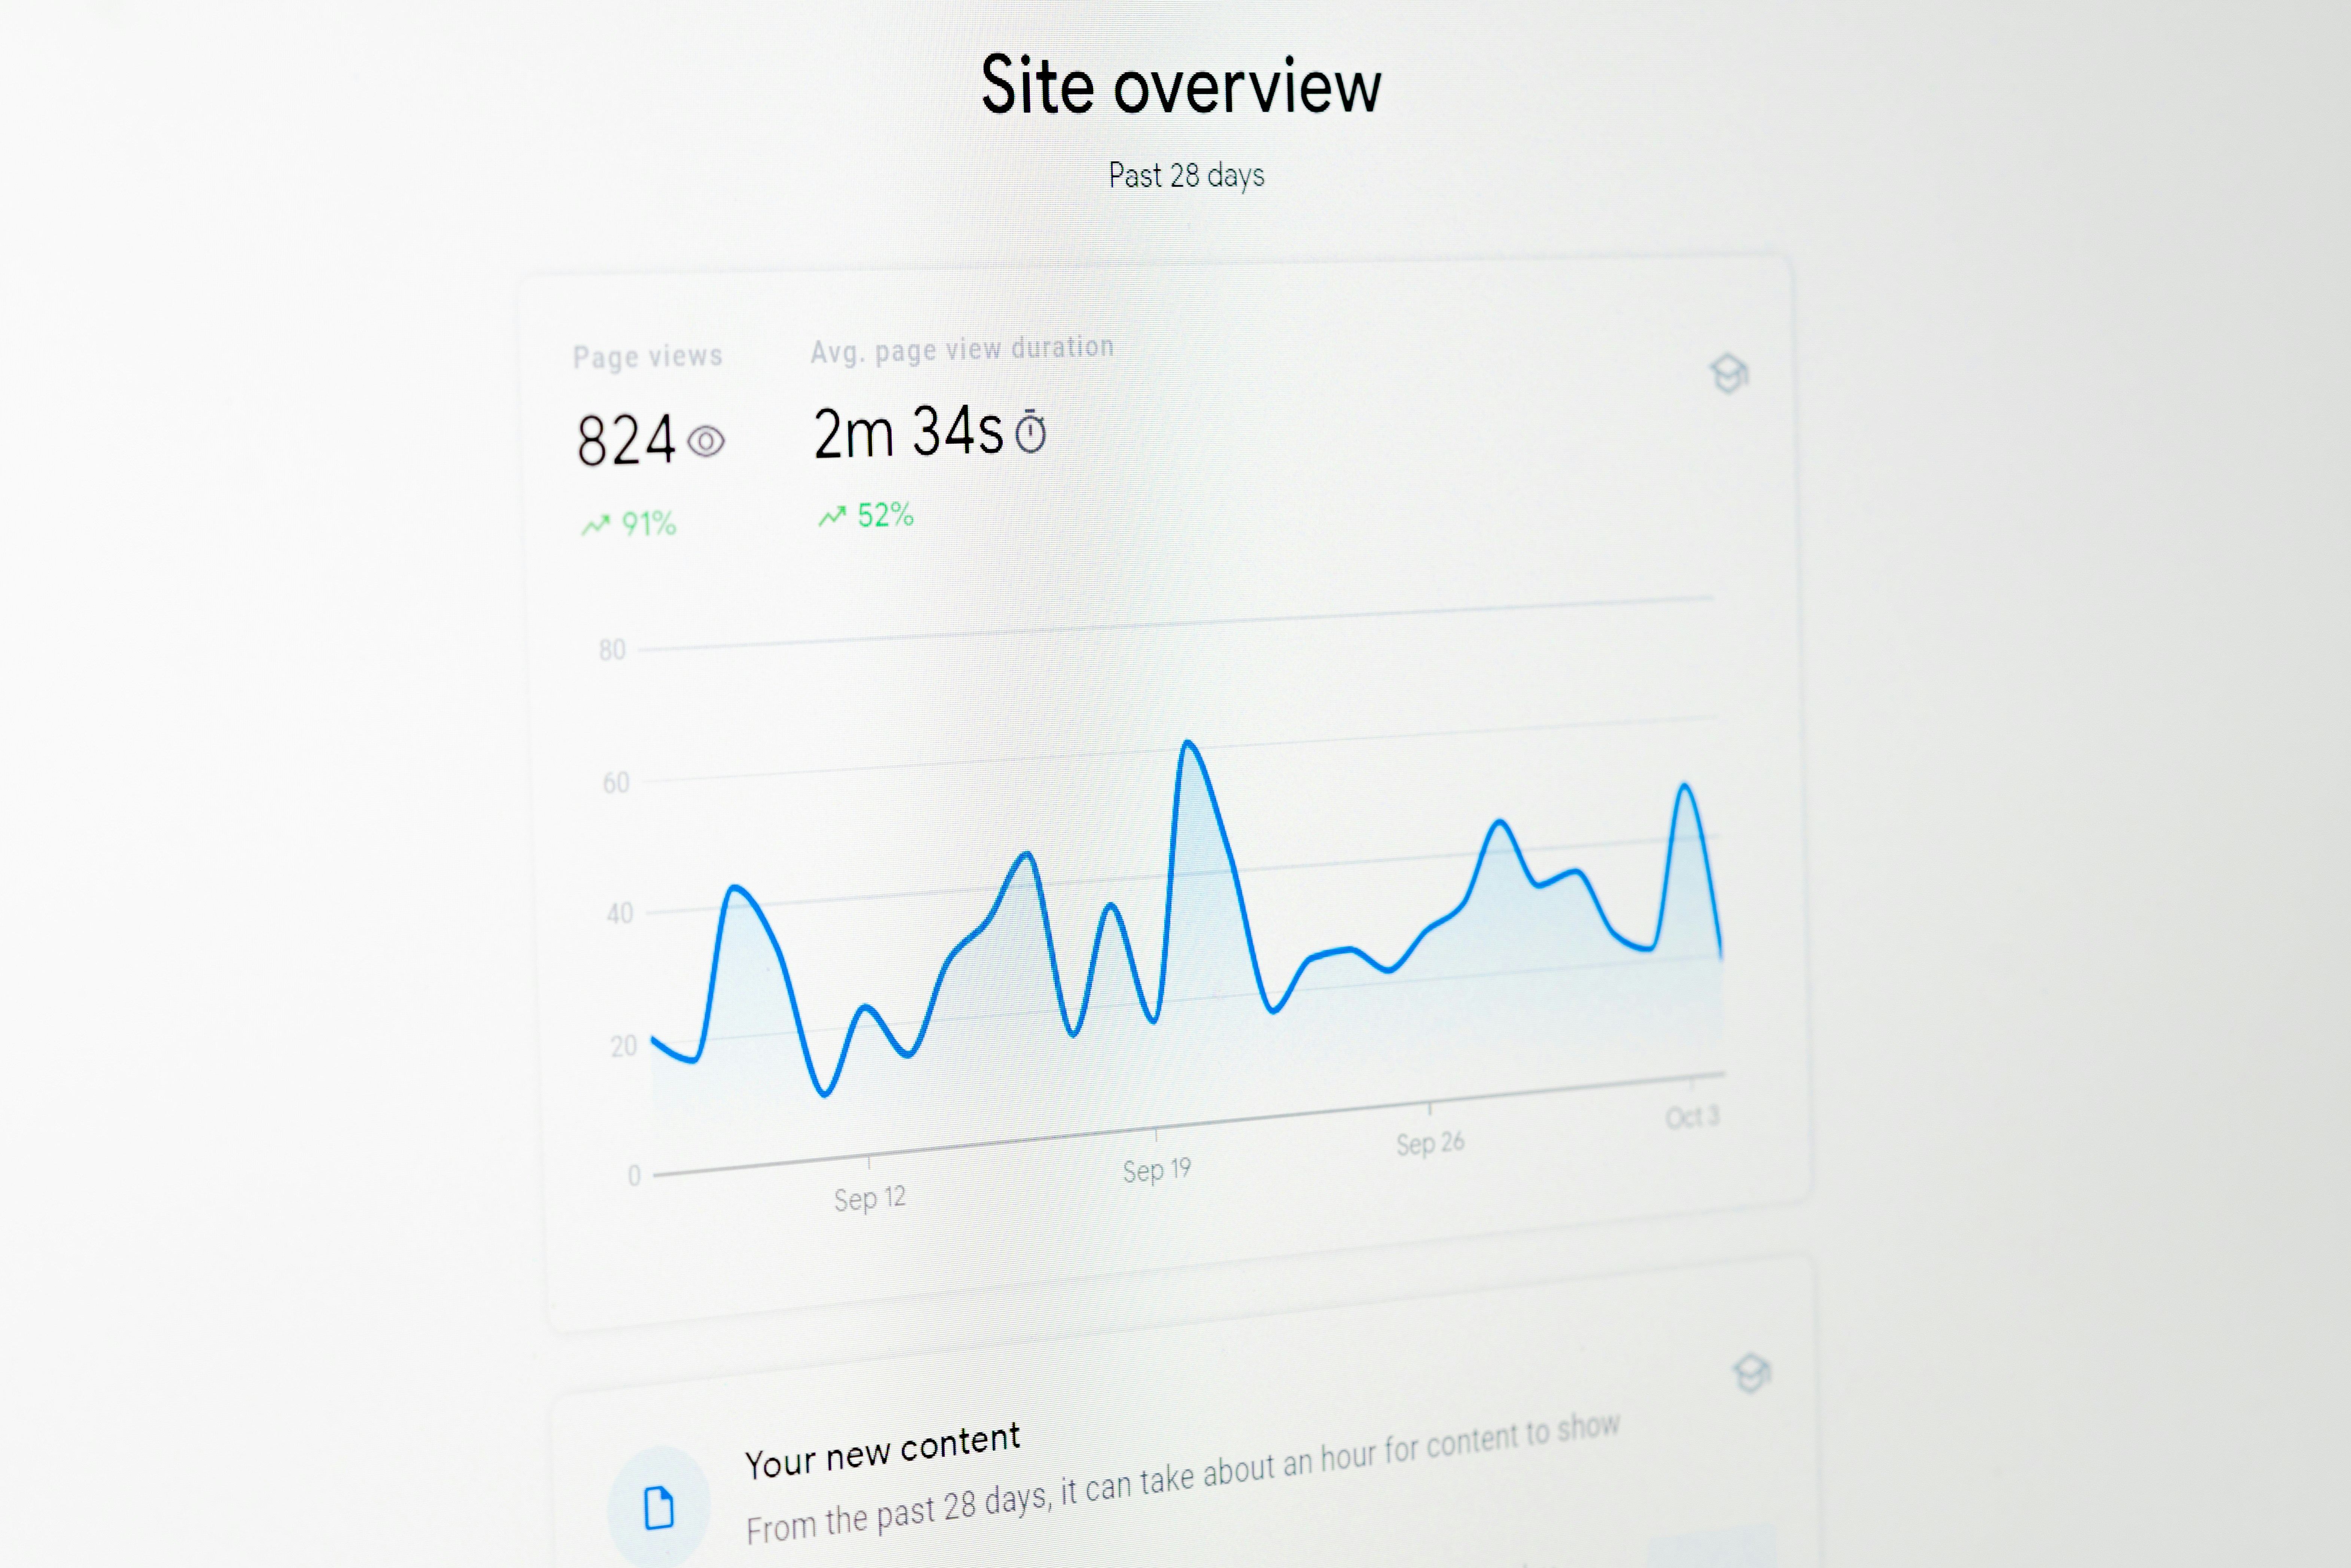
Your Primary Focus: Reaching 50,000+ Monthly Sessions
This is the magic number. Crossing the threshold of 50,000 monthly sessions (the number of visits to your site, as measured by Google Analytics) is the key inflection point where your income potential grows exponentially. It signals to premium ad networks that you have a substantial and engaged audience, making you a valuable partner. Reaching this level requires continued content production and a focus on building high-quality backlinks to your articles.

Method 2: Display Advertising (Unlocking Passive Income)
Display ads are the advertisements you see placed within the content of a website. When you have significant traffic, this becomes a powerful and almost entirely passive income stream. The key is to work with the right network.
The Ad Network Ladder: From Beginner to Premium
Not all ad networks are created equal. Your goal is to climb the ladder to a premium network as quickly as possible.
Avoid Google AdSense: Many new bloggers start here, which is a major mistake. AdSense pays extremely low rates, often resulting in an RPM (Revenue Per Mille, or earnings per 1,000 pageviews) of just $1-$3. It clutters your site for pennies.
Starter Networks (The Stepping Stone): Networks like Journey by Mediavine (requires 10,000 monthly sessions) or Ezoic offer a significant step up from AdSense. They are a great intermediate goal.
Premium Networks (The Goal): This is where serious income begins.
Mediavine: The gold standard for many bloggers. They require a minimum of 50,000 monthly sessions. Mediavine is known for its incredible support and high RPMs, often in the $20 - $40+ range. They command higher rates from advertisers because of their high-quality publisher network and direct sales teams.
Raptive (formerly AdThrive): The top tier. Raptive requires 100,000 monthly sessions and is known for having some of the highest RPMs in the industry for the same reasons.
Getting accepted into Mediavine is a major milestone. For a blog with 50,000 sessions, a $25 RPM translates to $1,250 in passive income per month. This is in addition to your growing affiliate revenue.
(Months 19+): The CEO Phase—Building a Diversified Travel Brand
Once you have stable traffic and income from ads and affiliates, you can move into the final phase: maximizing profitability by leveraging your most valuable asset—your audience's trust.
Building Brand Authority and Audience Trust
At this stage, your readers see you as a trusted expert. They've followed your advice, booked hotels you recommended, and bought gear you reviewed. This trust is the asset you will now monetize directly, leading to the highest profit margins possible.
Method 3: Selling Your Own Digital Products (The Highest Profit Margin)
Creating and selling your own products is the holy grail of solo travel blog monetization. You control the price, the product, and you keep nearly 100% of the revenue. This requires a loyal audience that trusts your expertise, which is why it's an advanced strategy.

Examples of high-value digital products for a solo travel audience include:
Comprehensive E-books: A deep dive into a specific topic, like "The Ultimate Guide to Solo Female Travel in Southeast Asia."
Printable Destination Itineraries: Detailed day-by-day plans for cities like Rome, Tokyo, or Lisbon that your readers can purchase and download.
Trip Planning Templates: Customizable spreadsheets or Notion templates that help your readers organize their own trips.
Digital Packing Lists: Niche-specific checklists for different types of travel (e.g., carry-on only, winter travel, hiking).
Pro-Tip: Validate your product idea before you build it. Send a survey to your email list or poll your audience on social media, asking what they struggle with most. If dozens of people say "planning my Italy itinerary is overwhelming," you have a winning product idea.
Method 4: Sponsored Content and Brand Partnerships
Sponsored content, where a brand pays you for a dedicated article or mention, represents a shift from passive to active income. While it can be lucrative, with sponsored posts often fetching $1,000 or more, you shouldn't just wait for opportunities to land in your inbox. As your brand authority grows, you can proactively pitch partnerships. Create a professional media kit—a one-page PDF outlining your website traffic, audience demographics, and core values—and reach out to brands you already use and love with a specific collaboration idea.
Frequently Asked Questions (FAQ Section)
How much money can you make from a travel blog?
In your first year, aim for $1,000-$5,000. By the end of year two, $20,000-$40,000 is a realistic target for dedicated bloggers. Established, six-figure travel bloggers who have diversified into ads, affiliates, and digital products can earn well over $100,000 per year.
How long does it take to make $1000 a month blogging?
For most travel bloggers who consistently publish high-quality, SEO-optimized content, it takes between 12 and 18 months to consistently earn $1,000 per month. This milestone typically occurs after being accepted into a premium ad network like Mediavine.
Do I need a large social media following to make money?
No. This is a common and damaging myth. The most profitable travel blogs focus on SEO. You can make a full-time income from a travel blog with fewer than 1,000 Instagram followers if your website traffic from Google is high and consistent.
What are the initial costs of starting a profitable travel blog?
The essential startup costs are minimal. You'll need a domain name (around $15/year) and web hosting (around $5-$15/month). Investing in a premium WordPress theme ($60 one-time) and an SEO tool like Keysearch ($17/month) are highly recommended but not strictly necessary on day one.
Turning your passion for solo travel into a profitable business is not a dream; it's a project. It requires a strategic plan, immense dedication, and an unwavering focus on providing real value. This roadmap has shown you the what and the when. By following this phased approach to solo travel blog monetization, you move beyond wishful thinking and begin the methodical work of building a business that can fund your travels and your life. The journey is long, but the destination—a life of freedom and financial independence—is worth every step.
Read the full guide: Anxious to Adventurous: The Ultimate Guide to Solo Travel Confidence
Don't Miss Out! Subscribe for Exclusive Content
SubscribeComments 0
No comments yet
Be the first to share your experience!
Dont Miss Out! Subscribe for Exclusive Content

FTC Affiliate Disclosure Essentials: Stay Compliant as a Travel Creator

Essential Affiliate Tools: From Tracking to Full Optimization

Avoid These 5 Affiliate Landing Page Mistakes for Better Conversions

Affiliate Keyword Research Mastery for Travel Blogs

Booking.com Affiliate Program Review: Pros, Cons, and Earnings Potential
